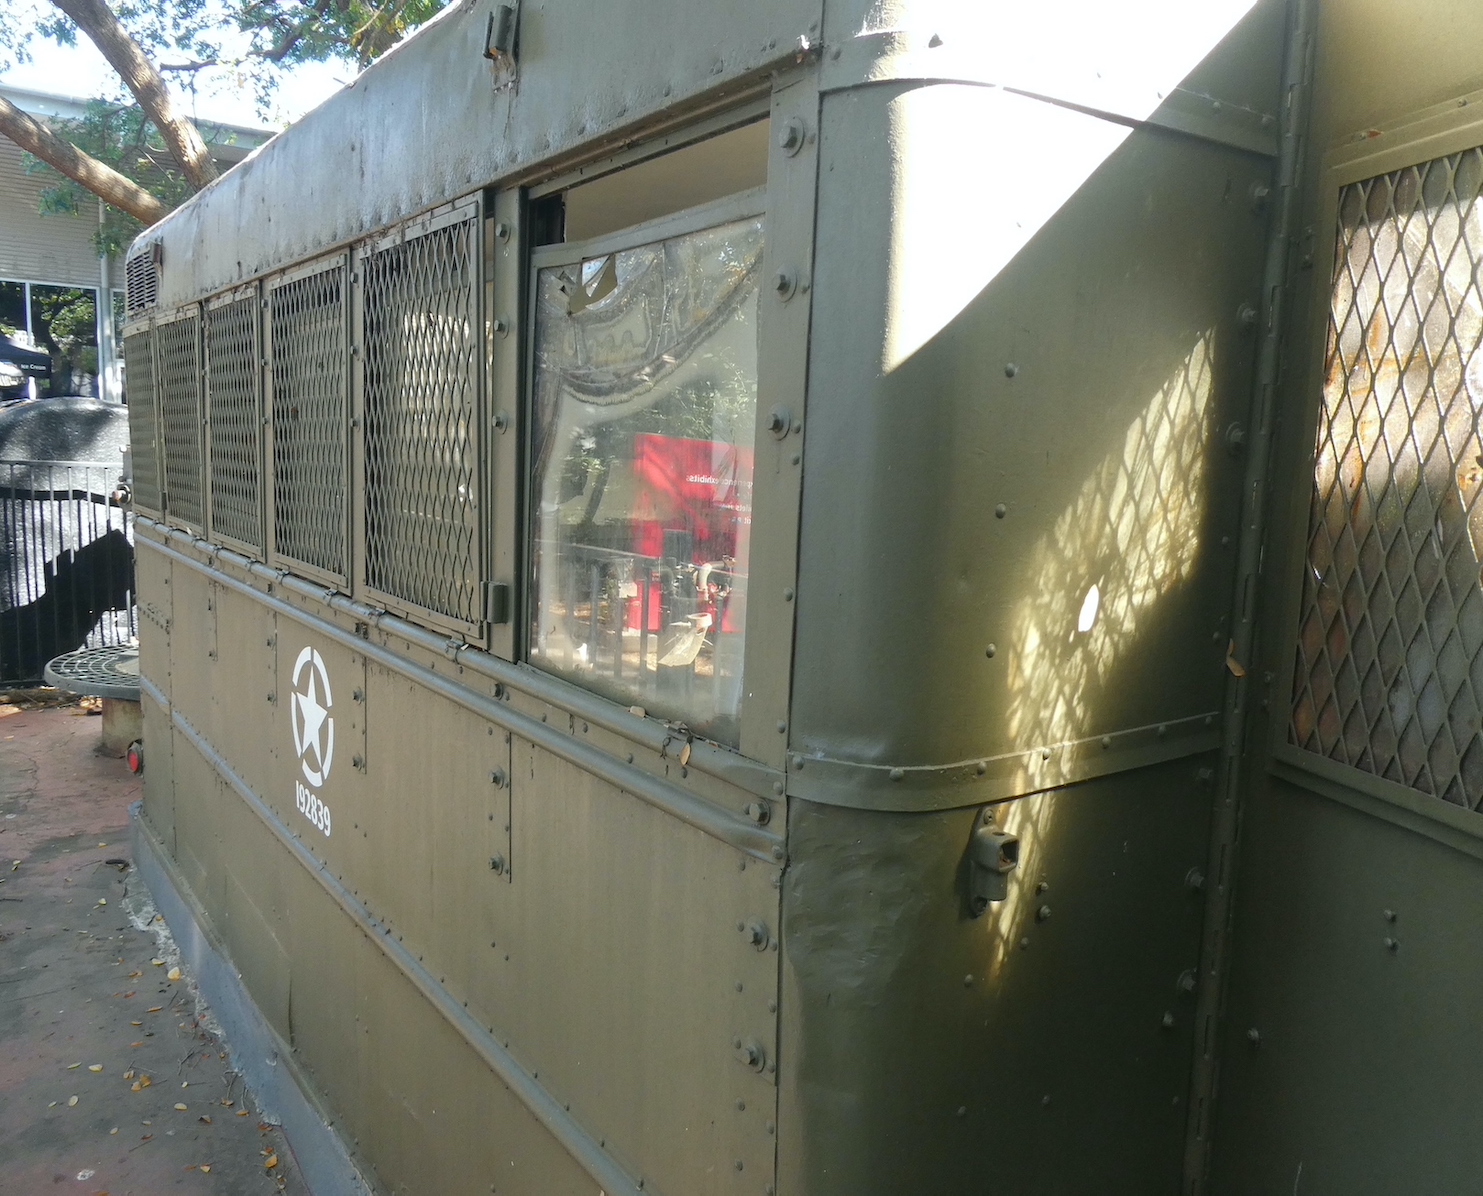
On the outskirts of the city named after the great scientist and naturalist, Charles Darwin National Park is full of surprises. Created in 1997, the five square miles provide a natural recreation area as well as protection for significant vegetation, Aboriginal and World War II history. Developed as an Explosive Ordnance Storage Area during World War II,eleven of the bunkers that housed the explosives during the war are still standing. Nine were set into the contours of the hills, the barrel vault constructions are covered with vegetated earth.
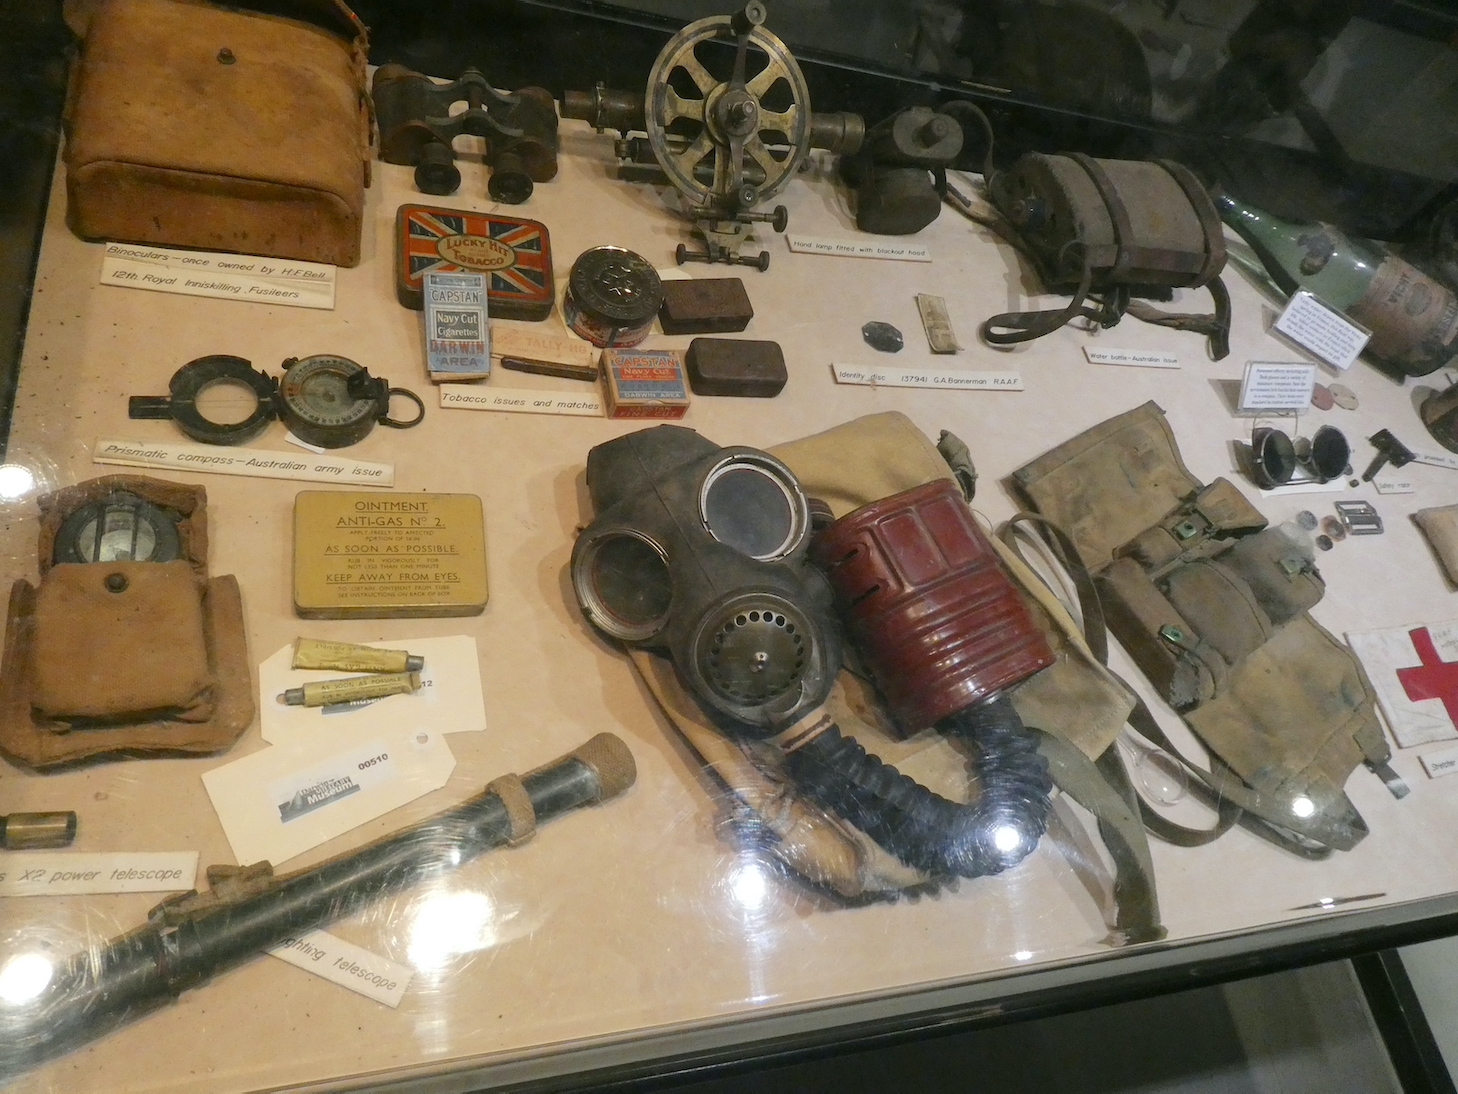
There is a display of memorabilia in one of the bunkers and a fascinating insight into Darwin’s role in the Pacific War.
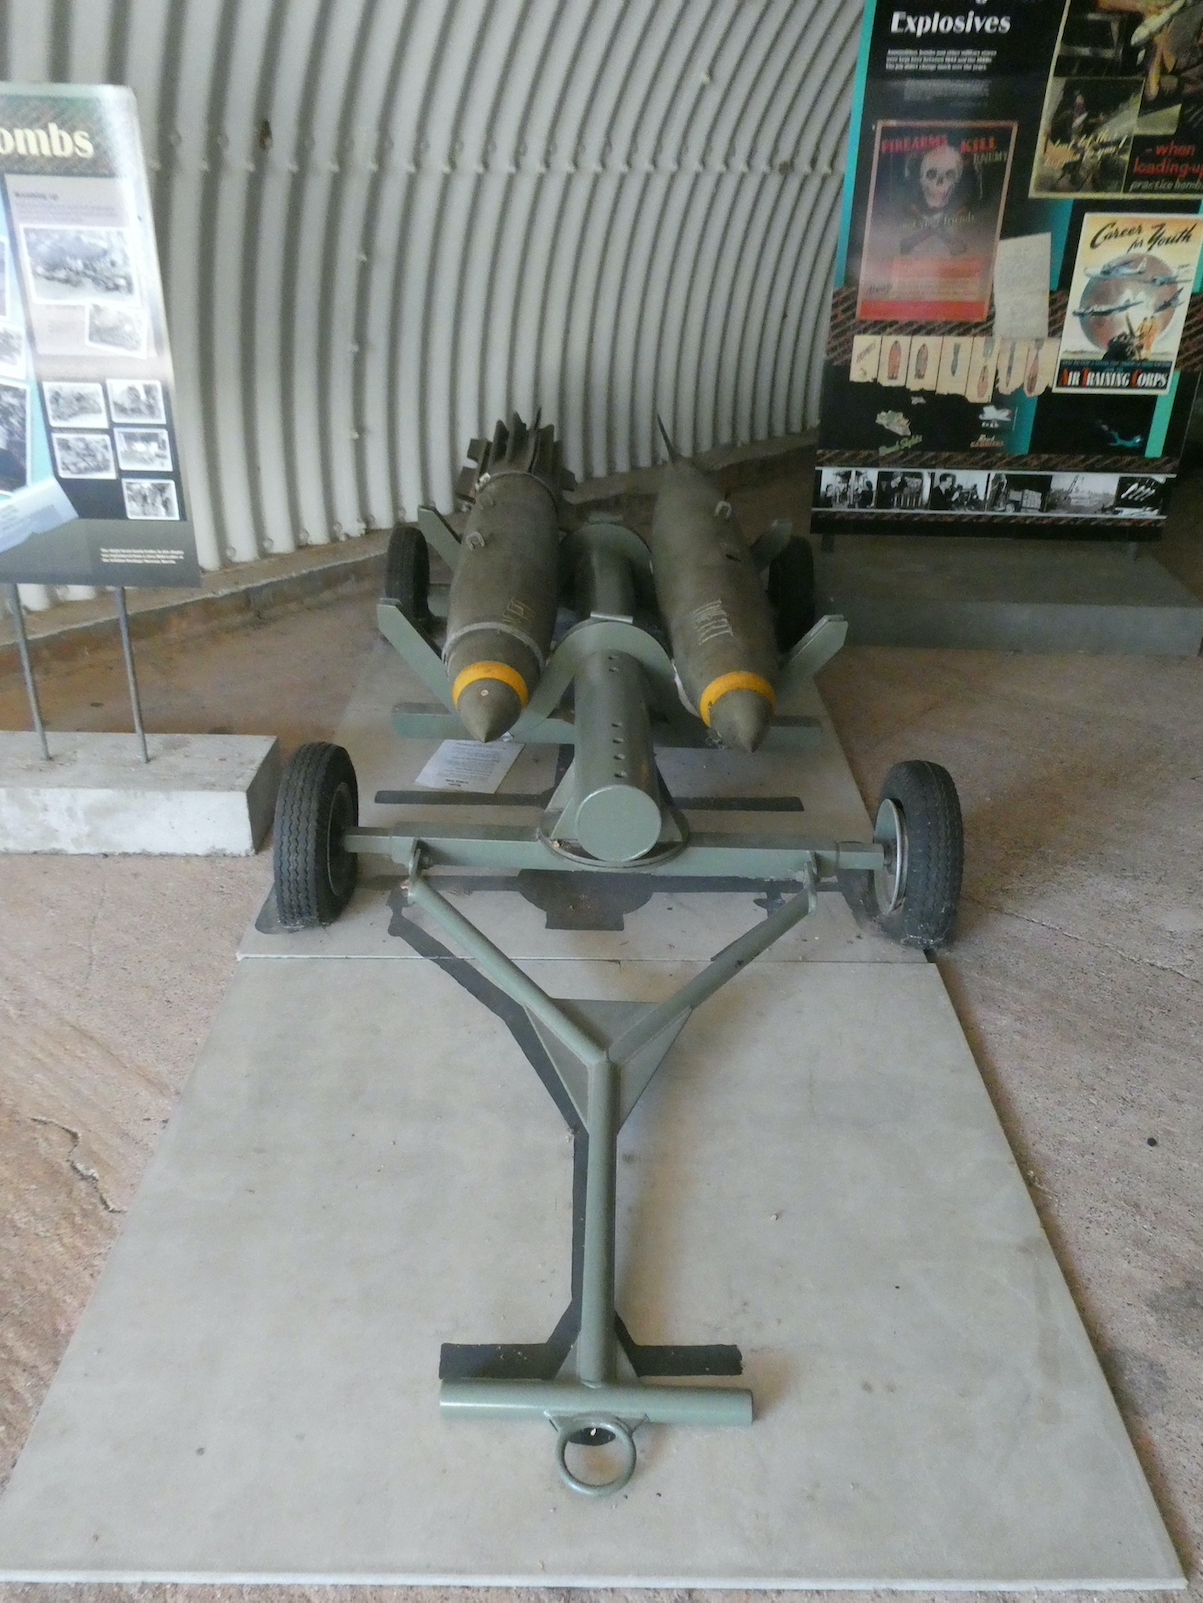
Bomb trolleys were used to move bombs weighing up to 1,000 lb (that’s about 450kg) to be loaded into aircraft and were common at bomber bases in the 1940s.
There are two free-standing storage sheds, one of which is now adorned with a magnificent work of art.
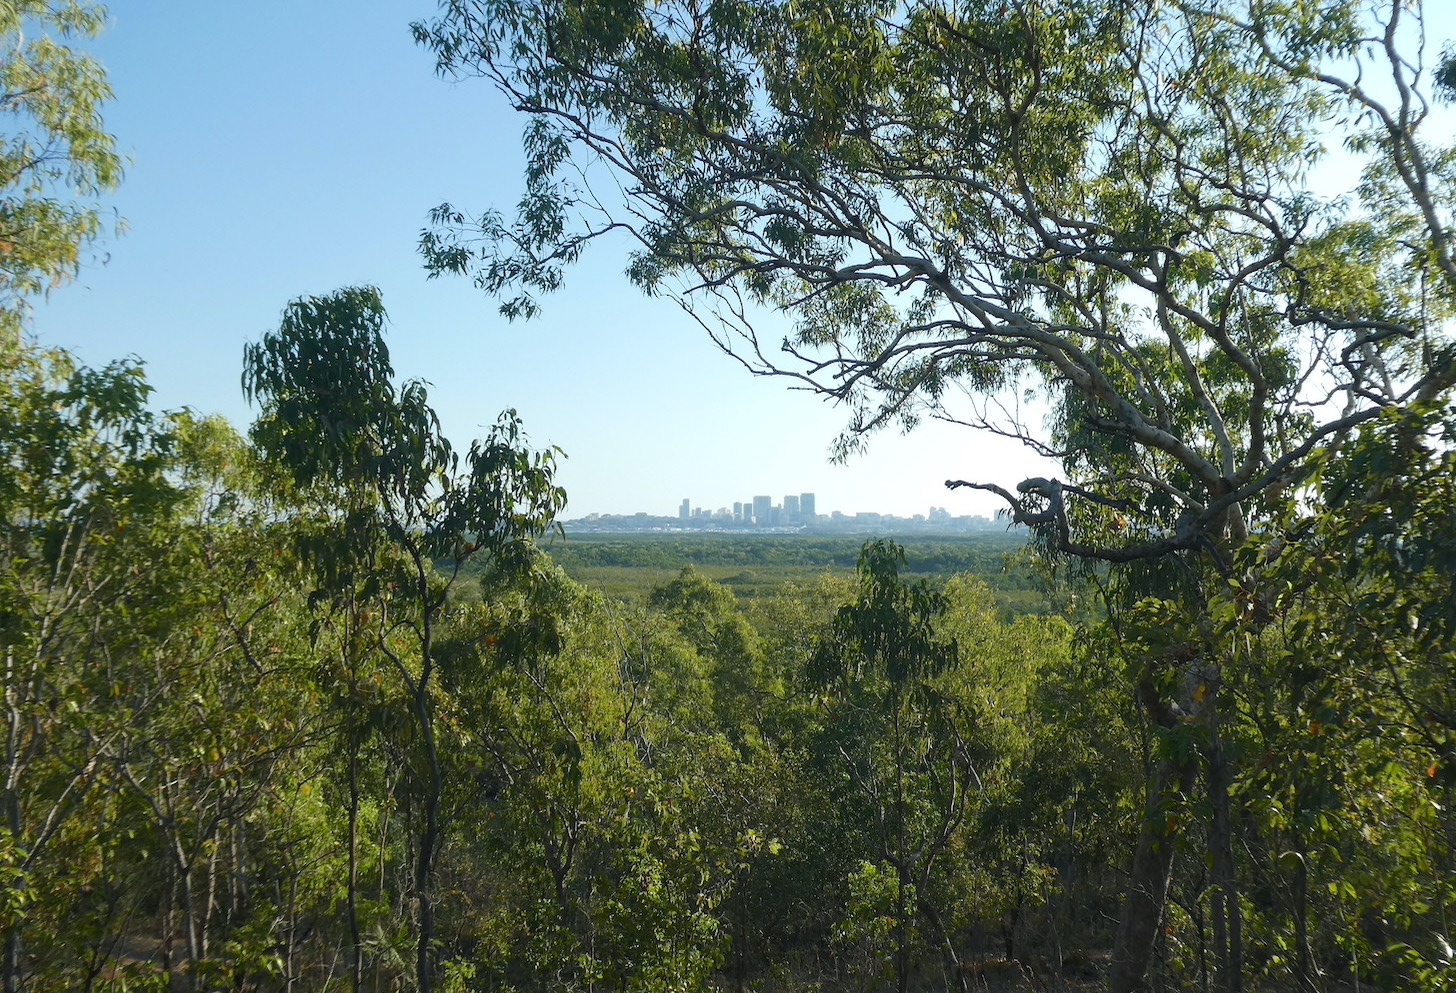
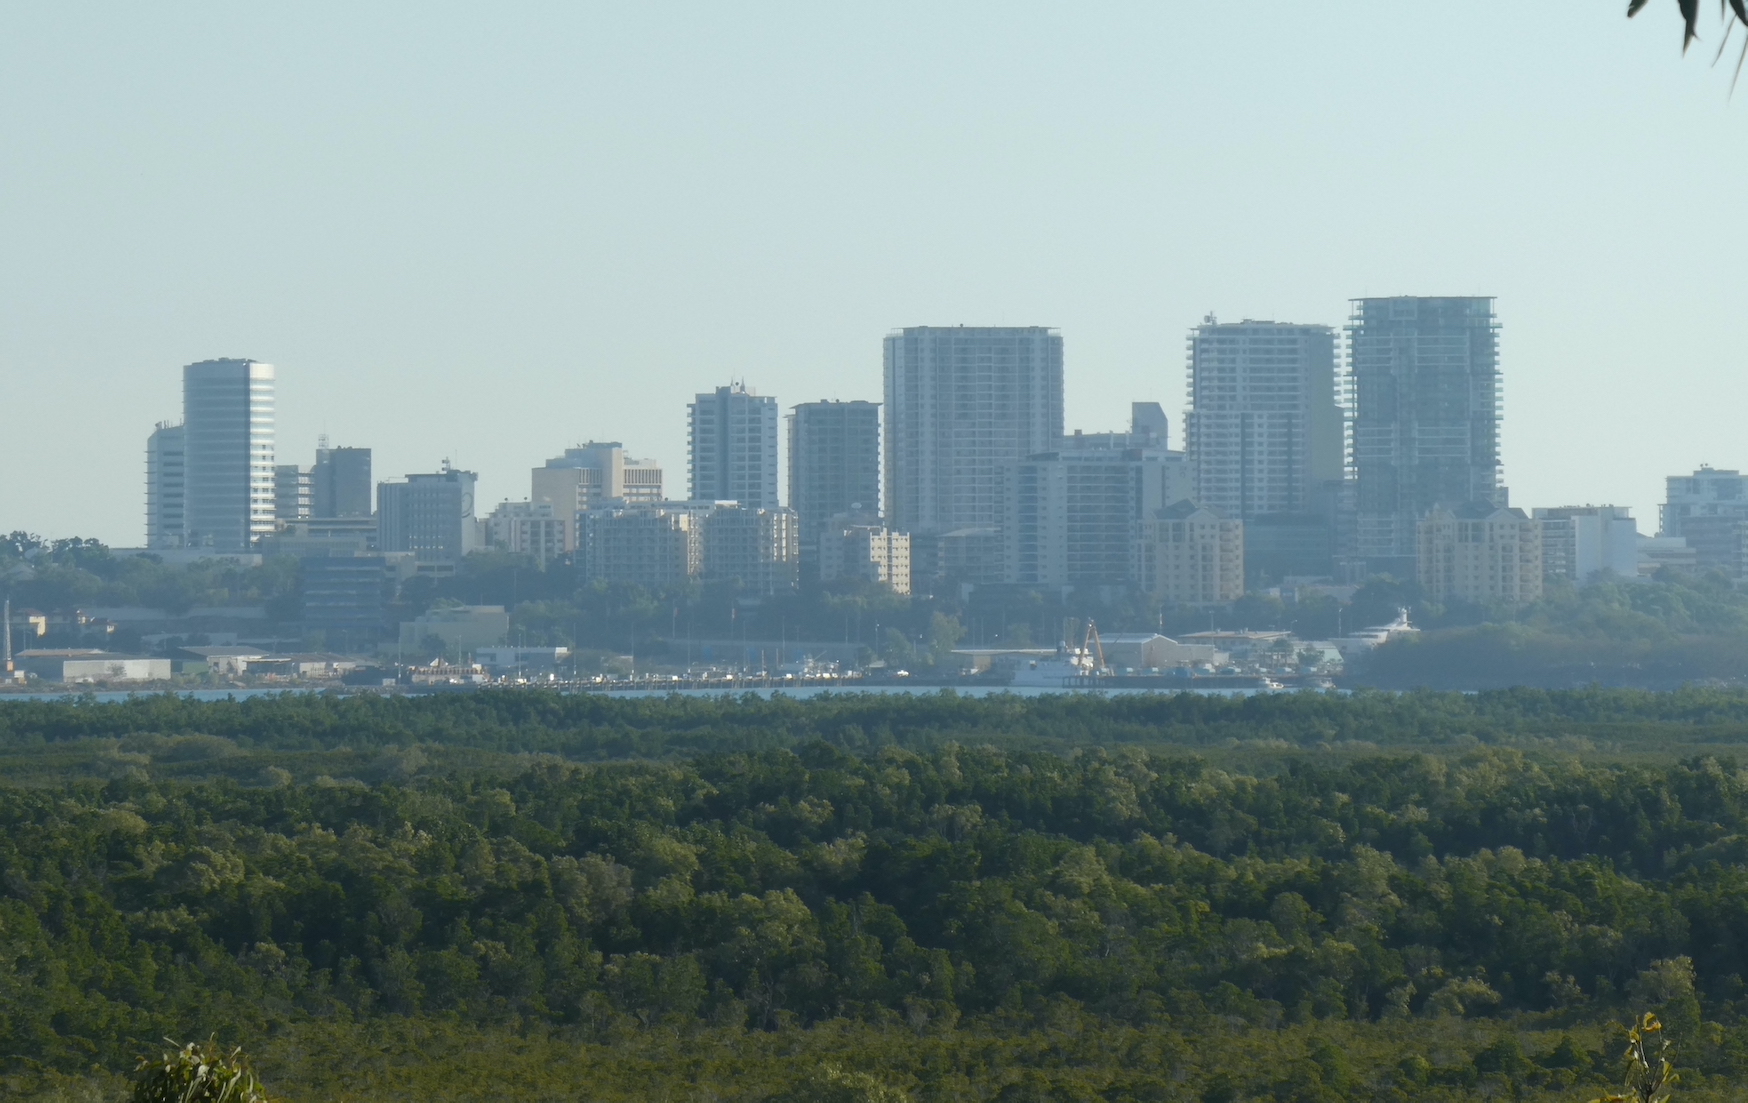
One of Australia’s most important wetlands is also protected by the park. The Port Darwin wetland comprises undisturbed mangrove forests, with 36 of the Northern Territory’s 51 mangrove species within its system of inlets, islands and bays. The vista from Charles Darwin Lookout is spectacular.
There are many reminders in the Northern Territory of Australia’s involvement in World War II and a visit to Darwin Military Museum gives a fascinating insight into just how close the Japanese invasion came. On 19th February 1942, the Japanese bombed Darwin, killing 252 people, destroying aircraft, sinking 10 ships and severely damaging the township. Over the next 21 months, the Northern Territory was subjected to a further 97 air attacks by the Japanese, including 51 bombing raids.
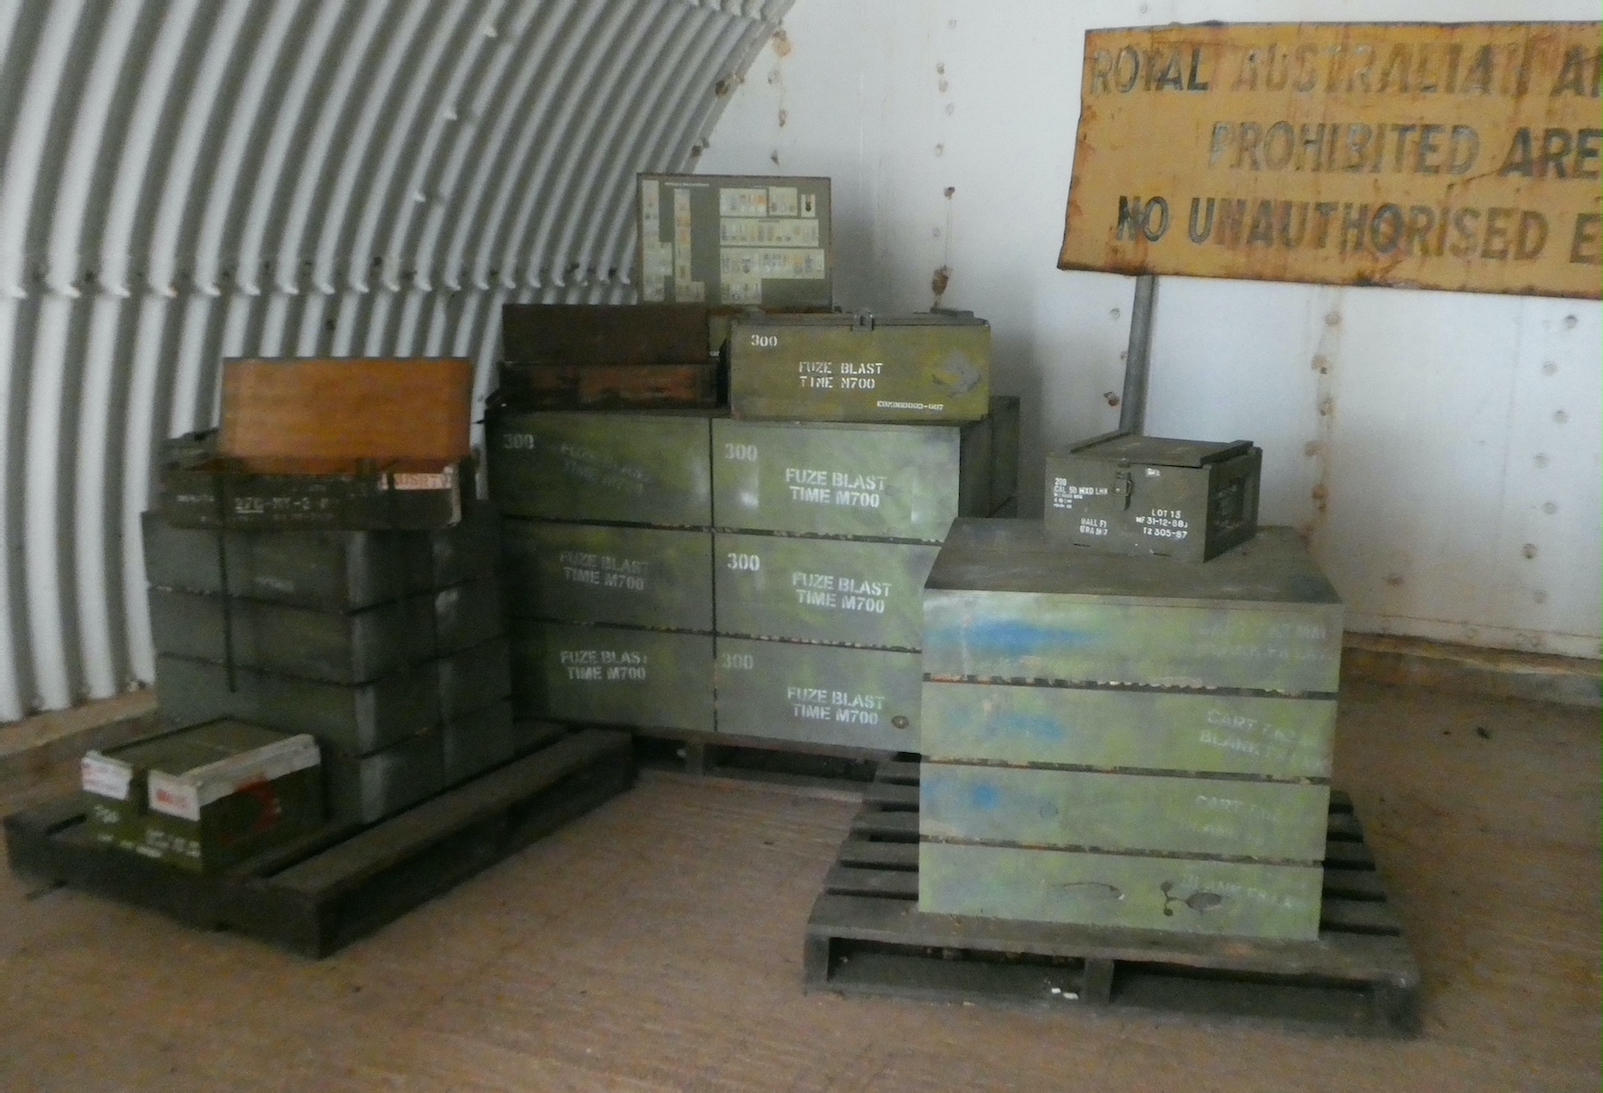
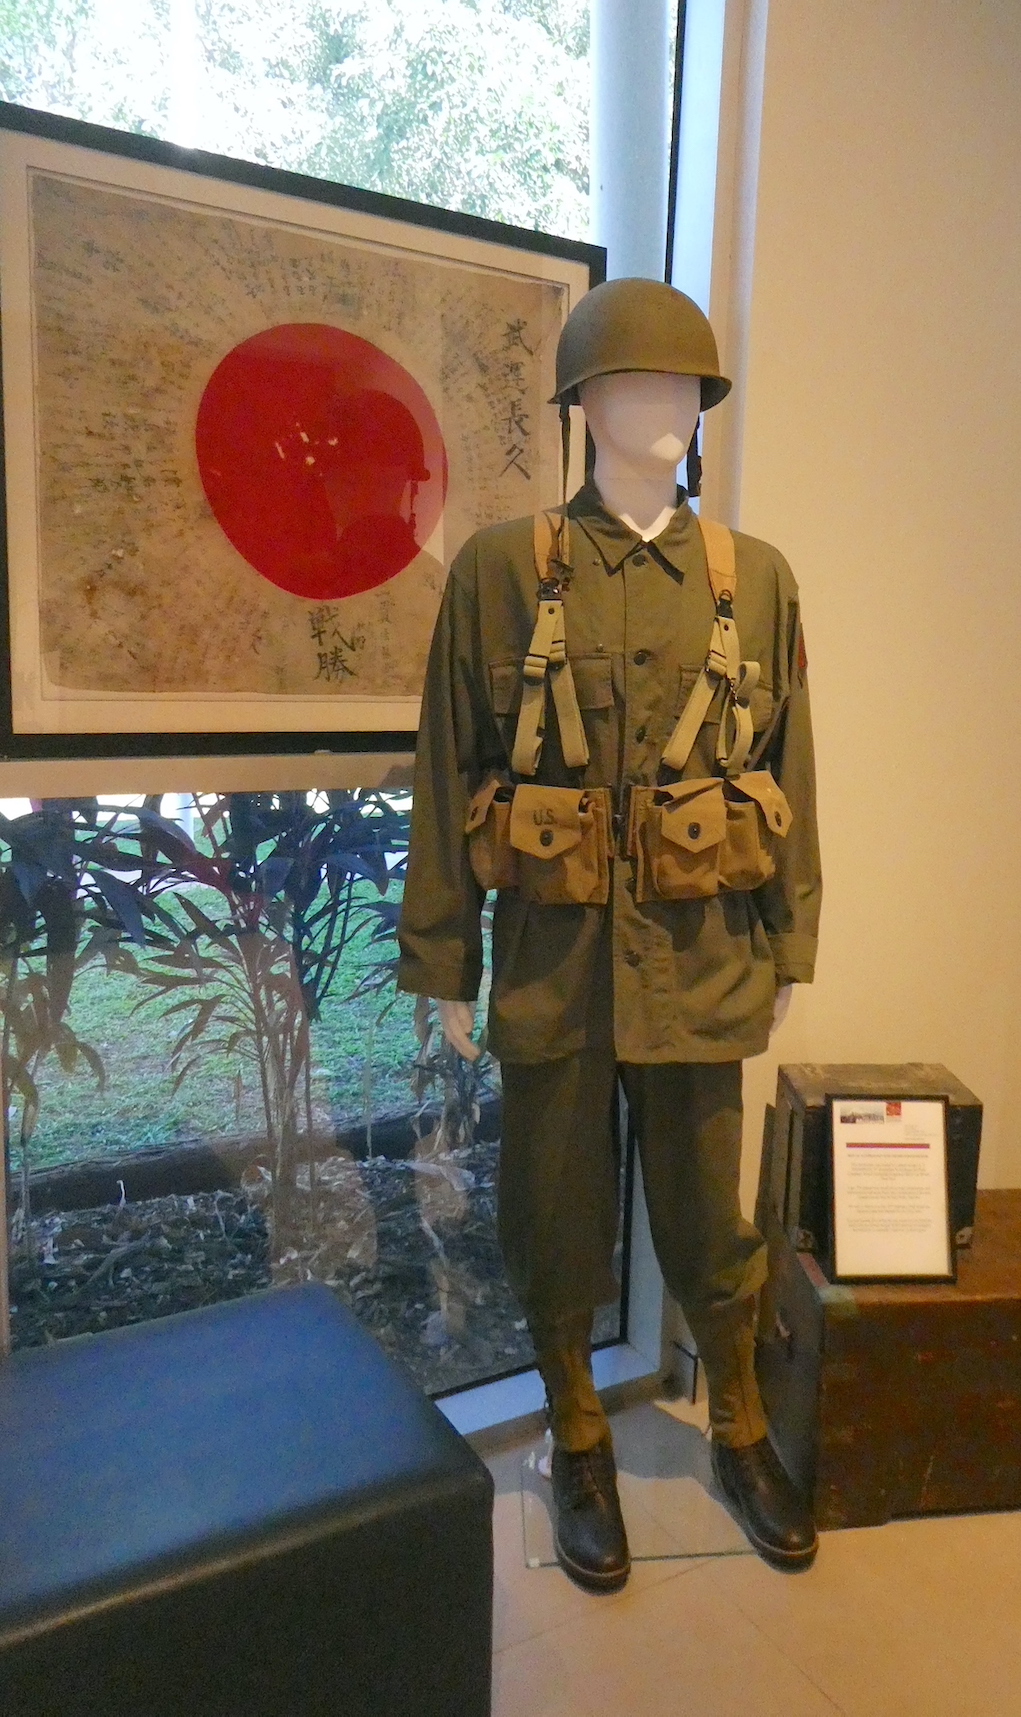
Since the mid-1960s, the Royal Australian Artillery Association has been accumulating war memorabilia and the vast collection includes artefacts from the Boer War to the present day. Once past the entrance display,
I realised there were far too many intriguing items to photograph, not least this painted feather. The MV Manunda was launched in 1929 as a passenger liner and souvenirs of voyages, such as this, were common. The vessel became HMAS Manunda and served as a hospital ship during World War II before returning to civilian life in 1946. Ten years later, in an ironic twist of fate, she was sold to a Japanese Shipping Company, broken up and used for scrap.
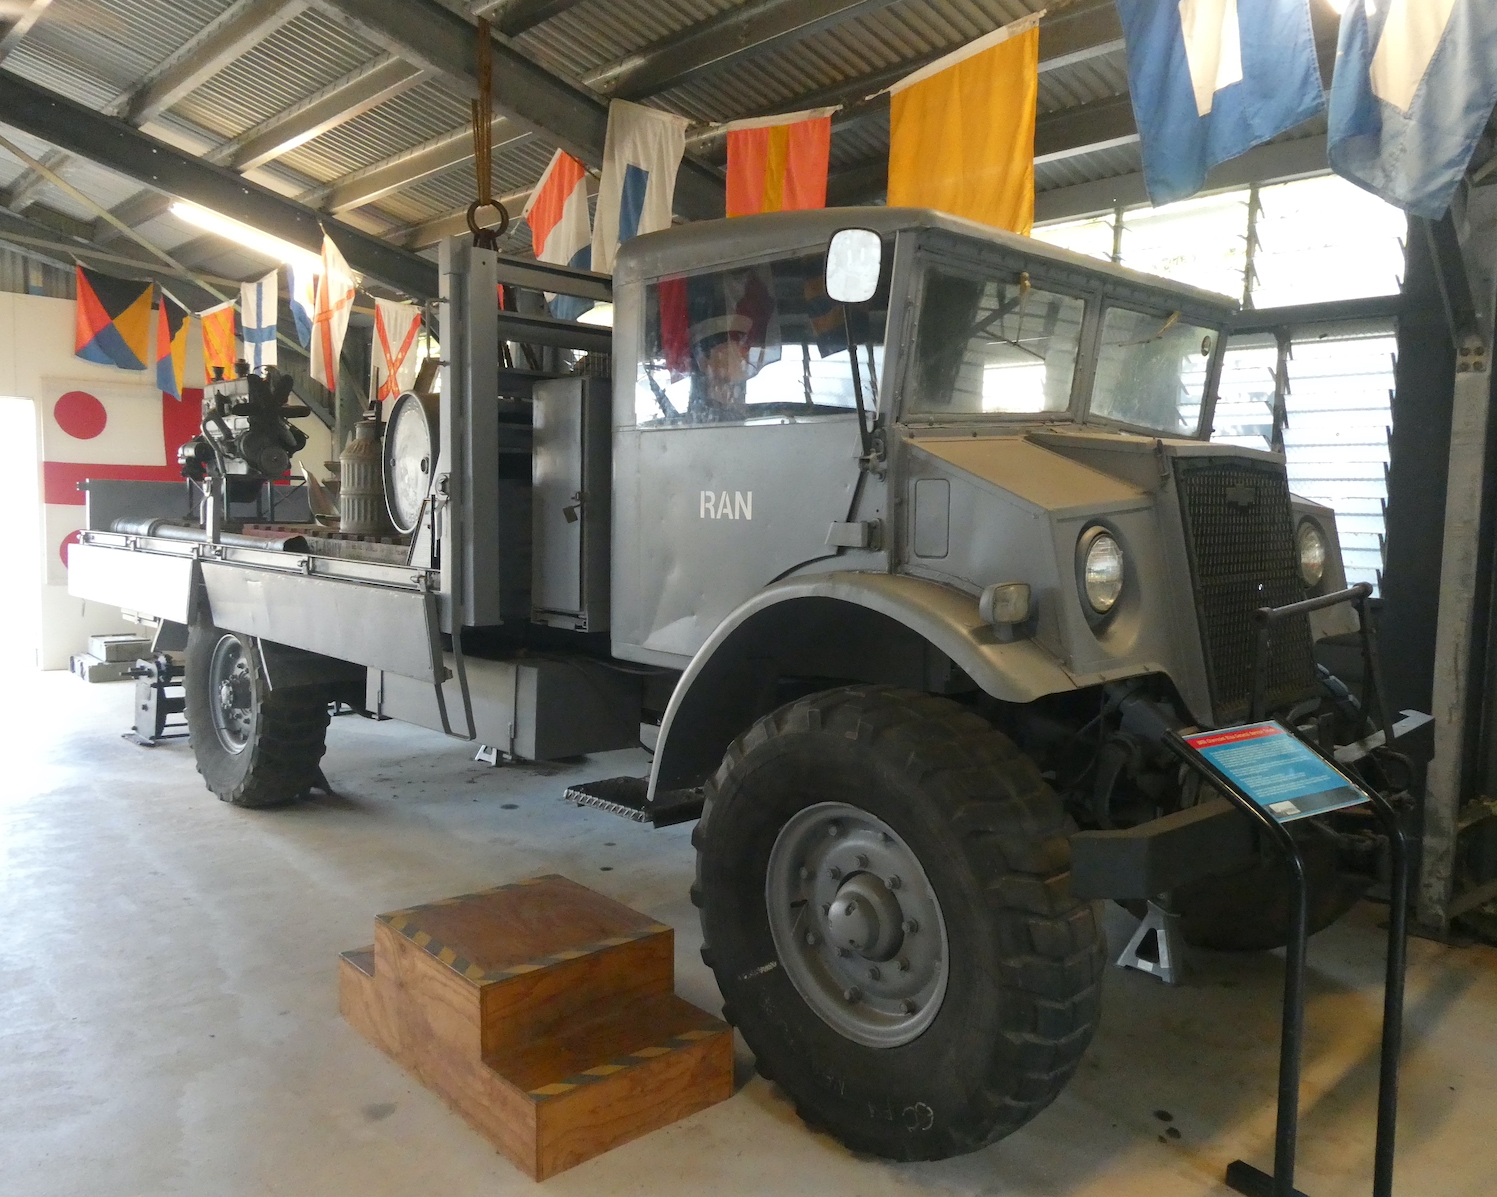
We continued our exploration outside, where larger artillery pieces and military vehicles are scattered through tropical gardens and various outbuildings. A memorial to the Australian Digger stands adjacent to one dedicated to Gunner, a kelpie credited with the ability to alert his squadron when Japanese aircraft were approaching.
The sheer scale of some of the exhibits is boggling, it is difficult to fathom the logistics of deploying this equipment in the field. Boom net buoys were used to suspend the huge cable for the anti-submarine net stretched across Darwin Harbour. For added security, a massive metal detecting loop was laid on the floor of the harbour to detect any submarine activity.
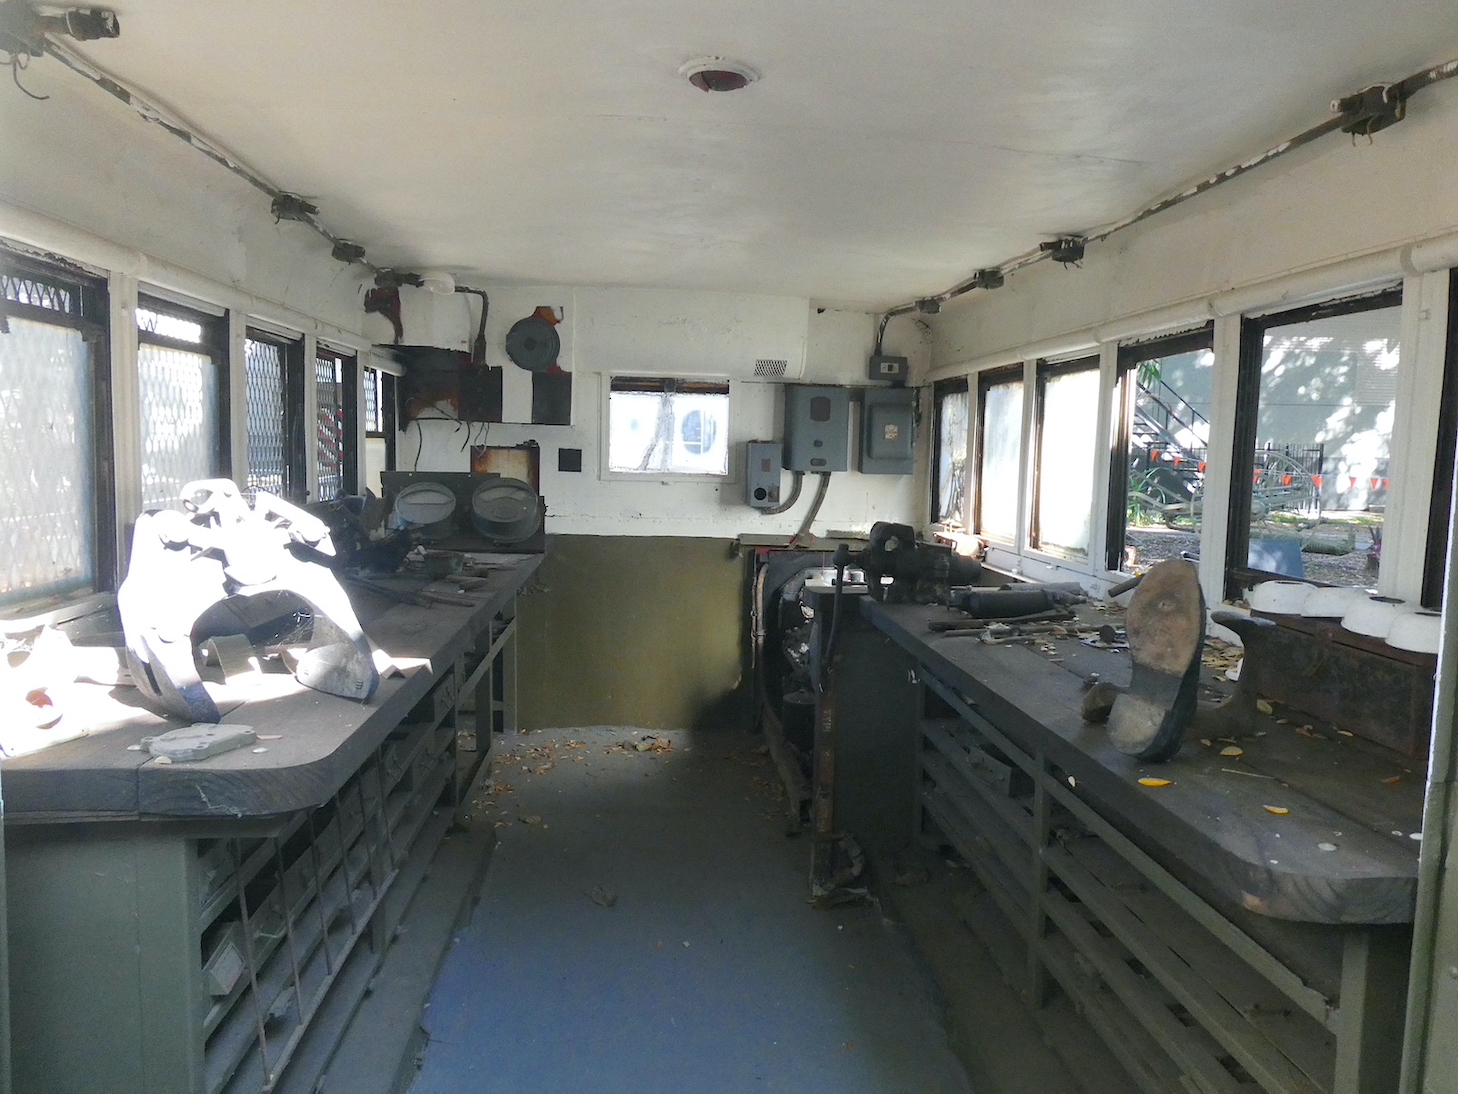
Vehicle-mounted workshops were primarily used for maintenance in the field, with small engines under the bench to run electrical items such as grinders and compressors.
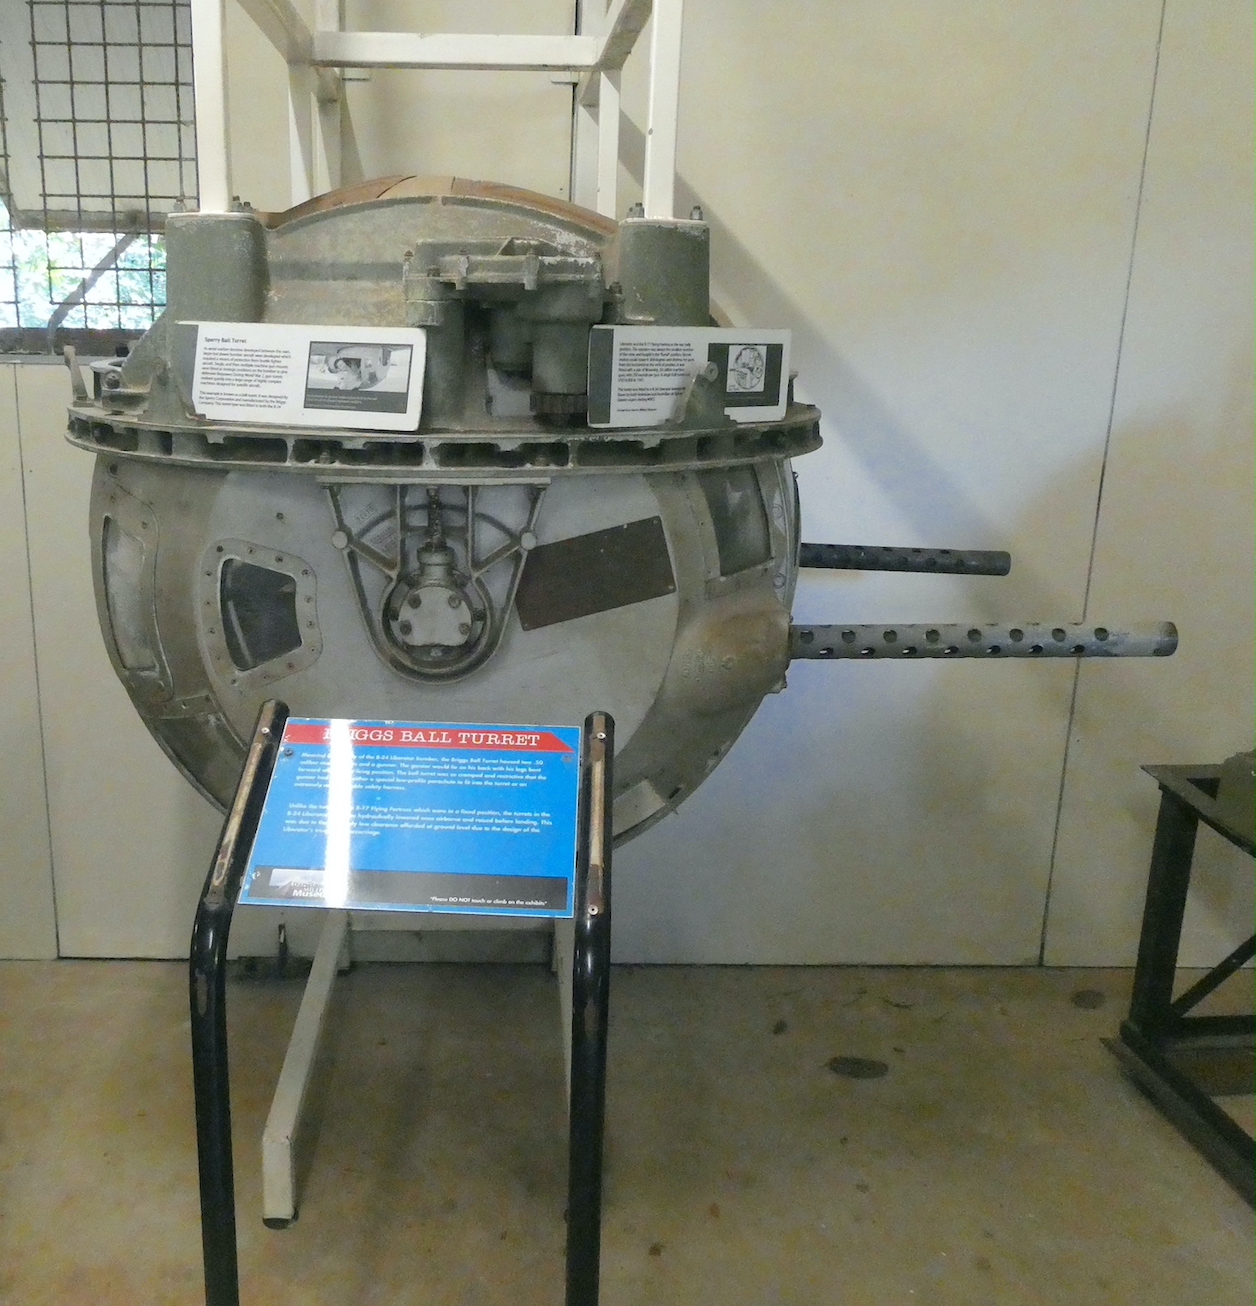
Probably the most terrifying place to be on the fighter planes was the ball gun turret. Suspended underneath the aircraft, the gunner, usually the smallest man in the crew, had to assume a foetal-like position on missions of up to ten hours.
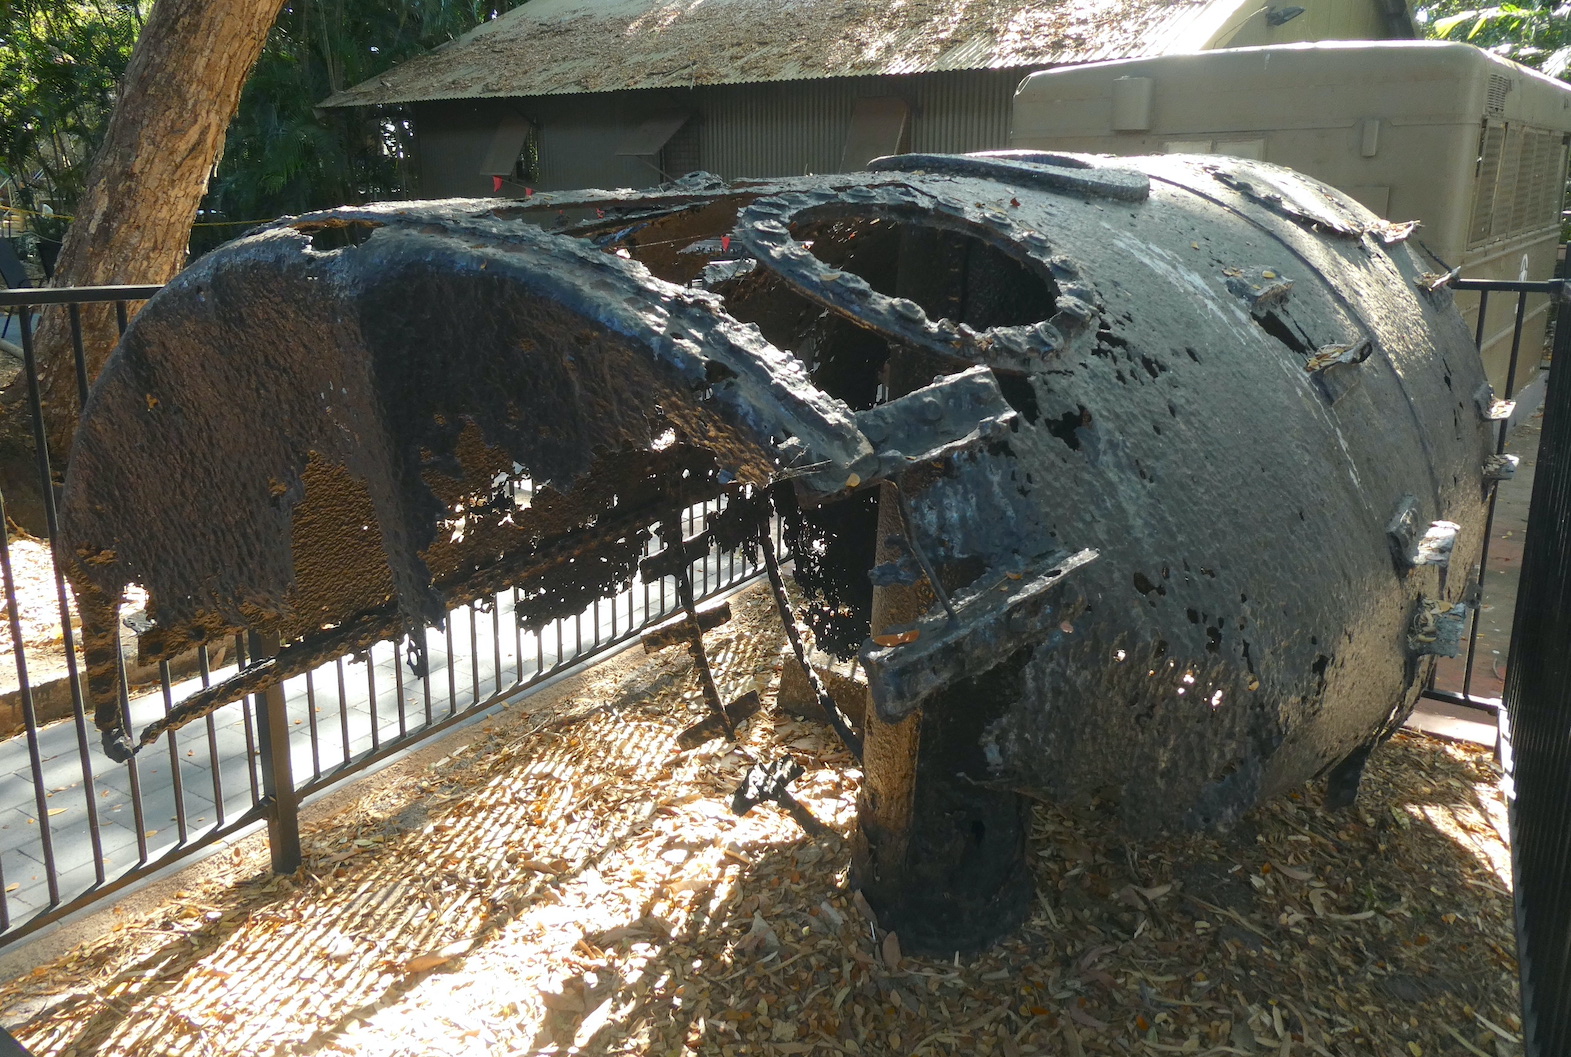
Some remnants of wartime are still being found in the N.T., like this Japanese drop tank. The tanks carried extra fuel to extend the range of the aircraft and, once empty, could be released to reduce drag in combat situations.
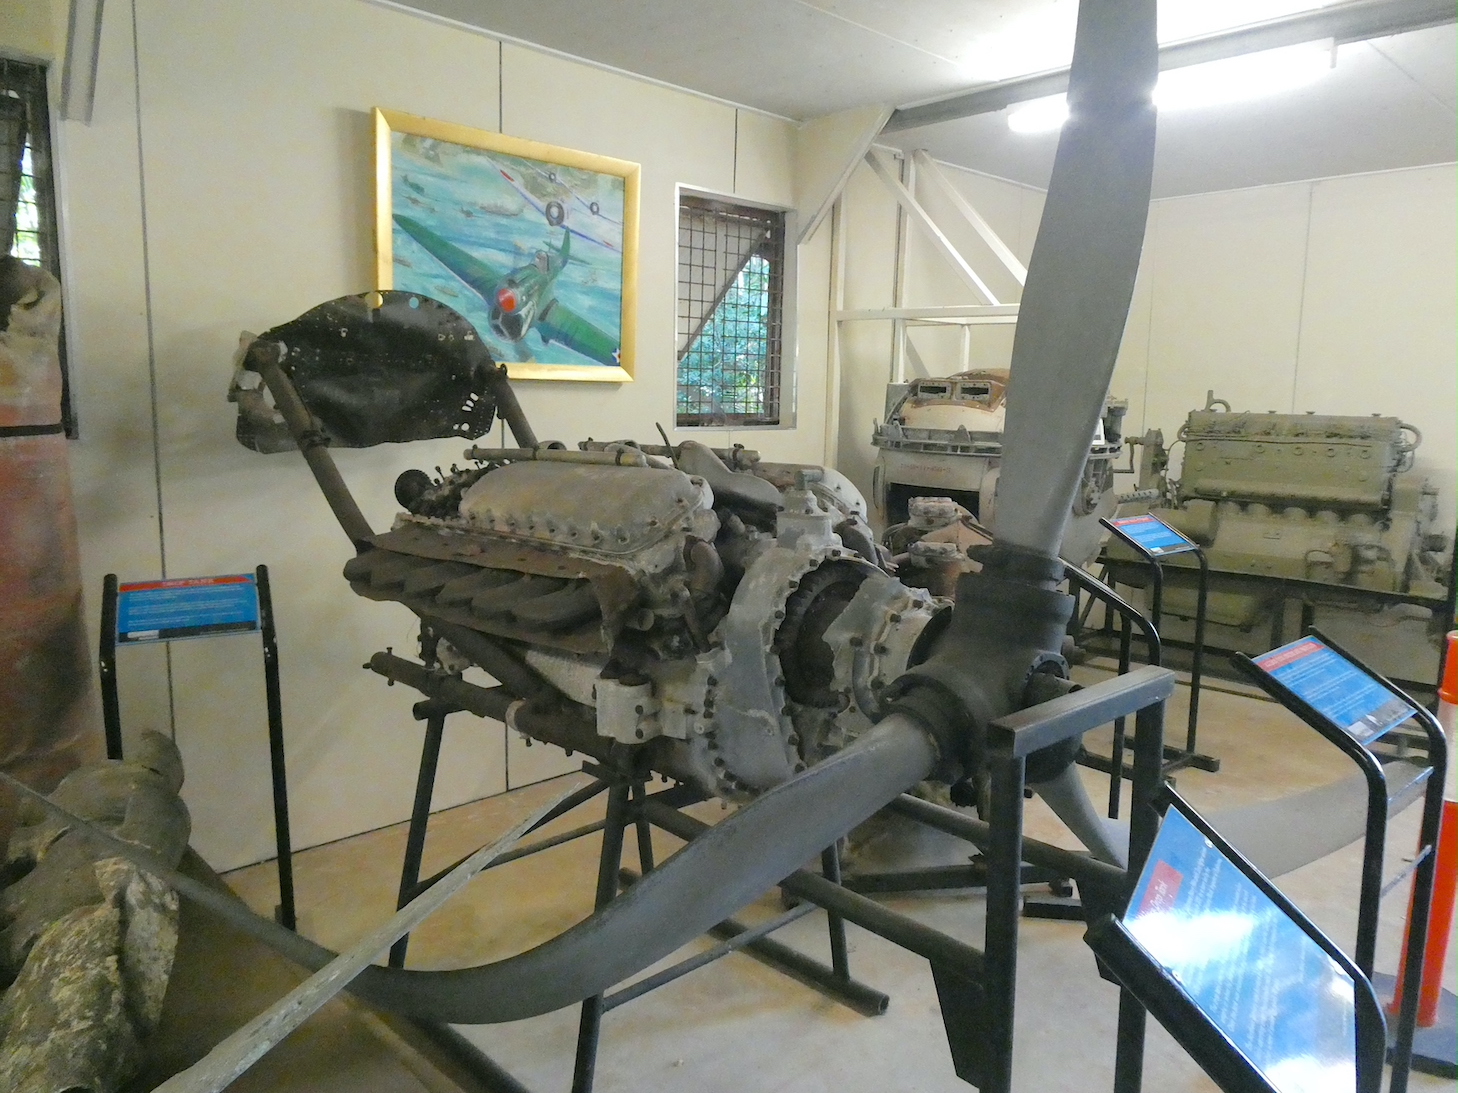
There are several engines and propellors on display, each with their own story. This one separated from the fuselage of a Kittyhawk during a forced landing in 1942. Fortunately, the pilot survived.
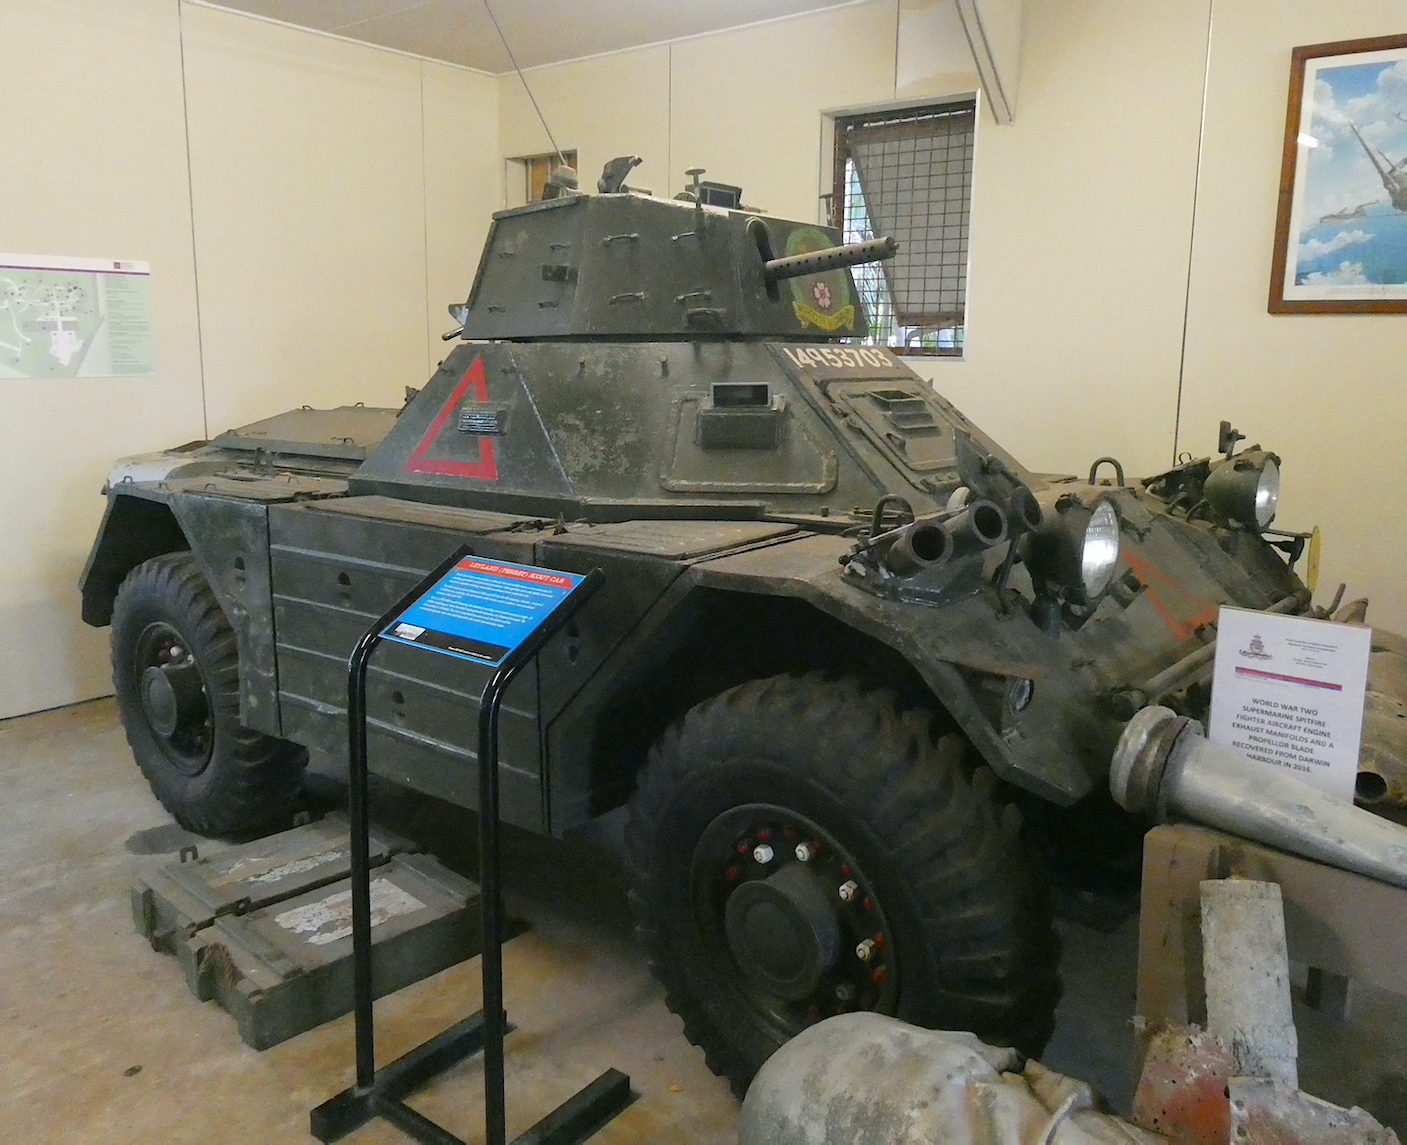
Almost as uncomfortable as the ball turret, two personnel would be squeezed into the hot, noisy cabin of the Ferret scout car. One would drive and the other would man the machine gun and grenade launchers.
On a much larger scale, the Buffalo was used as an amphibious transport vehicle, though its design meant it could only operate in the calmest of seas without taking on too much water.
Looking suspiciously like a missile, paravanes were actually used in minesweeping operations. With a cutting cable attached, they were dragged behind a minesweeper at a pre-determined depth and, once the enemy mine was located and detached, it was destroyed by small-arms fire. Sometimes the paravane received collateral damage.
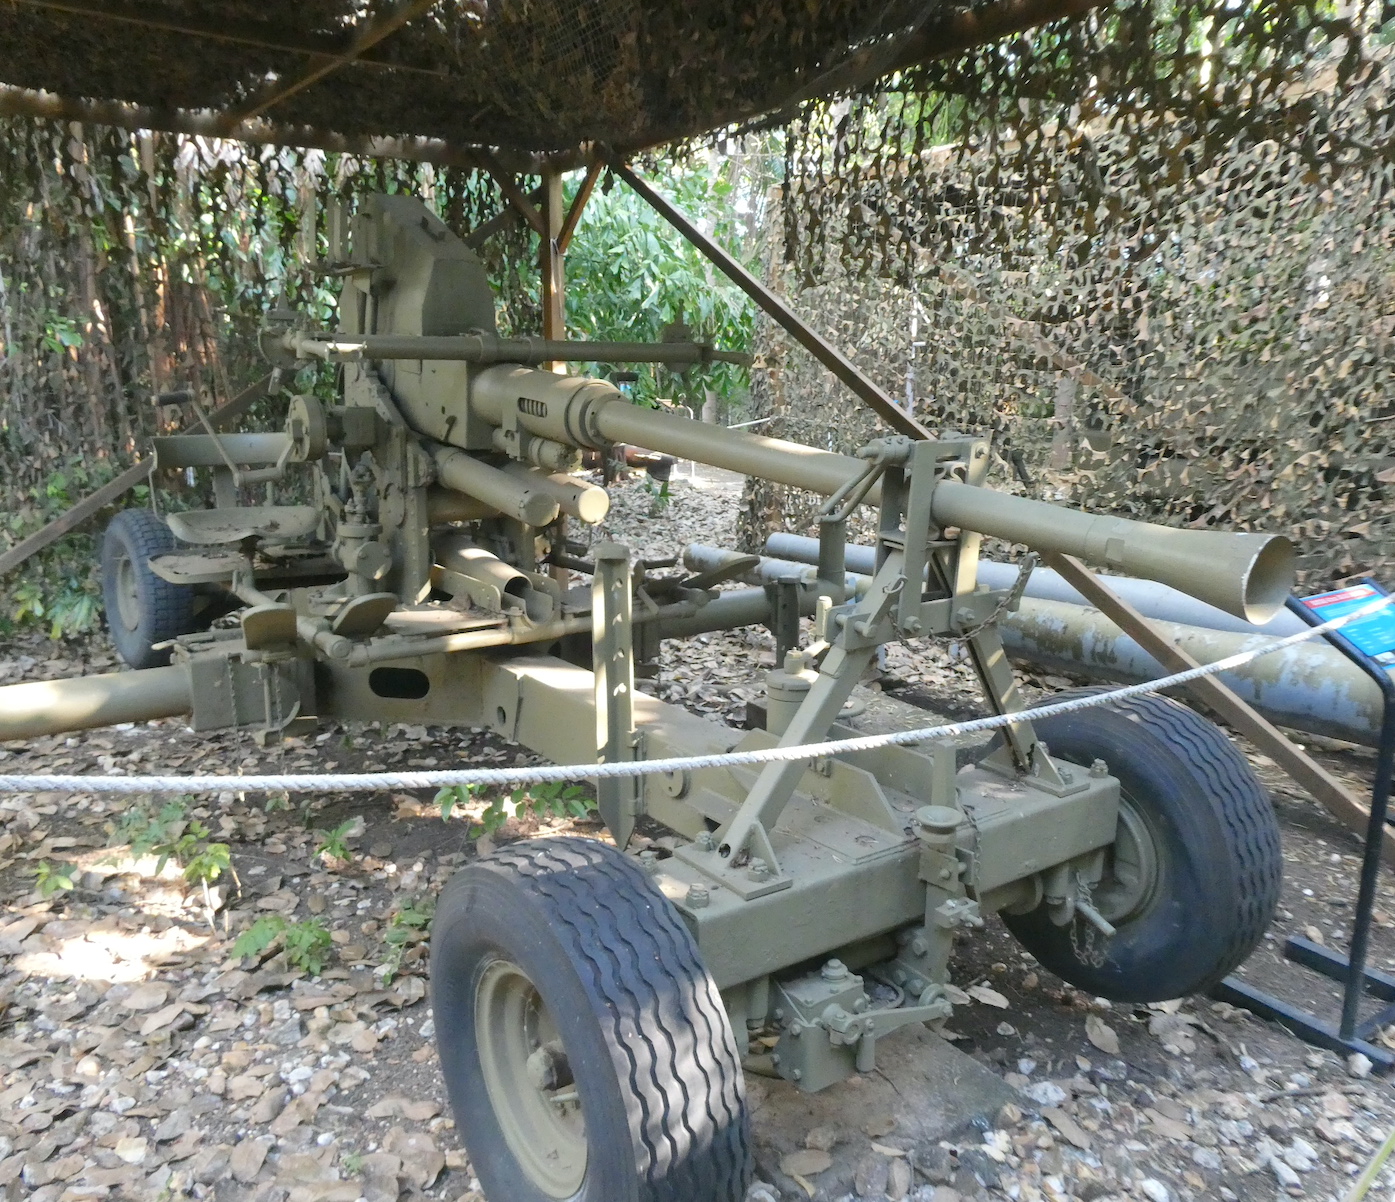
The big guns were just around the corner, an impressive collection of field and anti-aircraft guns, all of which must have been onerous to manoeuvre in battle.
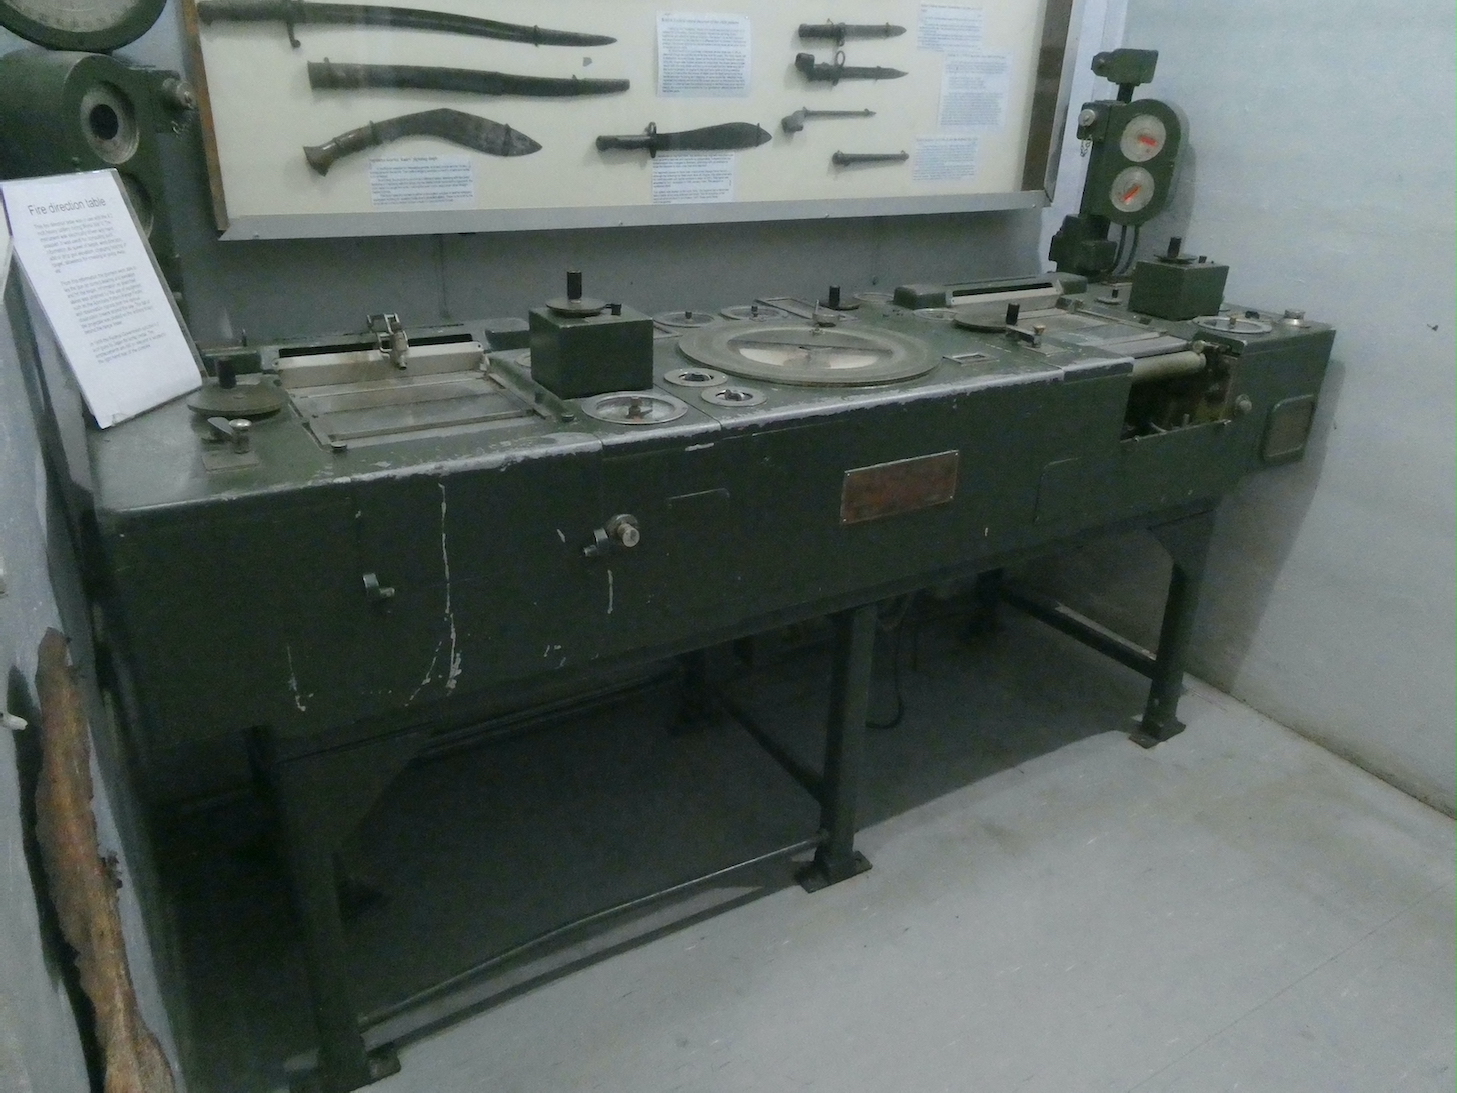
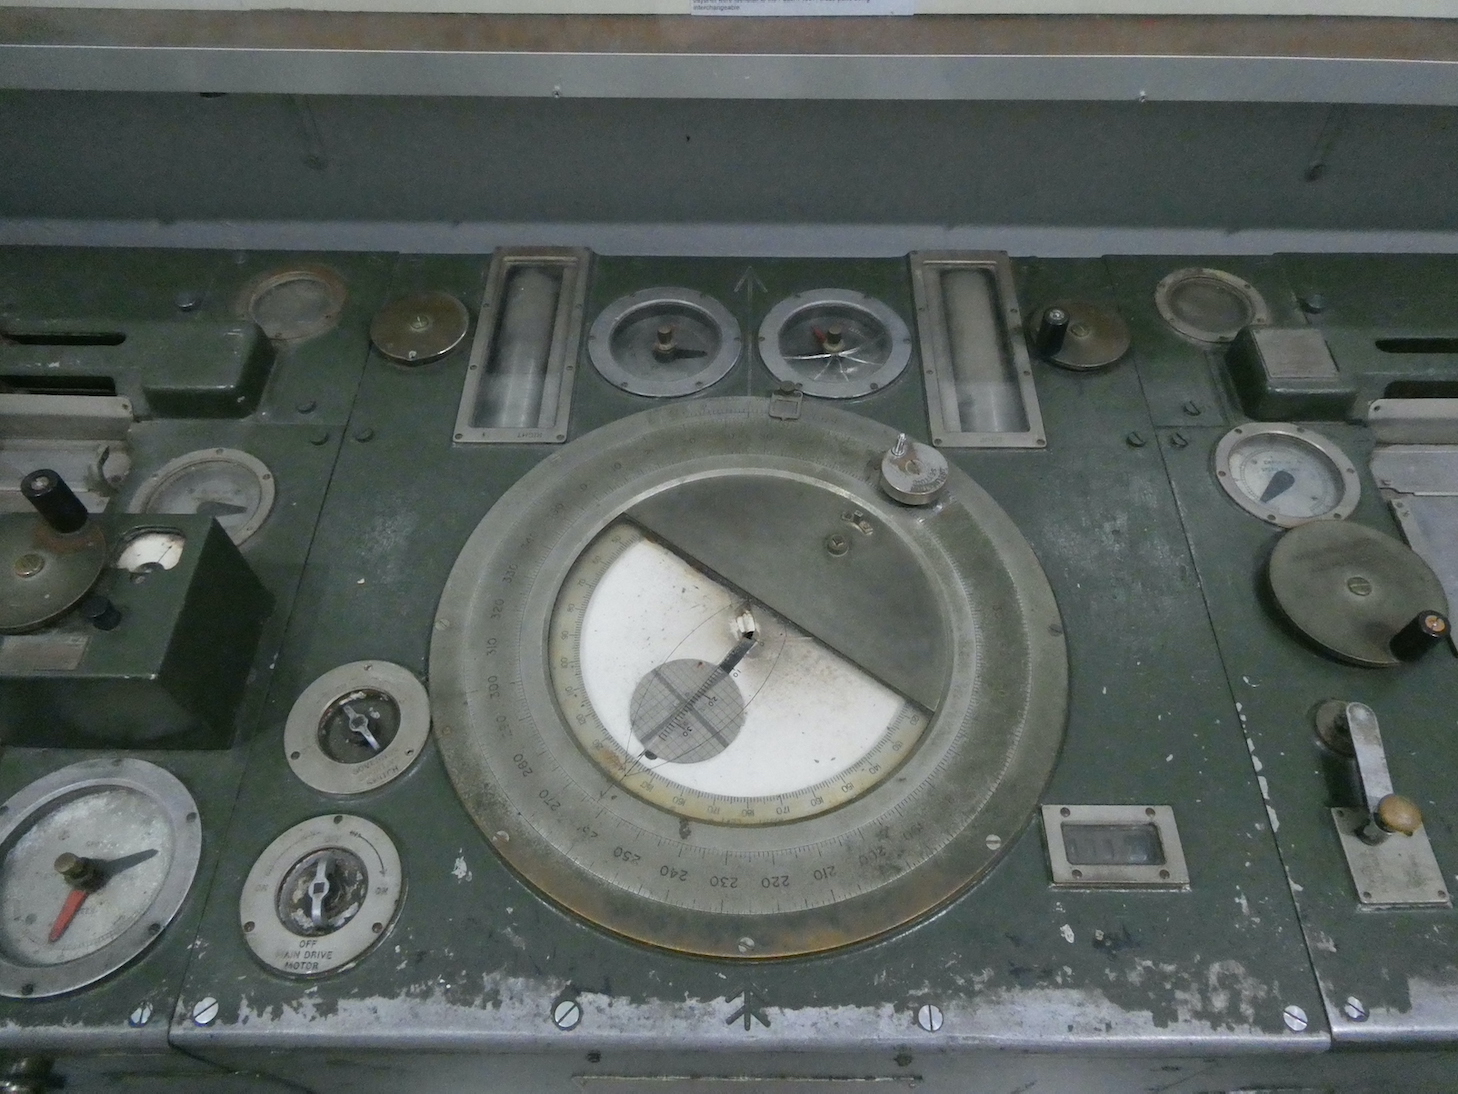
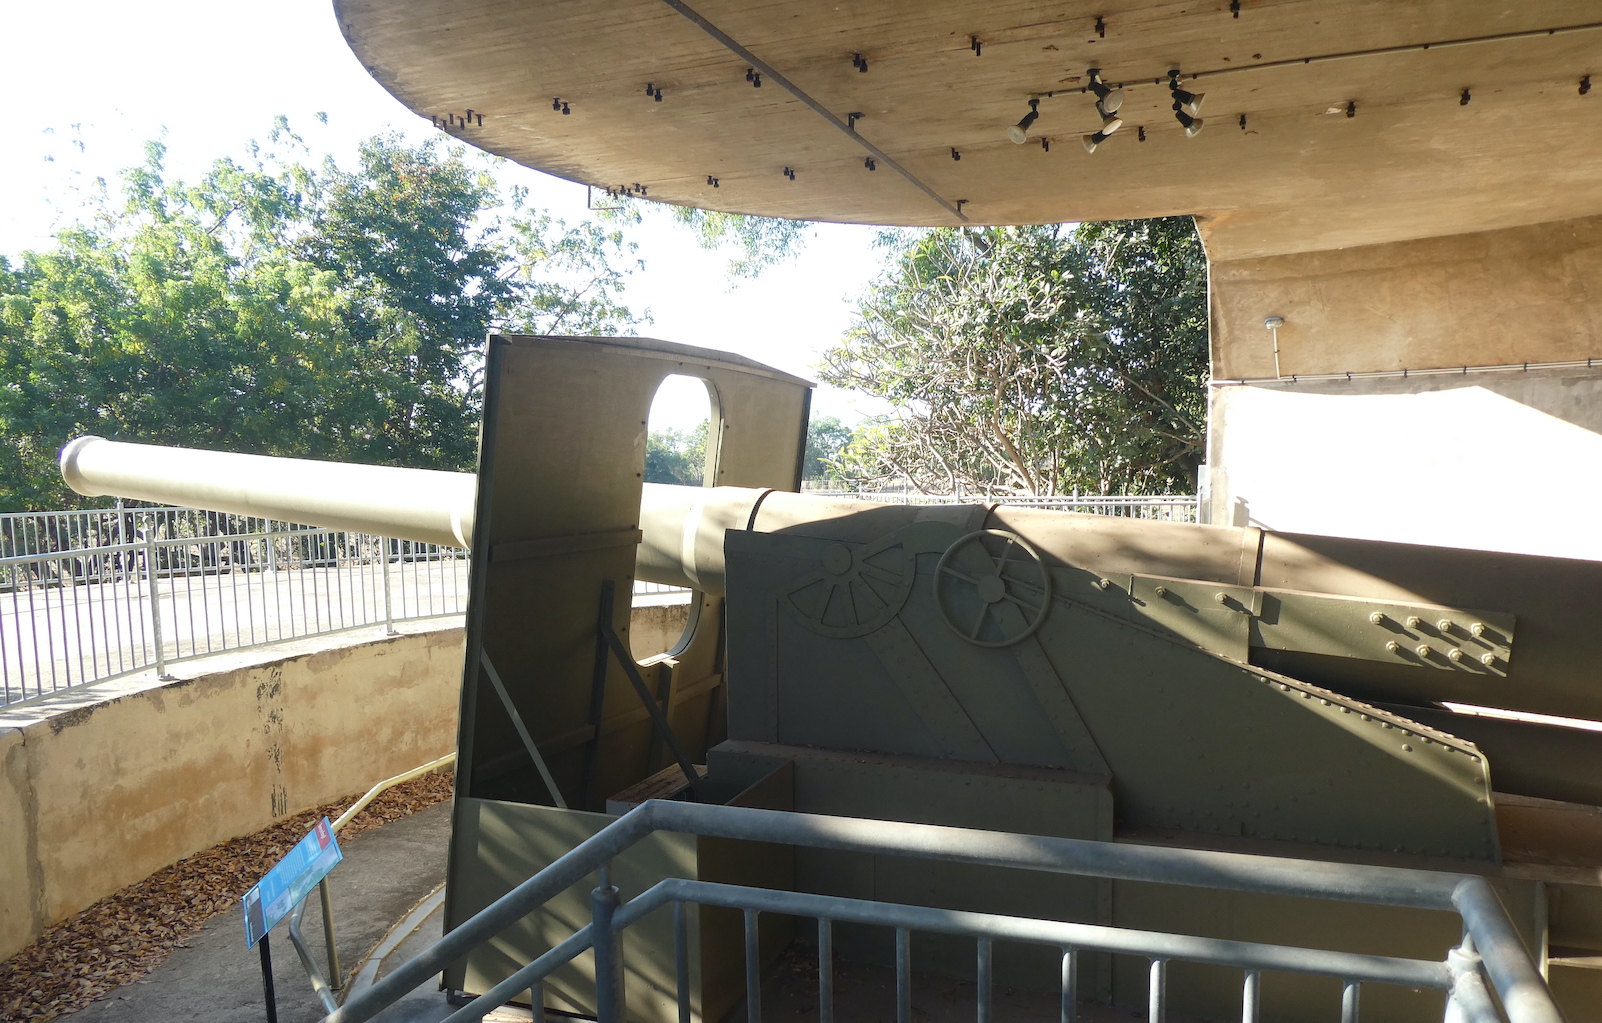
Knowing where to aim the artillery pieces was a little more complicated than it is these days. A rangefinder was used to determine the angle and distance to the target, this one is the largest in the world and was installed at the East Point gun emplacements.
The information was then passed via telephone to the plotters manning the ‘fire direction table’ where they computed such things as wind speed, air pressure, humidity and temperature, all of which affected the shell’s flight.
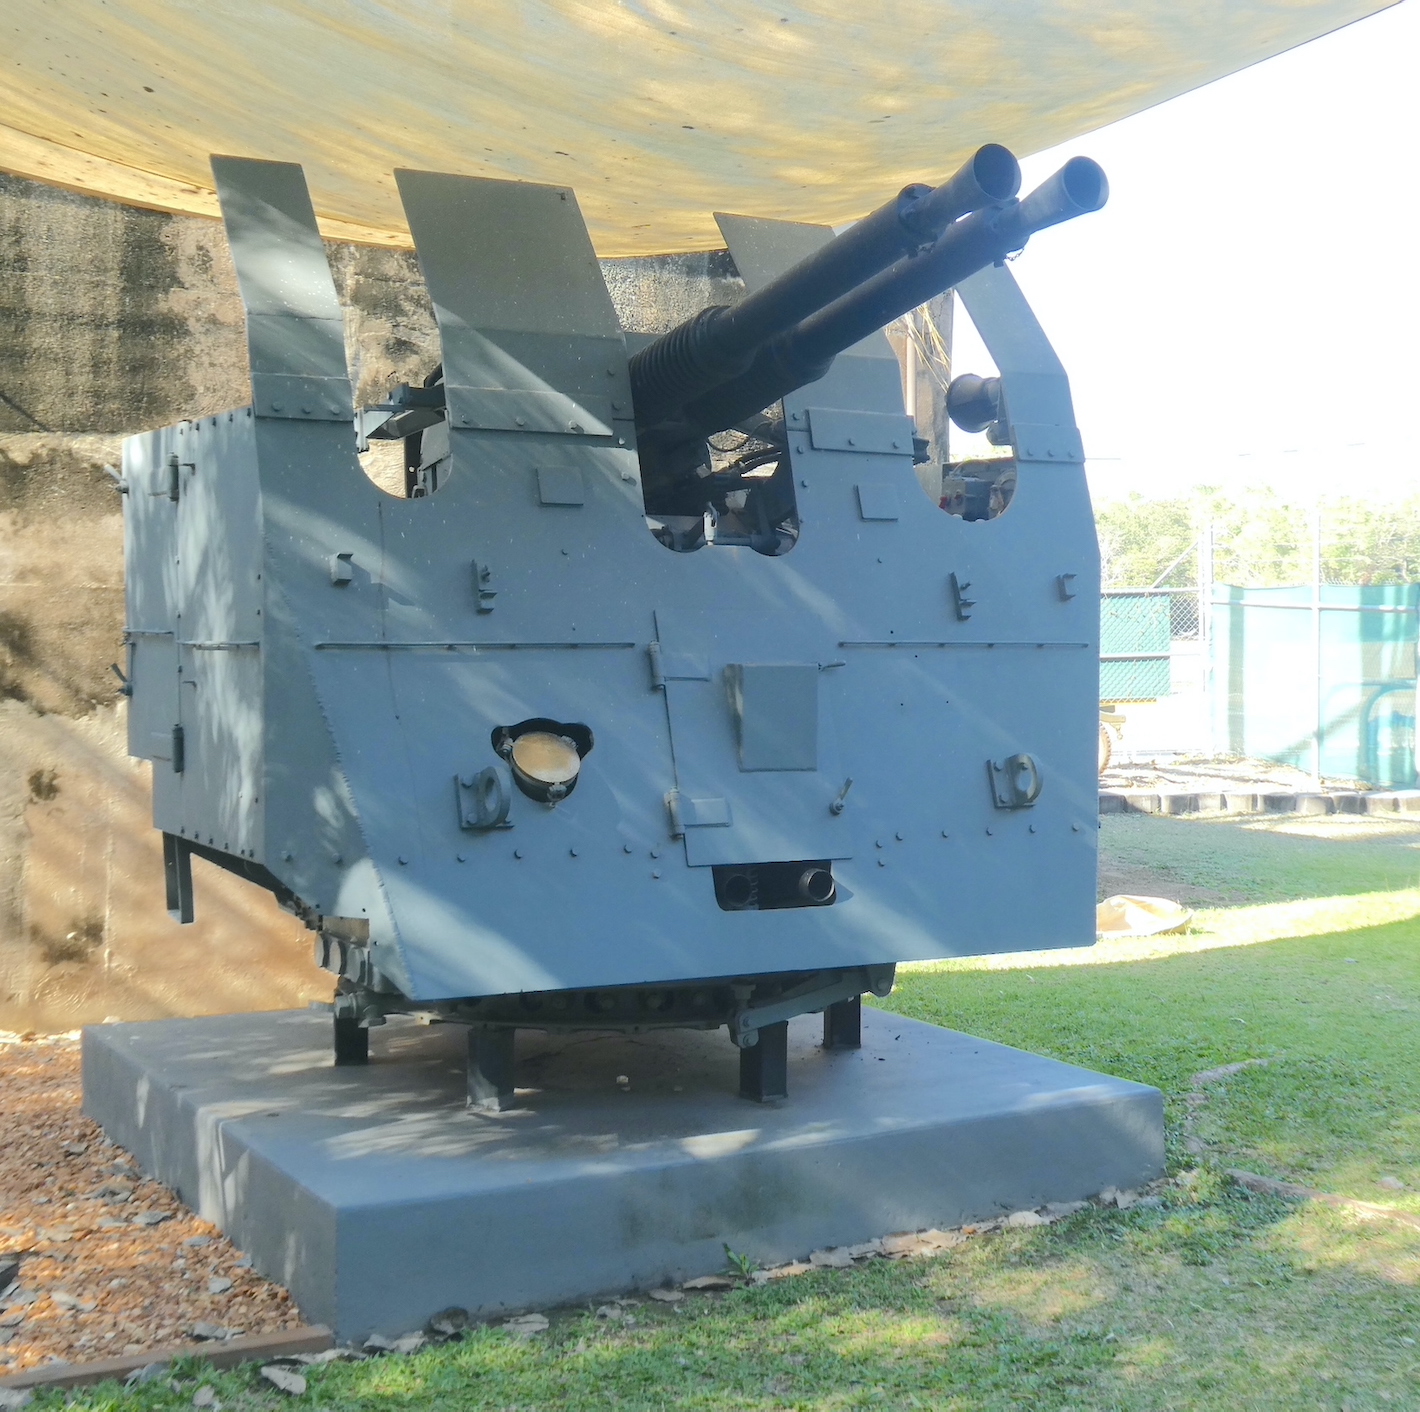
The gunners were then able to set the correct bearing and elevation to hit the target. The initial 6” guns were replaced by two 9.2” guns but they didn’t arrive until February 1944. Consequently, the only rounds fired from these were three proof rounds, the war ended and, in 1959, both guns were sold to a Japanese salvage firm and cut up for scrap metal. The replicas that now stand on the site are quite impressive.
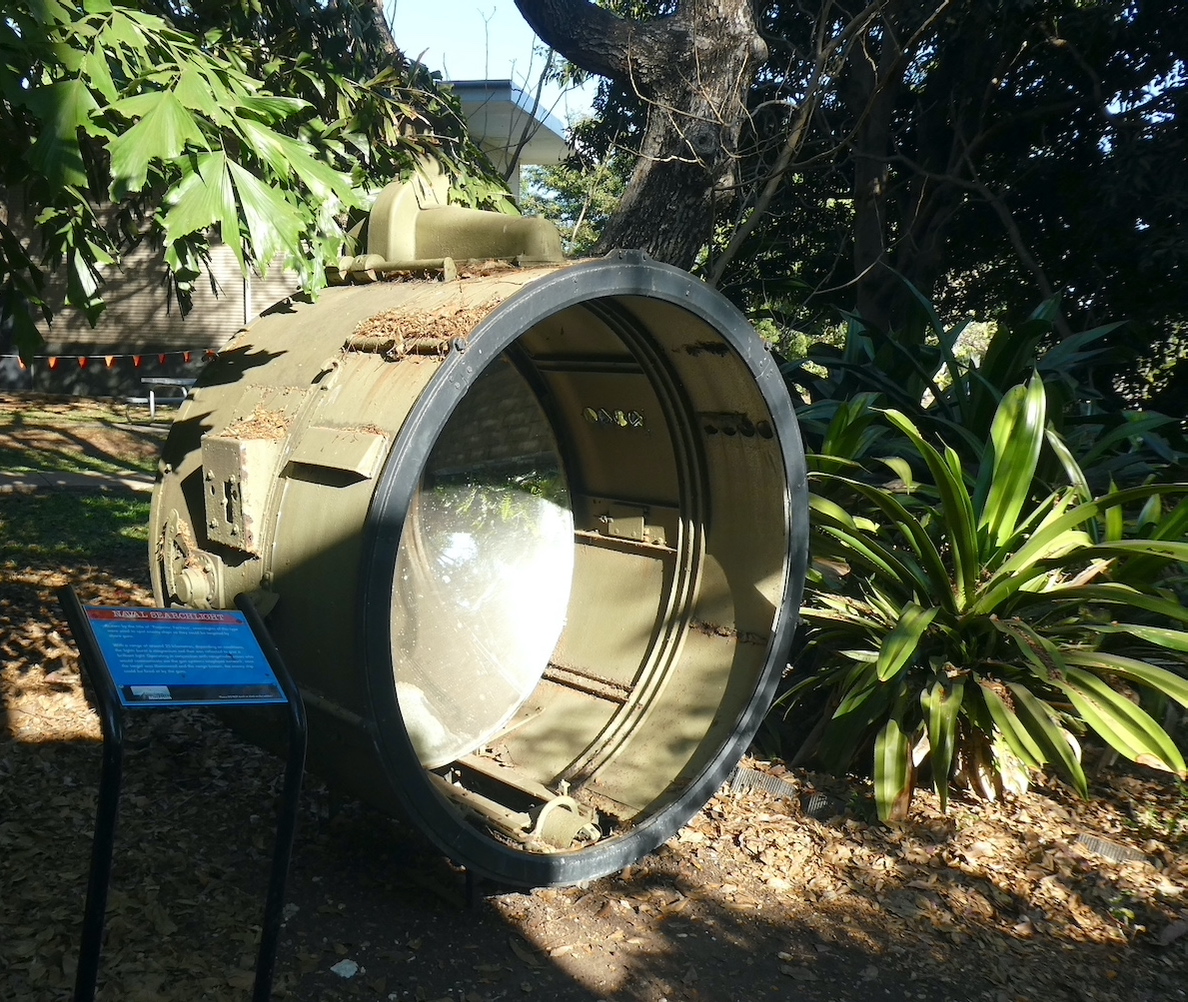
Operating in conjunction with the rangefinder crews, massive searchlights with a range around 25 kilometres were used to spot enemy ships.
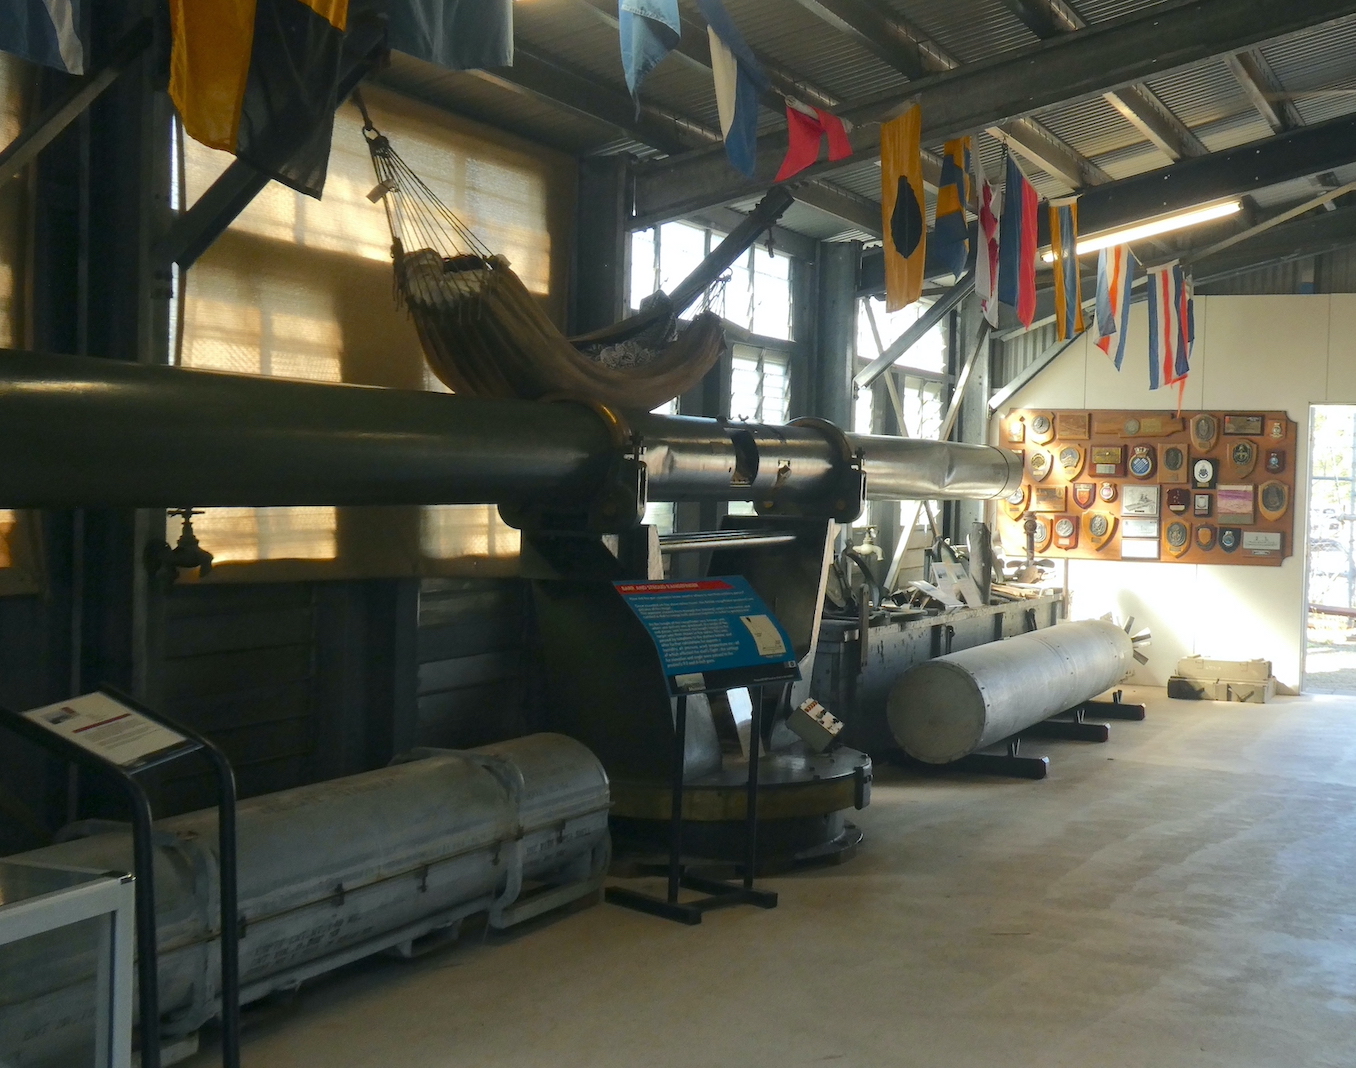
There are many displays of assorted paraphernalia
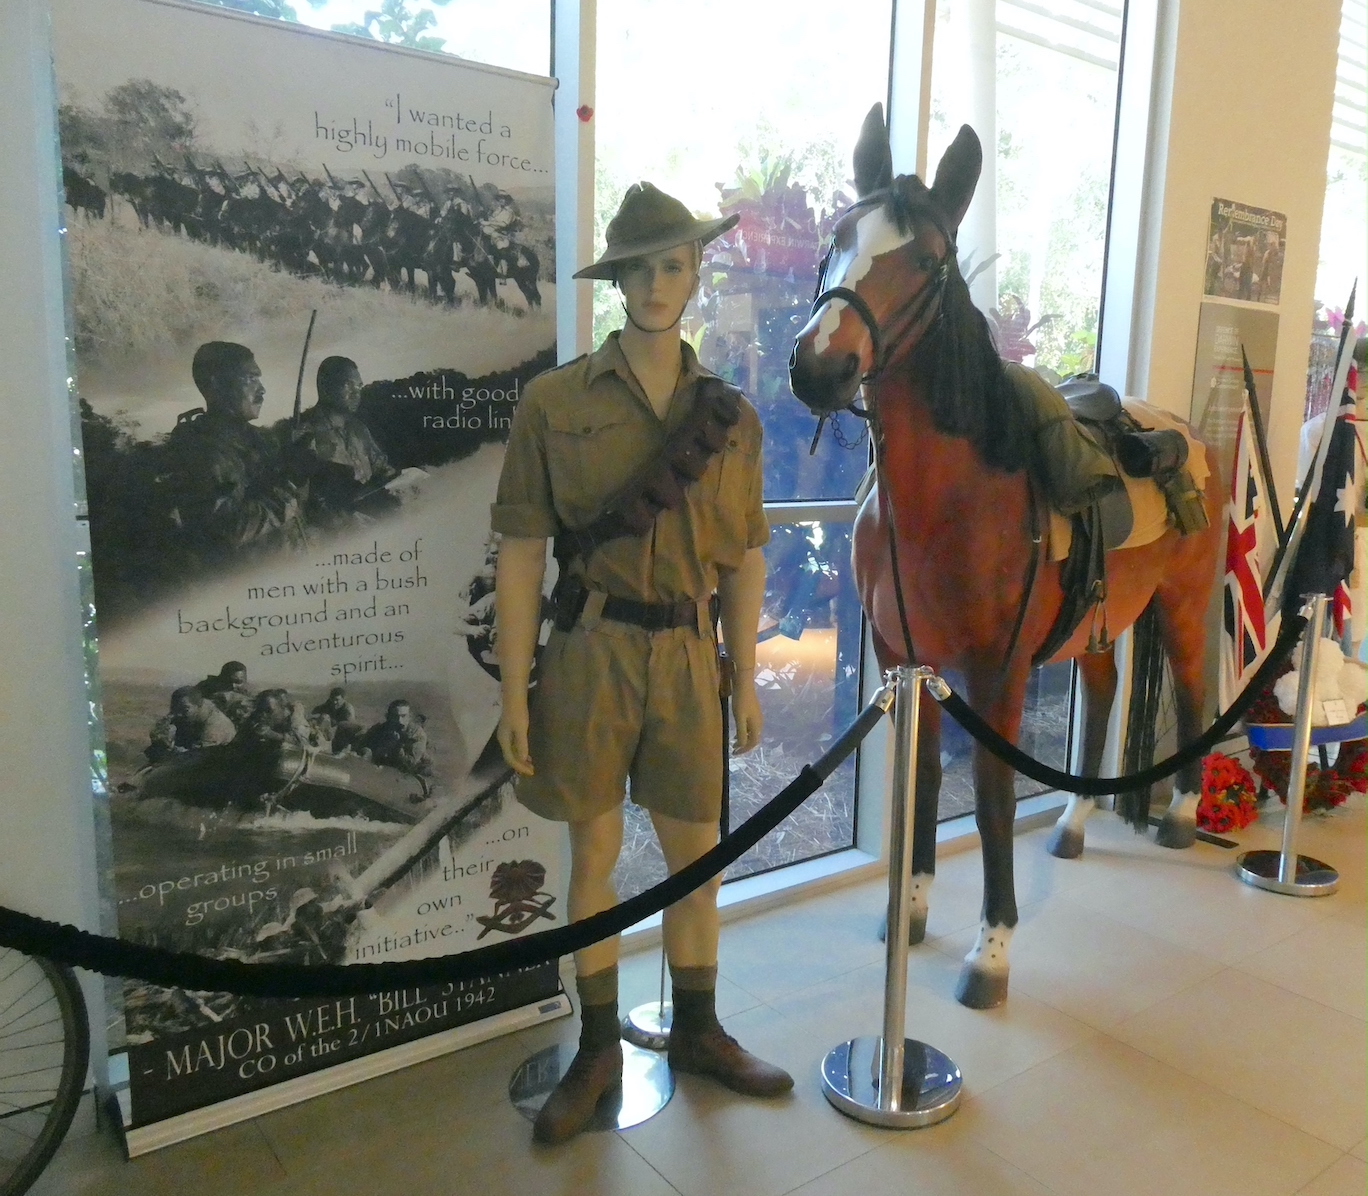
and a tribute to the military horse troops. Around 1500 horses and men of the North Australia Observation Unit, known as Nackeroos, were stationed in remote locations to watch for enemy activity.
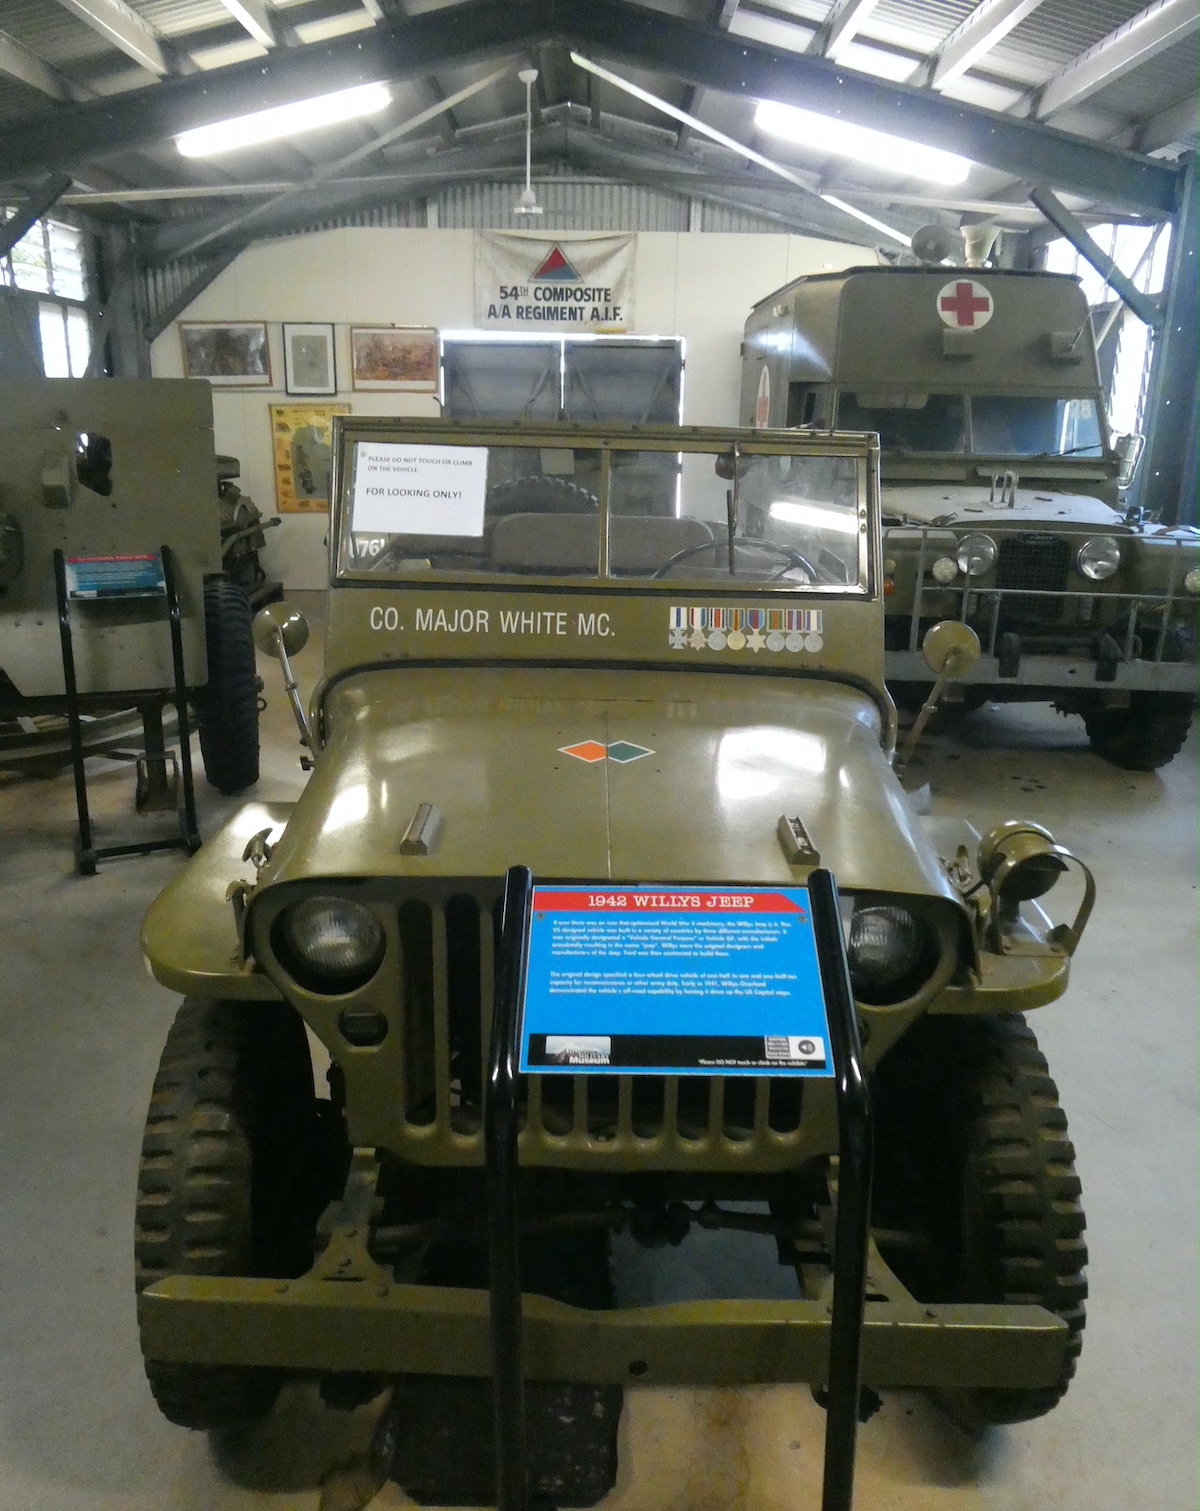
The final outbuilding contained a wonderful array of service vehicles from trucks to Bren Gun carriers.
The most recognisable is the 1942 Willys Jeep. Originally designated a ‘Vehicle General Purpose’ or ’Vehicle GP’, the name resulted in the term ‘jeep’. Willys were the original designers and manufacturers of the Jeep and then contracted the building of them to Ford.
If you are planning a visit to the museum, allow plenty of time, there was so much more to see.
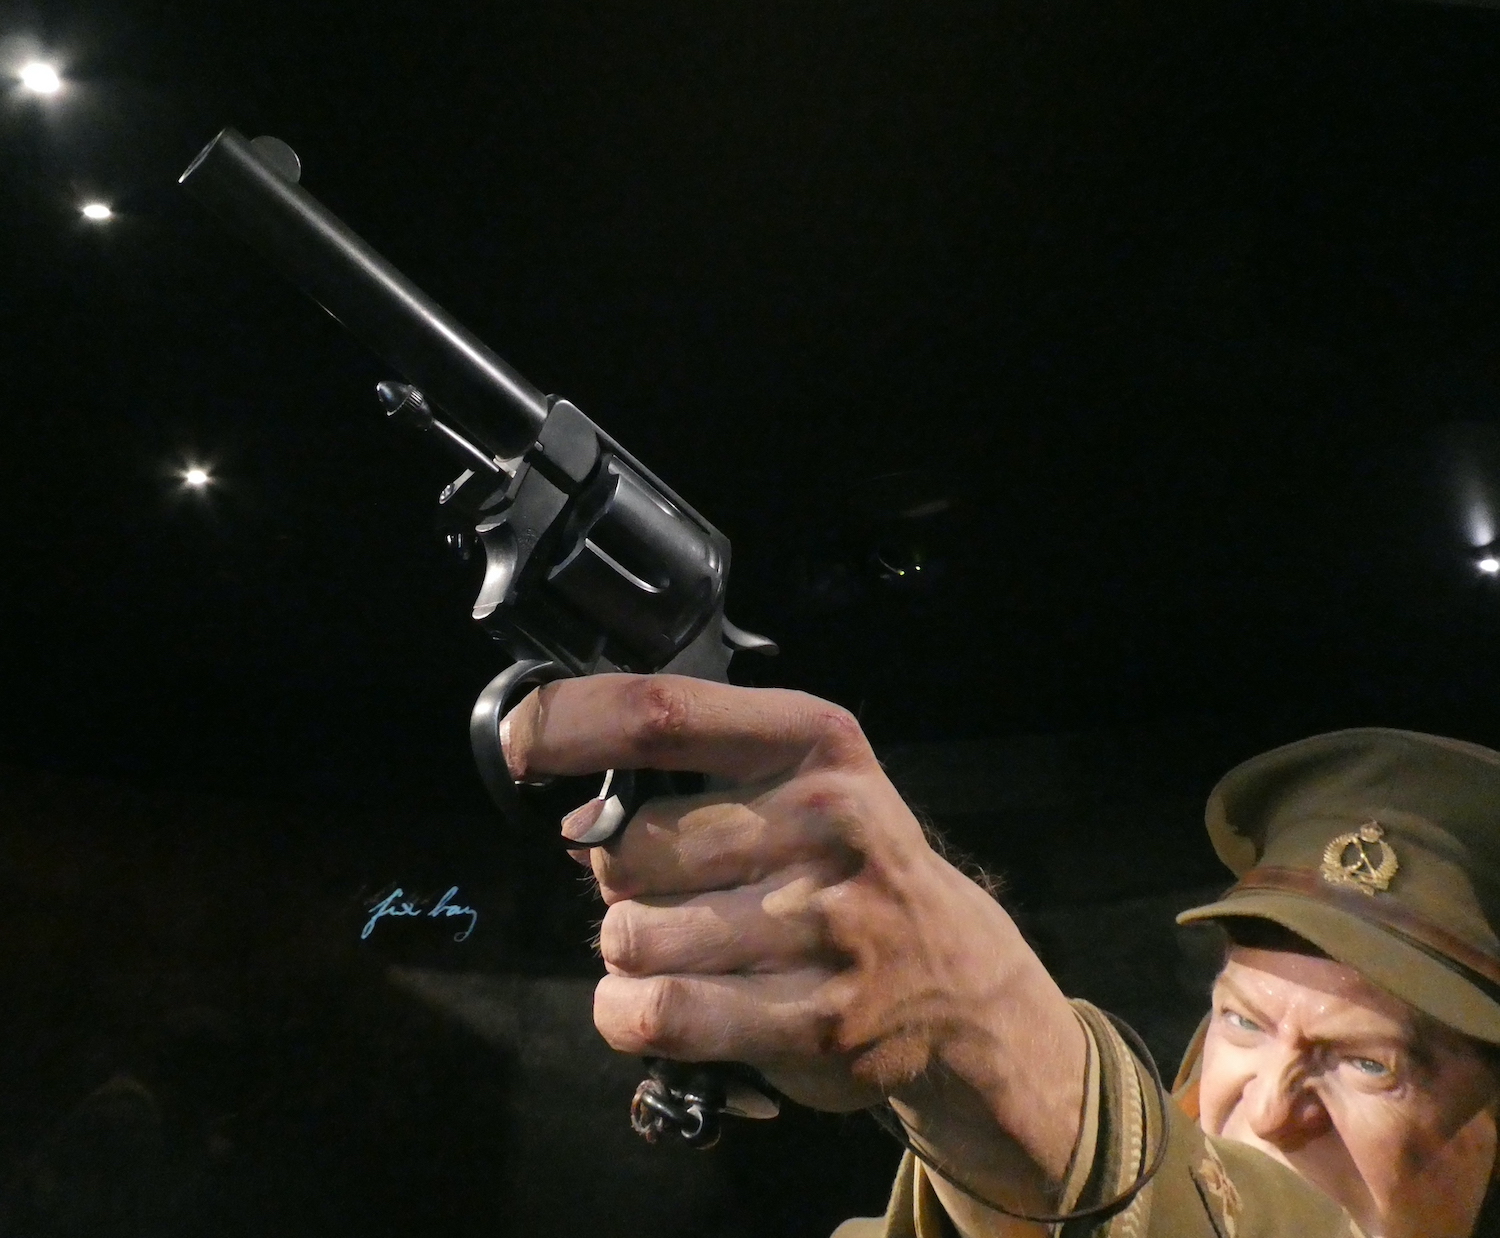
Following our experience at Wētā Workshop the plan was to visit New Zealand’s national museum, Te Papa (Māori for ‘the treasure box’). We were intrigued to see the ‘Gallipoli: The Scale of Our War’ exhibition after learning at Wētā that they were responsible for creating the life-like figures on display.
The giant sculptures, 2.4 times human size, took 24,000 hours to complete, not surprising considering the incredible detail and emotion on the faces. The exhibition opened on 18th April 2015 to commemorate the centenary of the ANZAC campaign and will remain until 25th April 2025. The diaries of seven soldiers and a nurse were selected to share the stories through the eyes of ordinary New Zealanders in diabolical circumstances. Stepping into the darkened room, the effect of a huge, spotlighted figure aiming a gun in apparent terror was startling.
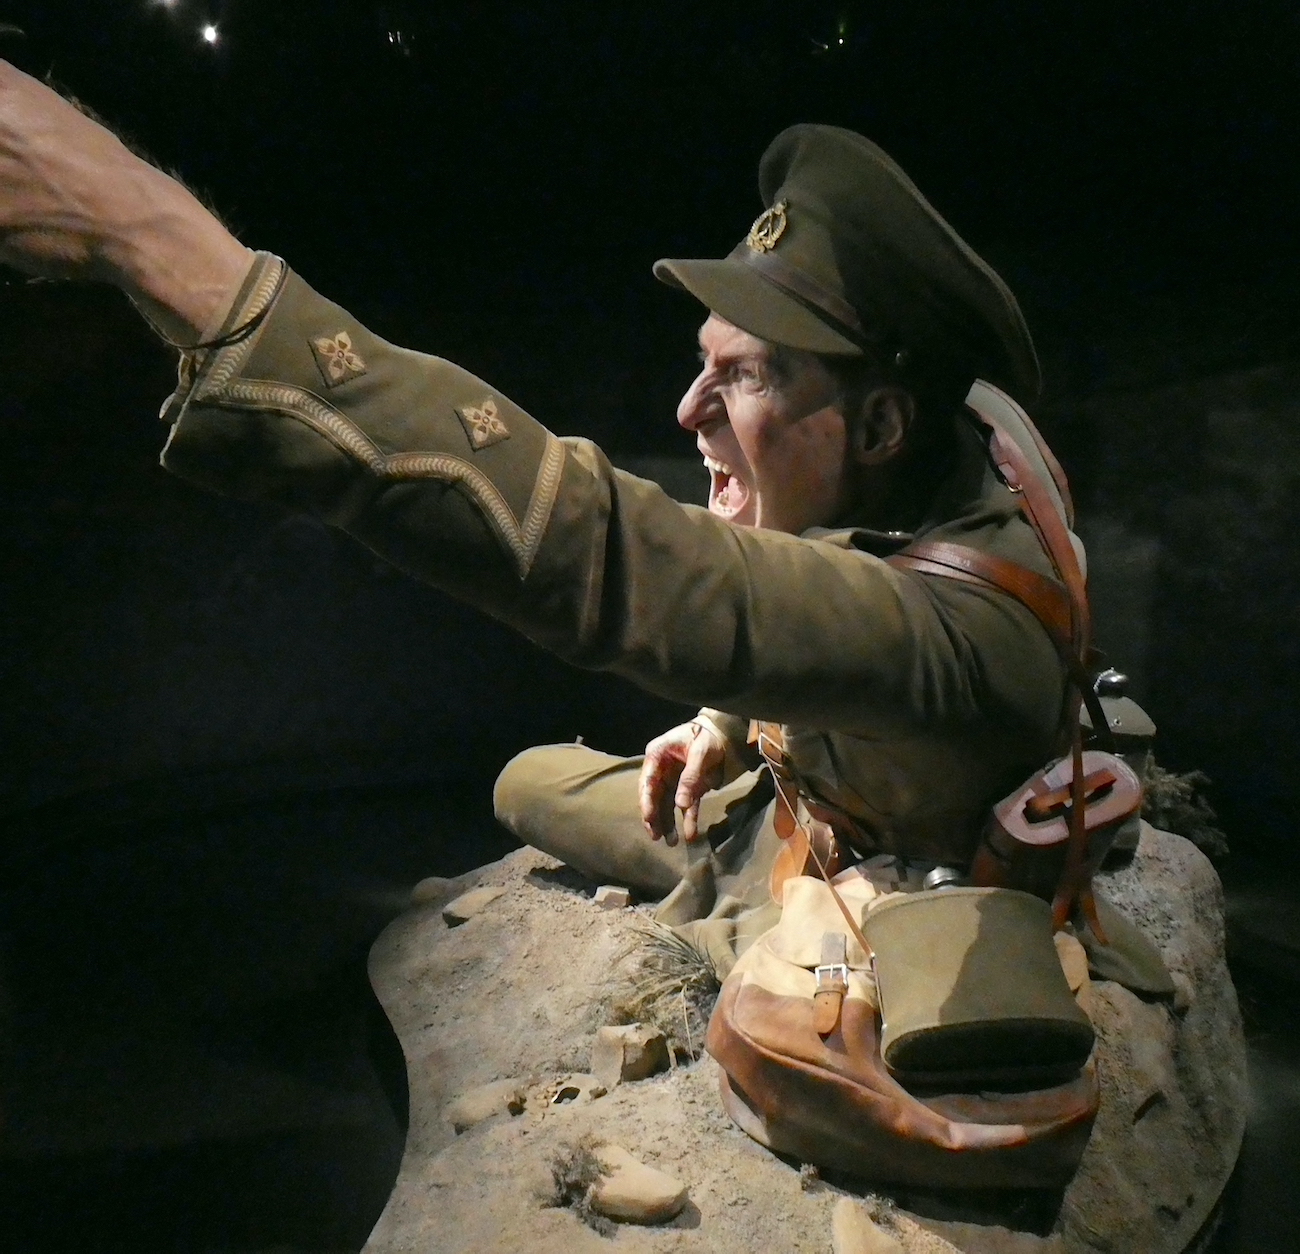
Lieutenant Spencer Westmacott was one of the first New Zealanders to climb the steep hills to join the Australians. By nightfall, he had been evacuated with severe wounds to his right arm which was later amputated at a military hospital in Egypt.
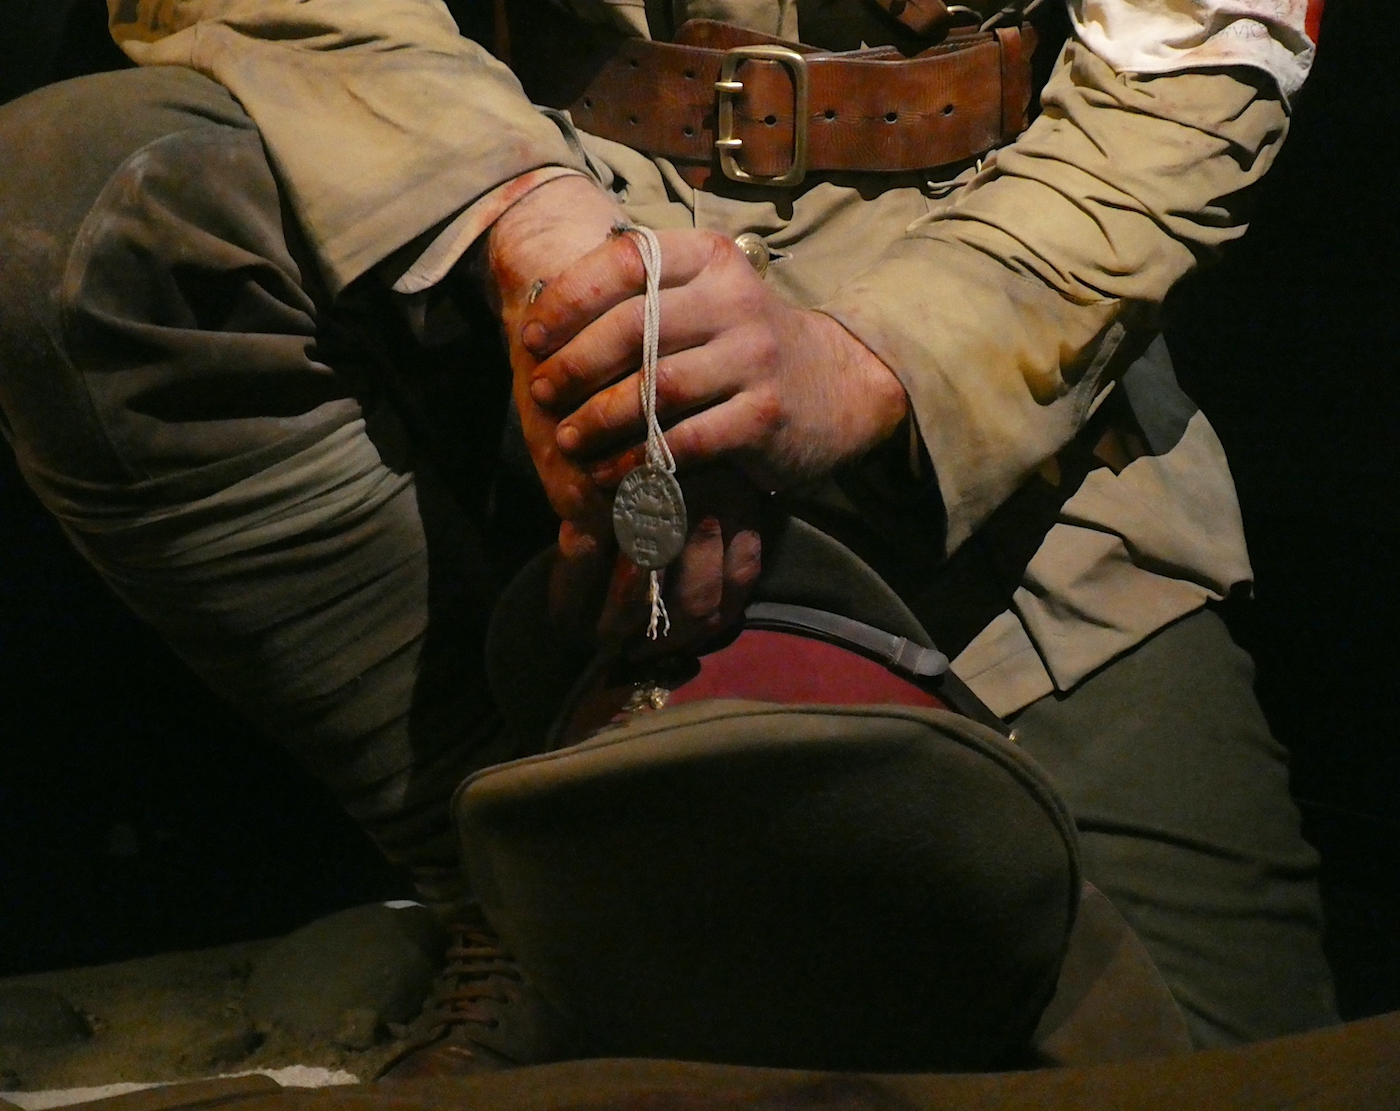
A cut-through model of a soldiers’ kit shows the little protection they had from external armoury.
The despair is palpable on the face of Lieutenant Colonel Percival Fenwick as he leans over the fatally wounded Canterbury infantryman, Jack Aitken.
The 45 year old surgeon, a veteran of the South African war, recorded the hellish conditions and his disillusionment with the inept direction of the senior commanders in his diary.
The lonely figure of Private Jack Dunn, eating hard biscuits covered with flies, tells a tragic story.
Malnourished by bad food, he was hospitalised with dysentery but returned to duty while still sick. He fell asleep at his post and was sentenced to death by firing squad. Although his sentence was rescinded, he was killed in action a few days later.
The exhibition is also comprised of 3-D maps and projections, miniatures, models and interactive modules. The daily life activity station hosts a realm of surprises in drawers and cupboards.
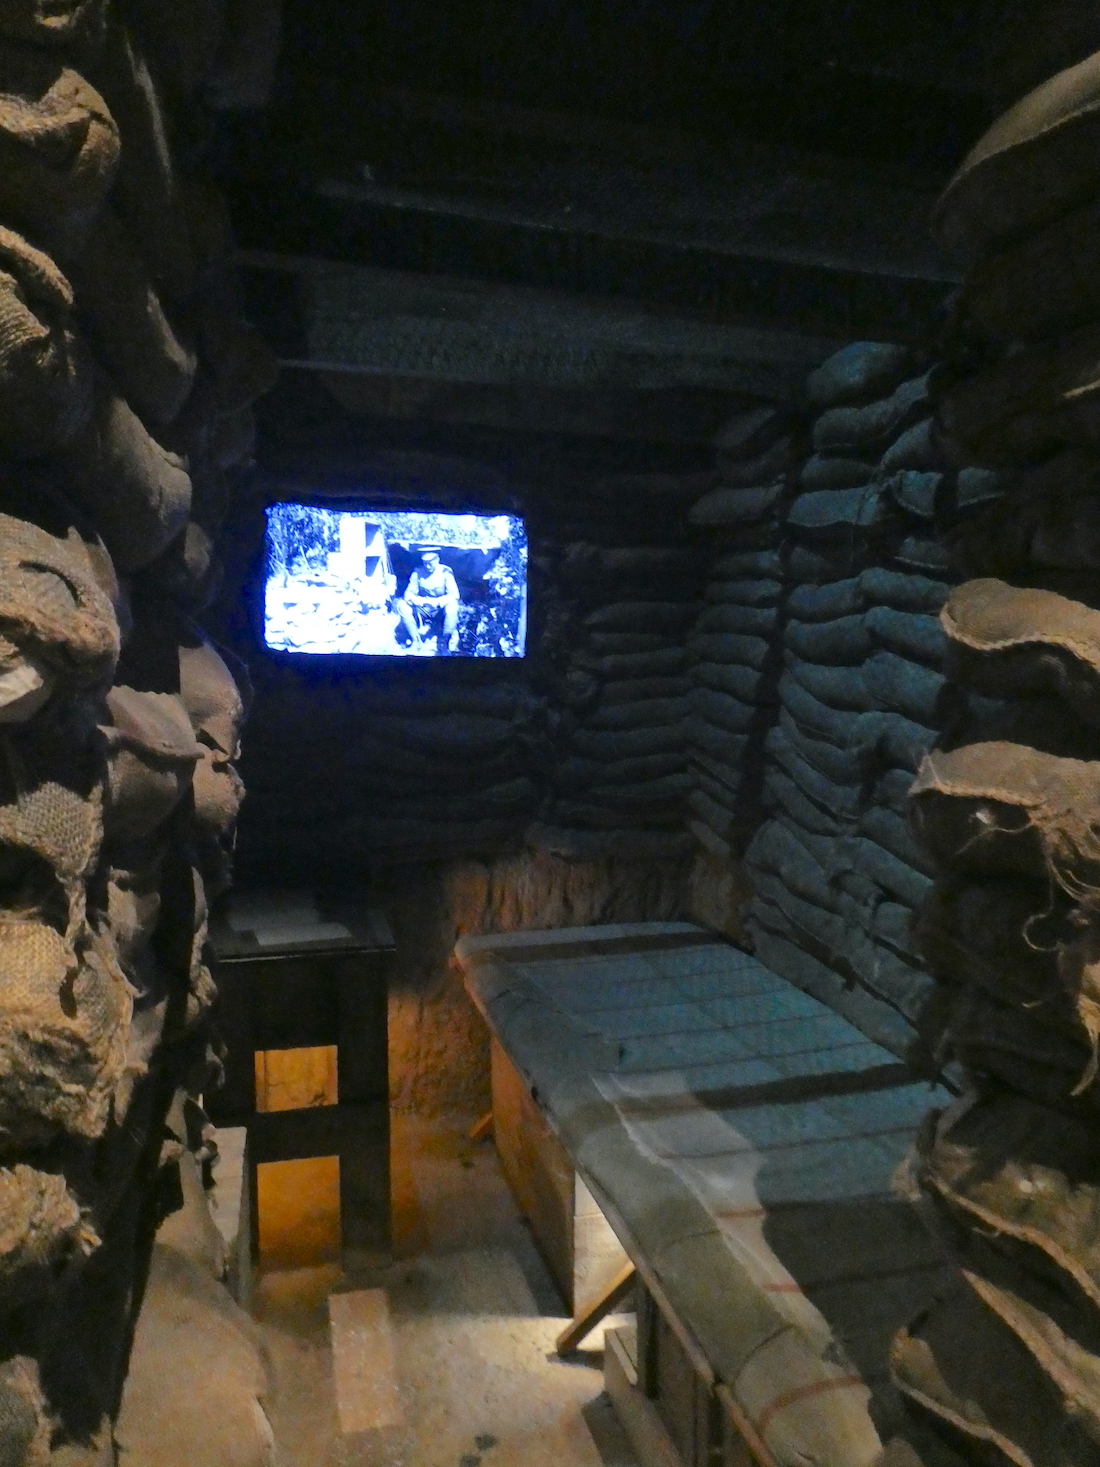
Lieutenant Colonel William Malone’s detailed diary entries echoed Percival Fenwick’s disenchantment with his superiors and the conduct of the campaign. Inside a replica of his dugout, built according to a sketch made by Malone, an actors voice reads the last letter he wrote to his wife, Ida. The moving epistle suggests Malone was certain he would die in the August attack the following day. His intuition proved correct, he was accidentally killed by supporting artillery fire.
The ‘machine gunners trio’ was recreated based on a paragraph in the diary of Private Rikihana Carkeek.
He and fellow Māori soldier, Friday Hawkins found themselves on the same machine gun team under the command of Lieutenant Colin Warden who was unfortunately shot through the heart just after giving the gunners their range.
Almost immediately, gun Corporal Donald Ferris was shot through the head and killed instantly. As the scene depicts, Private Hawkins took charge of the gun while Private Carkeek moved into position to feed the belt. Shortly afterwards, Friday was shot through the wrist and Rikihana took over the gun before being shot through the base of the neck (yes, he survived). It seems all subsequent gunners were shot and badly wounded.
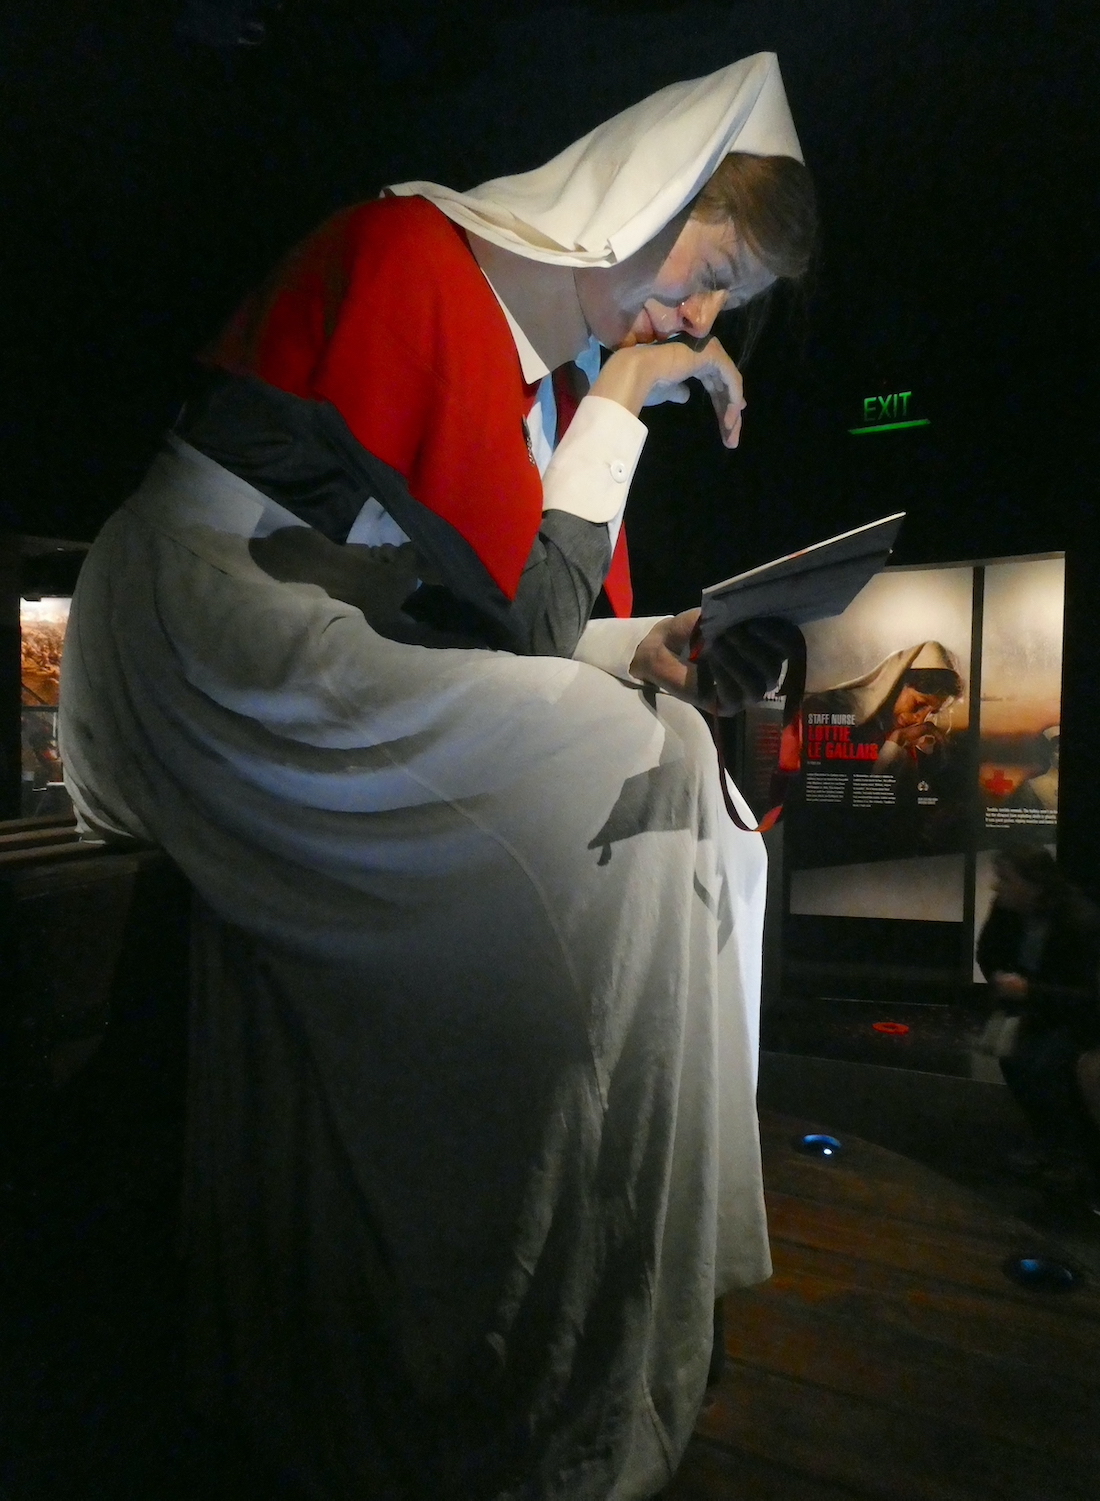
Auckland nurse Charlotte (Lottie) Le Gallais planned to meet up with her brother, Leddie, in Gallipoli. She was selected for the first voyage on the hospital ship Maheno, bound for Egypt but by the time she arrived, Leddie had been killed in action. She is portrayed having just learnt of his death, four months previously, when her letters to Leddie were returned unopened.
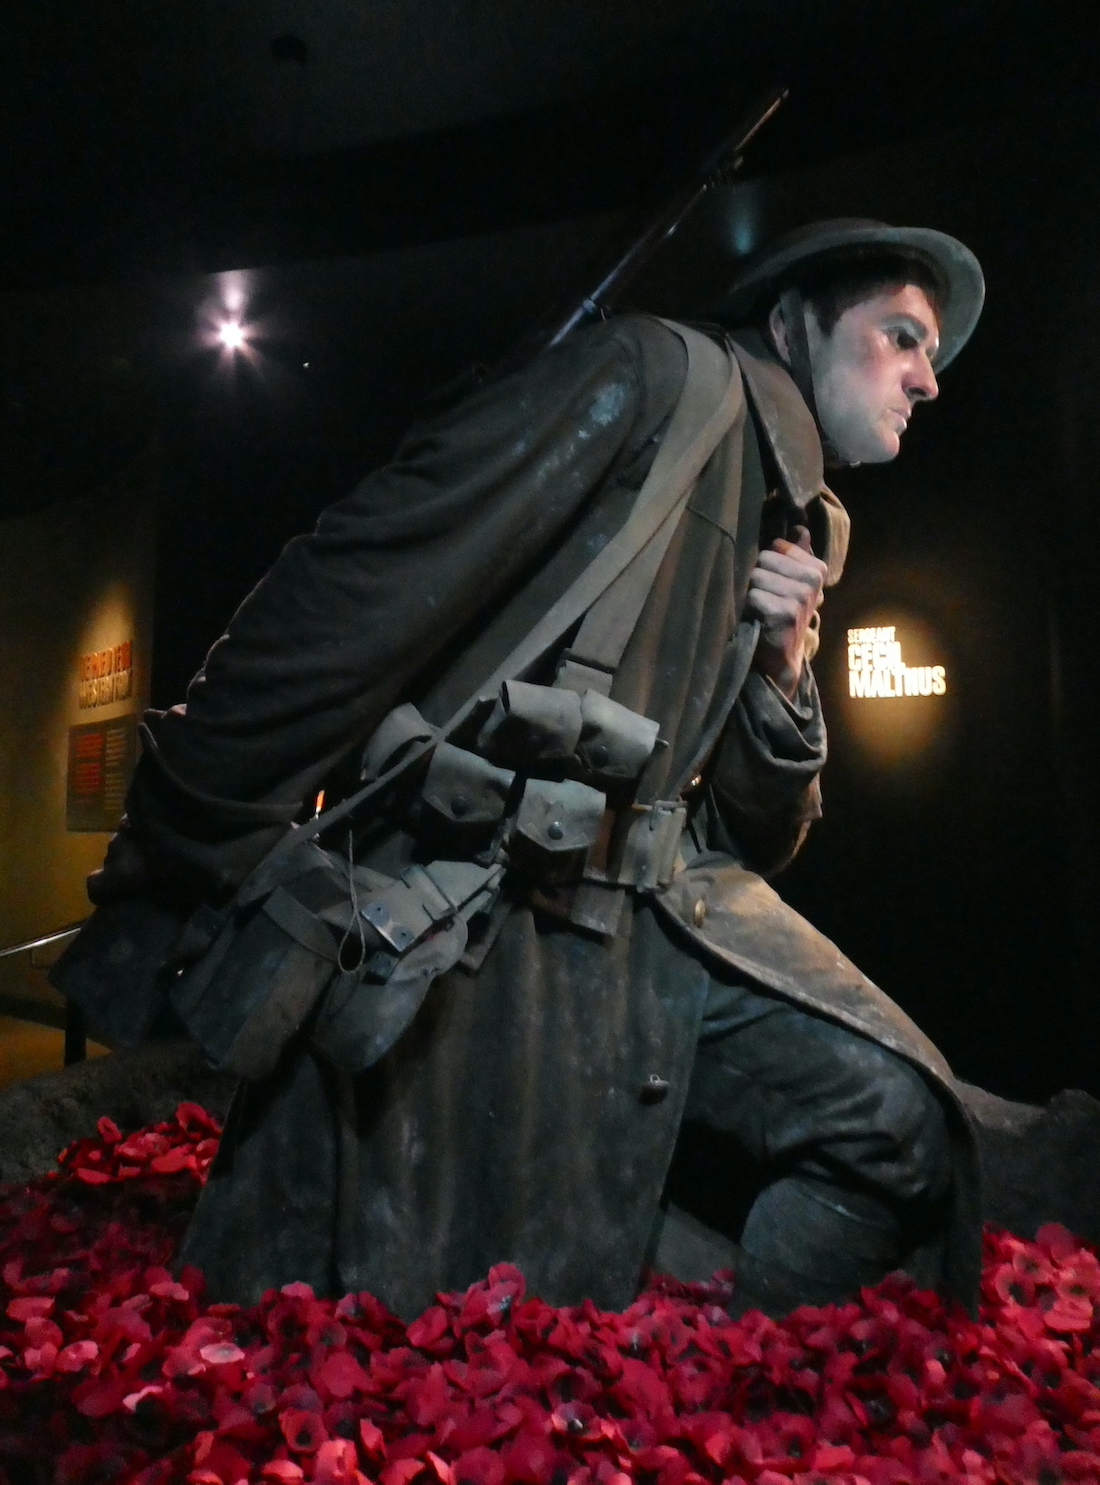
Having survived Gallipoli, Private Cecil Malthus then fought on the Western Front where he was promoted to sergeant and was then wounded in action at the First Battle of the Somme. He is the final figure in the exhibition, positioned in a muddy crater which has been filled with poppies by visitors, some bearing handwritten notes.