renovation ruminations: part 8

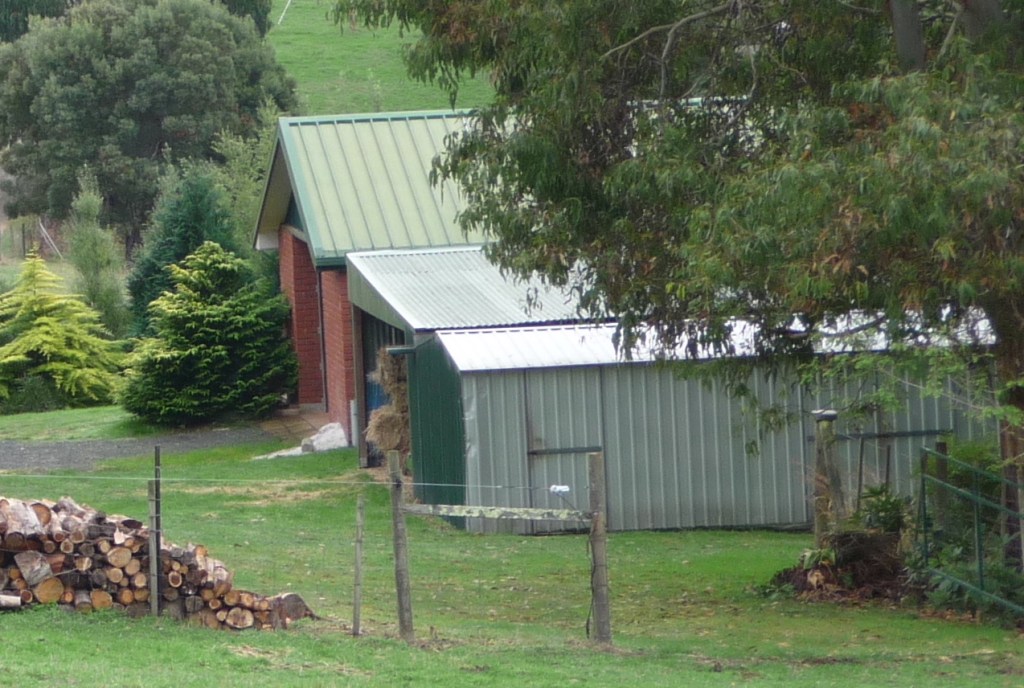
After ten years lamenting the eyesore across the garden, the time had come to do something about it. It was so horrible, this is the only photo I could find.

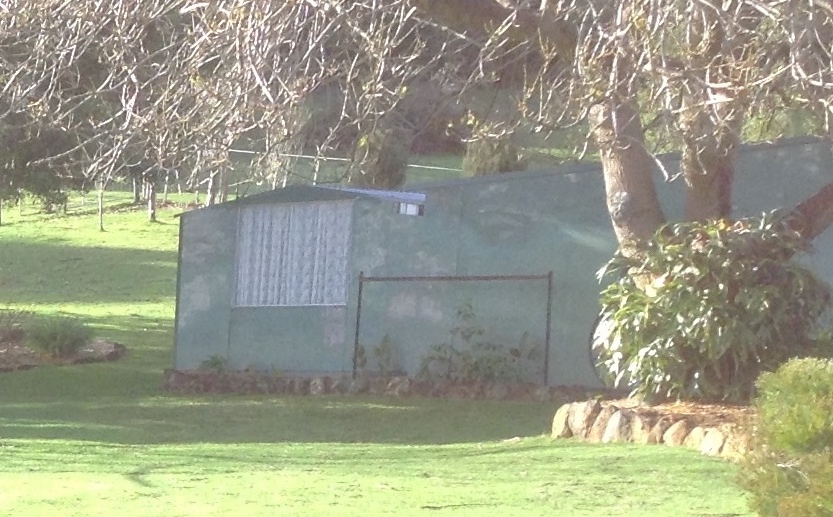
A few bits of timber and tin had been thrown together to resemble sheds by the previous owners, handy storage but not pretty.

Demolition began in November 2018, a very satisfying exercise.

The initial plan to ‘use & re-use’ as much as possible with timber framed windows and doors from the salvage yard. I set to with a scraper, sander and heat gun, hoping to have them prepared before the builders needed them.

The new slab was poured in February (Poppy made her mark) as well as a smaller
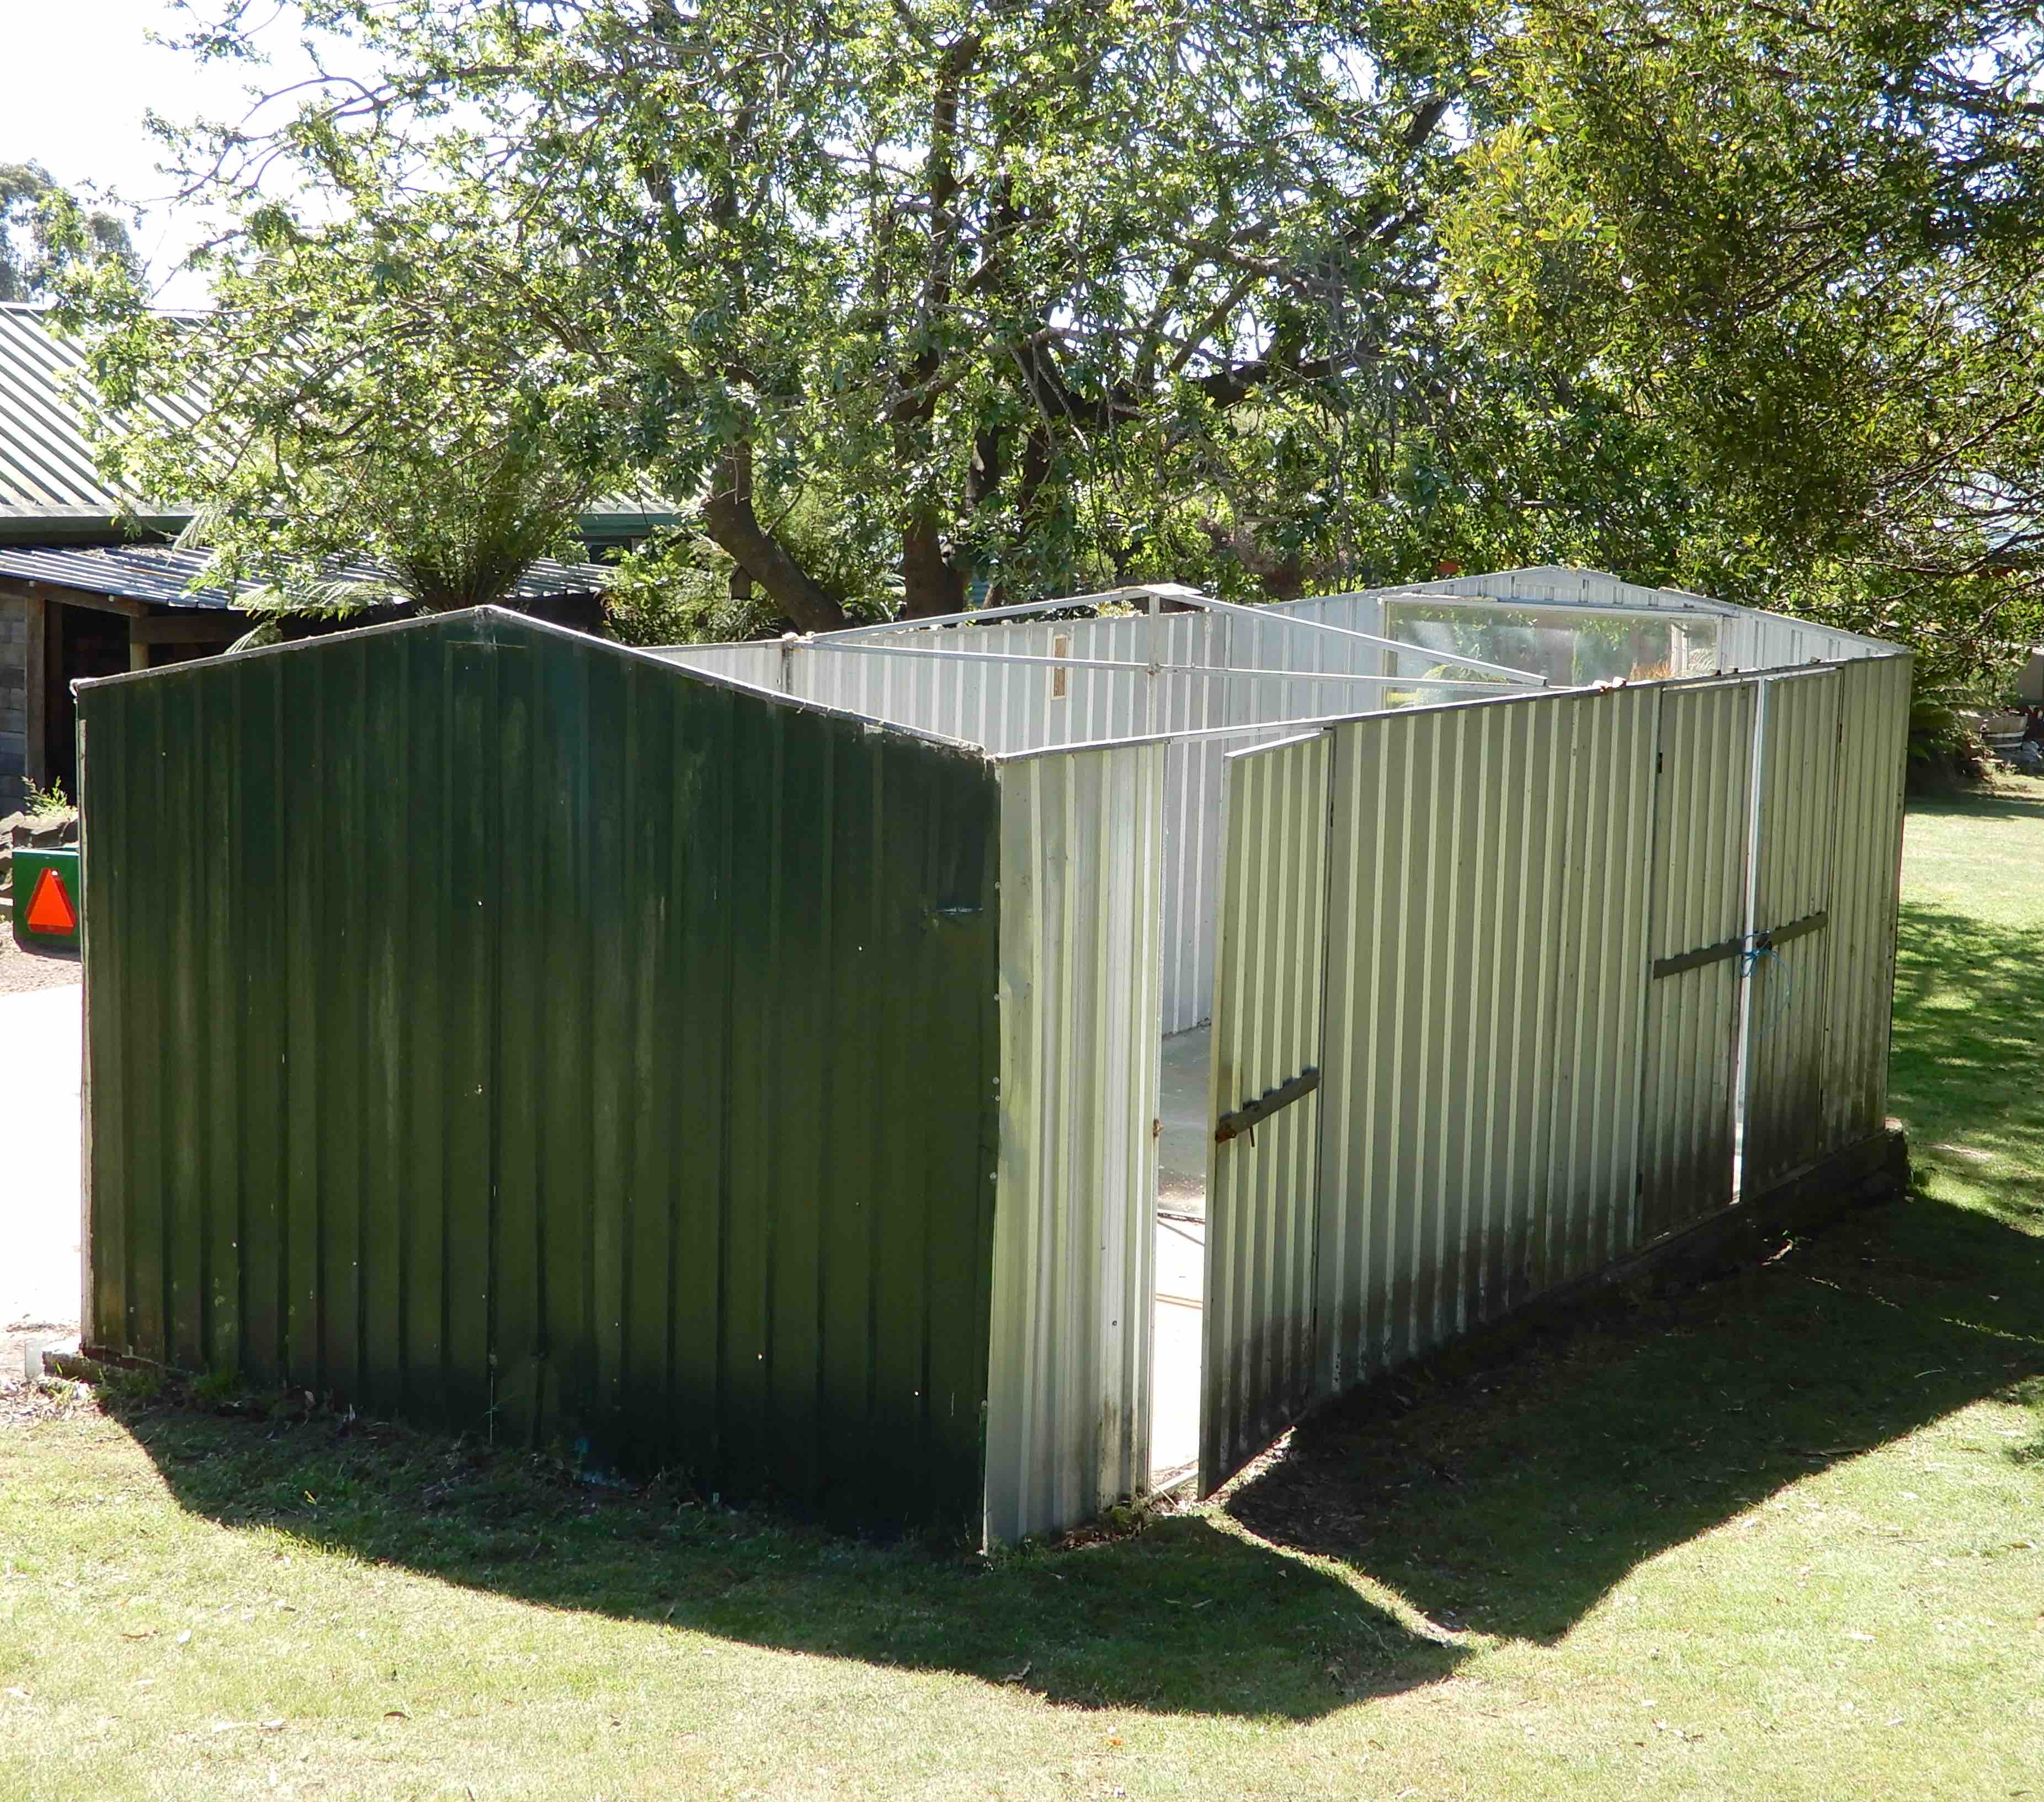
3m x 3m and we possum-proofed them for a few days.

When we demolished the 6m x 3m tin shed we resurrected the best panels and turned it into a 3m x 3m shed, hence the smaller slab.

We finally pinned down the builder to do the frame in April, a hasty job that was left largely unfinished.

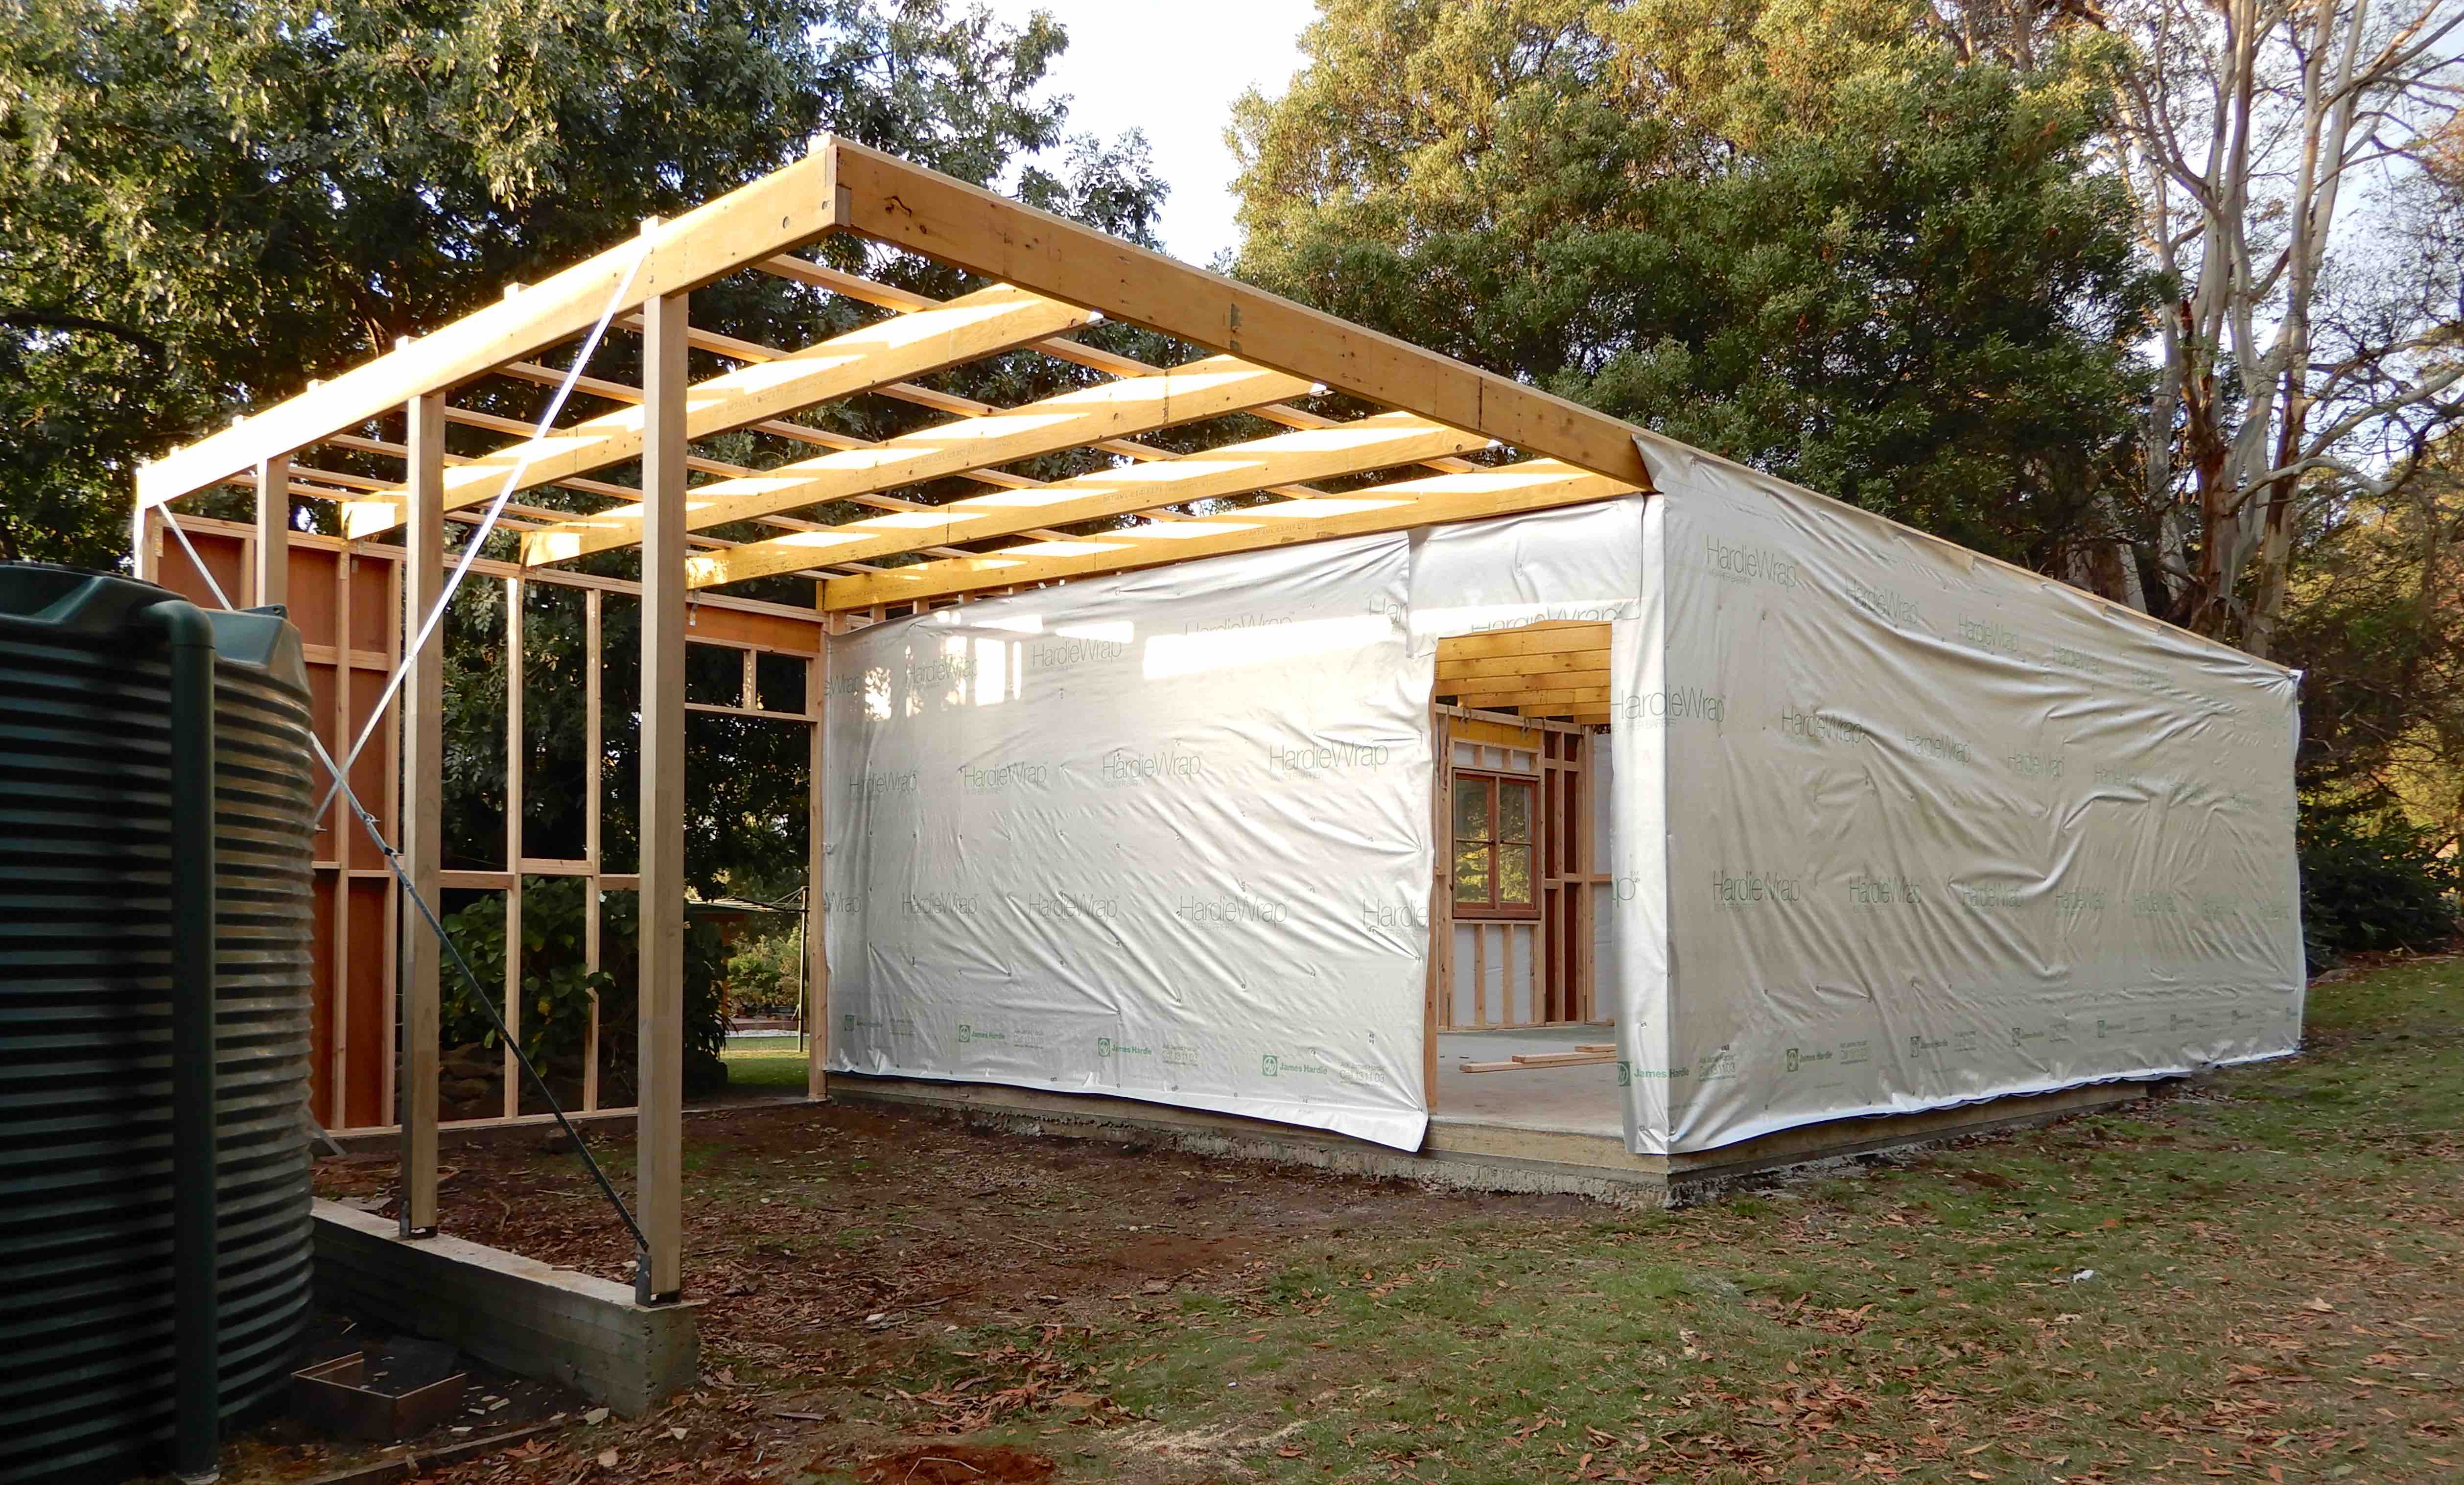
We completed the structural work with advice from a building surveyor and got on with the cedar cladding in the hope of being weatherproof before winter. The builders had put the colorbond on the roof but hadn’t finished the edges so we temporarily fixed some old flashings until we could find a roofer willing to finish the job. We had since realised the windows were a step too far, it would take far too long to restore them and the end result wouldn’t be as we pictured. We ordered new windows to match those on the house, another six week wait and we halted cladding until they arrived.

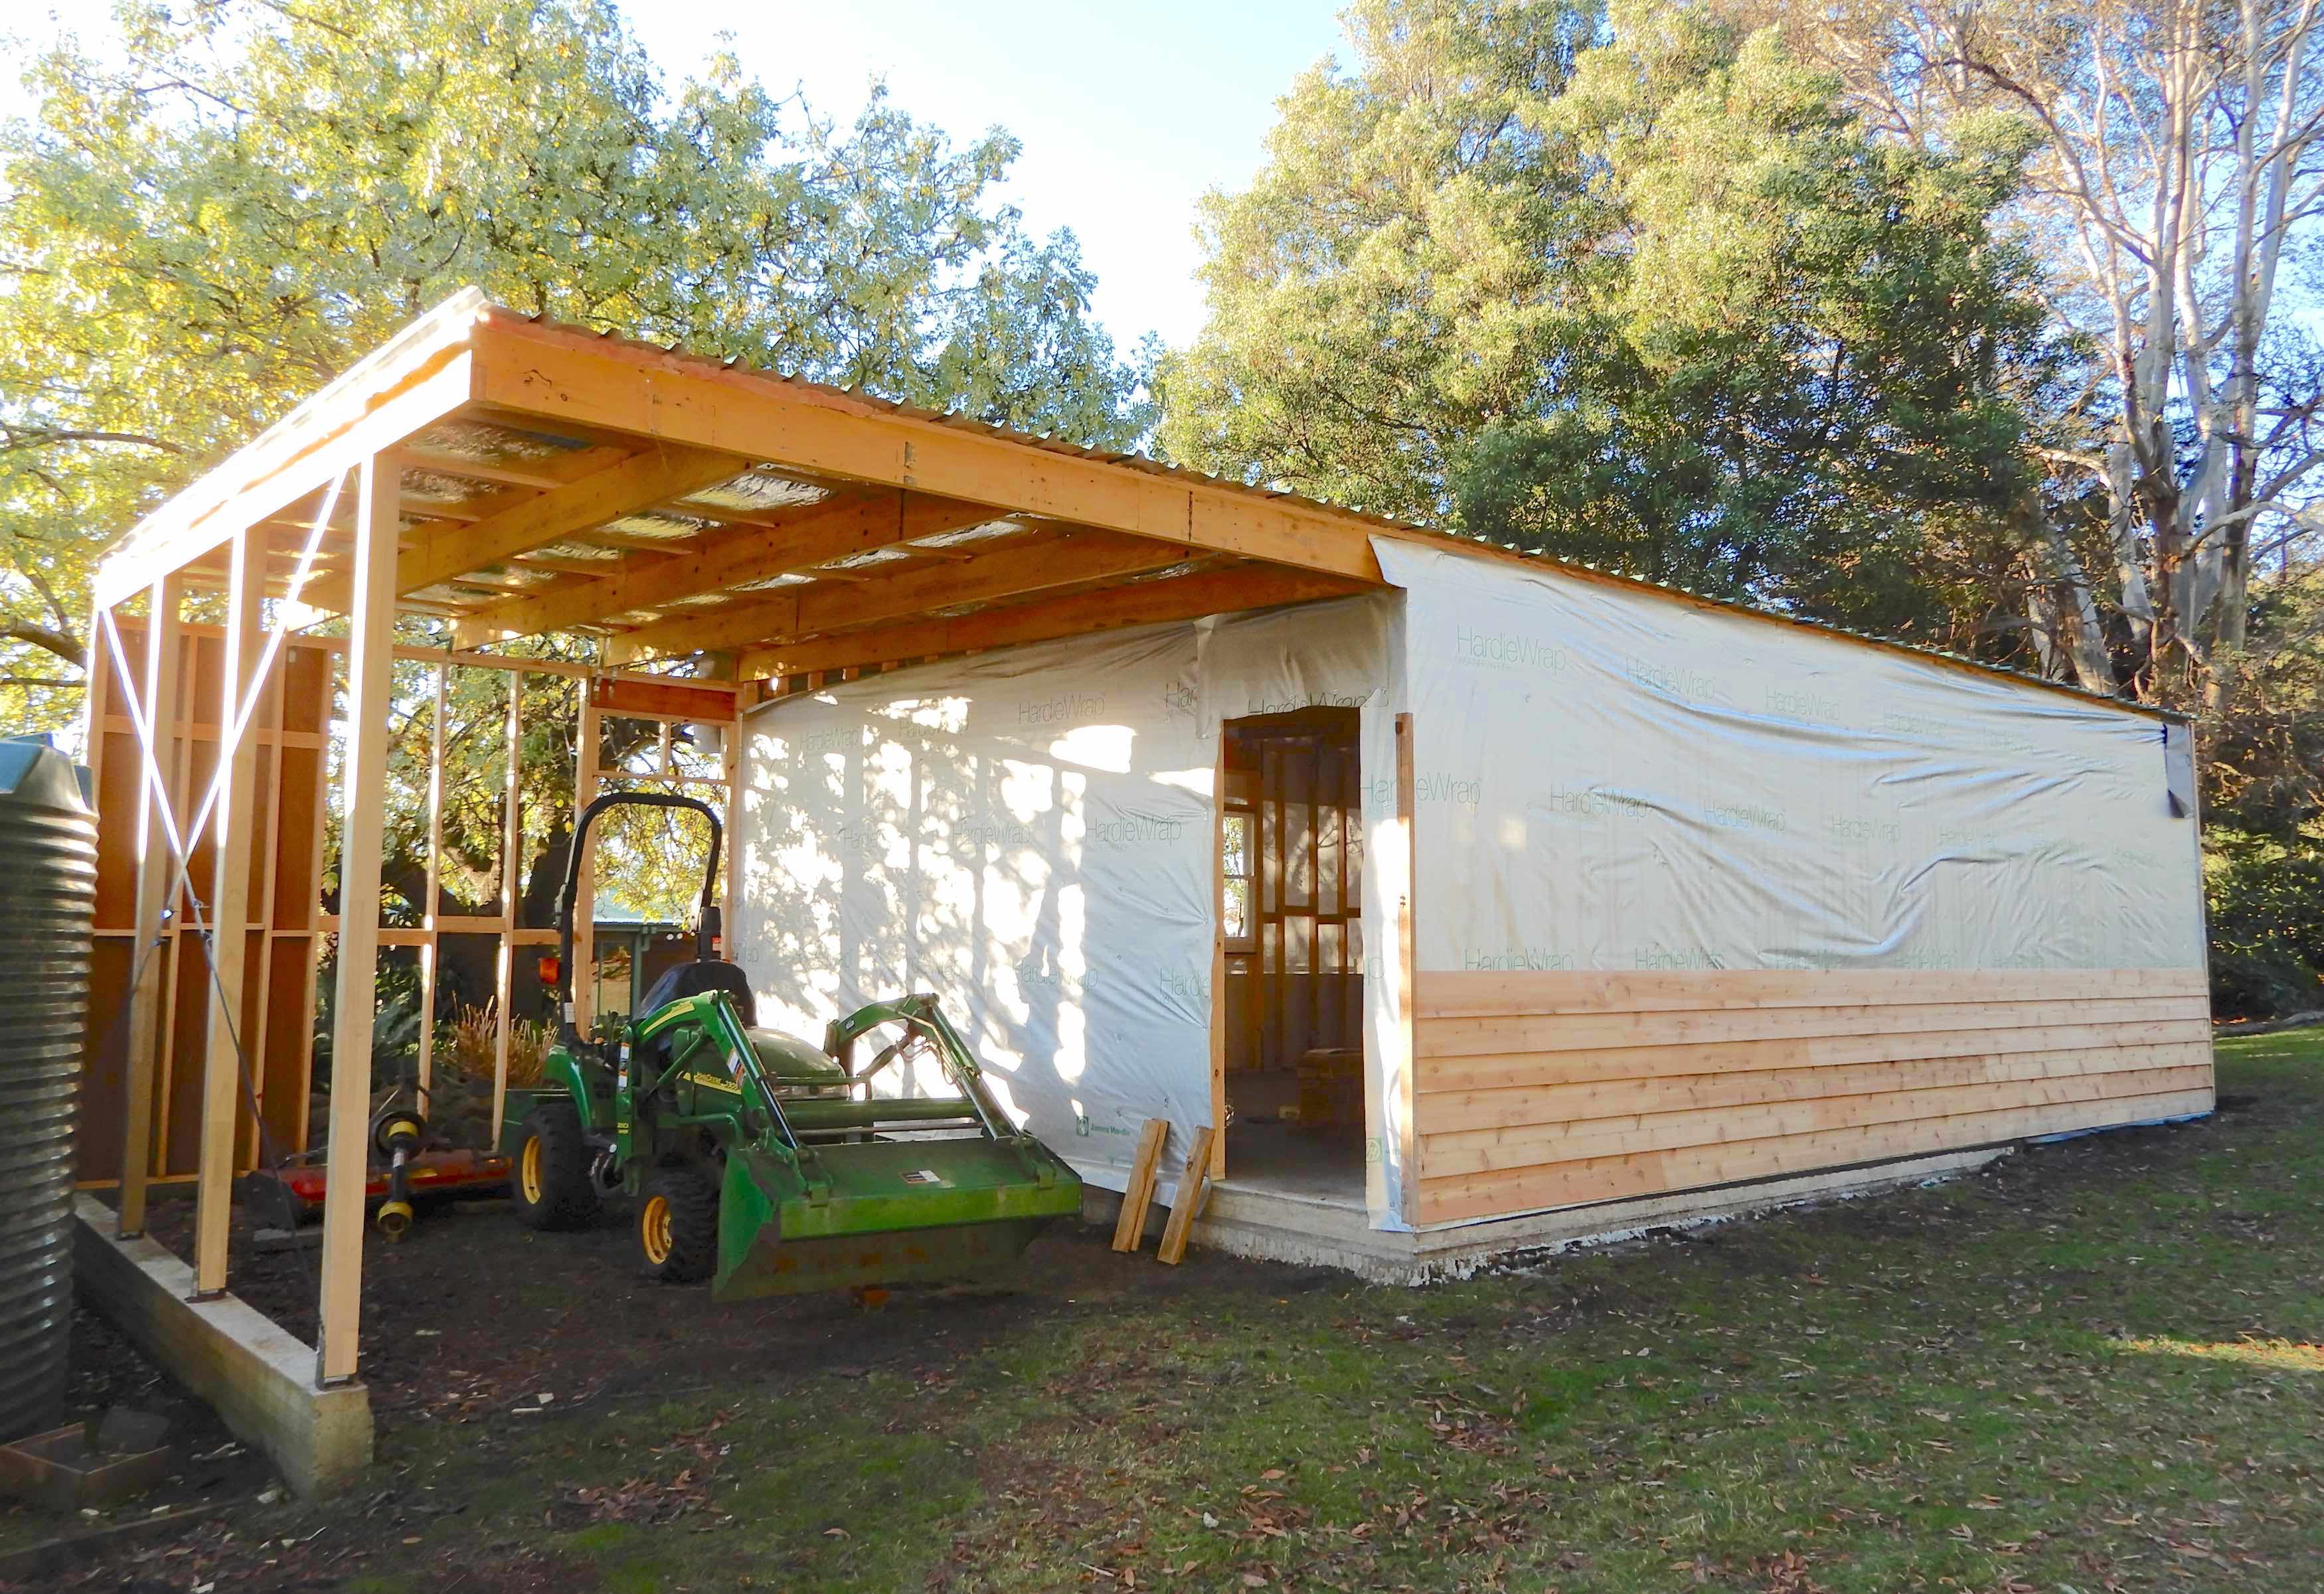
There was plenty more to keep us occupied. We finished wrapping the carport area and, with a few acrobatics involved, applied the colorbond to the outside.

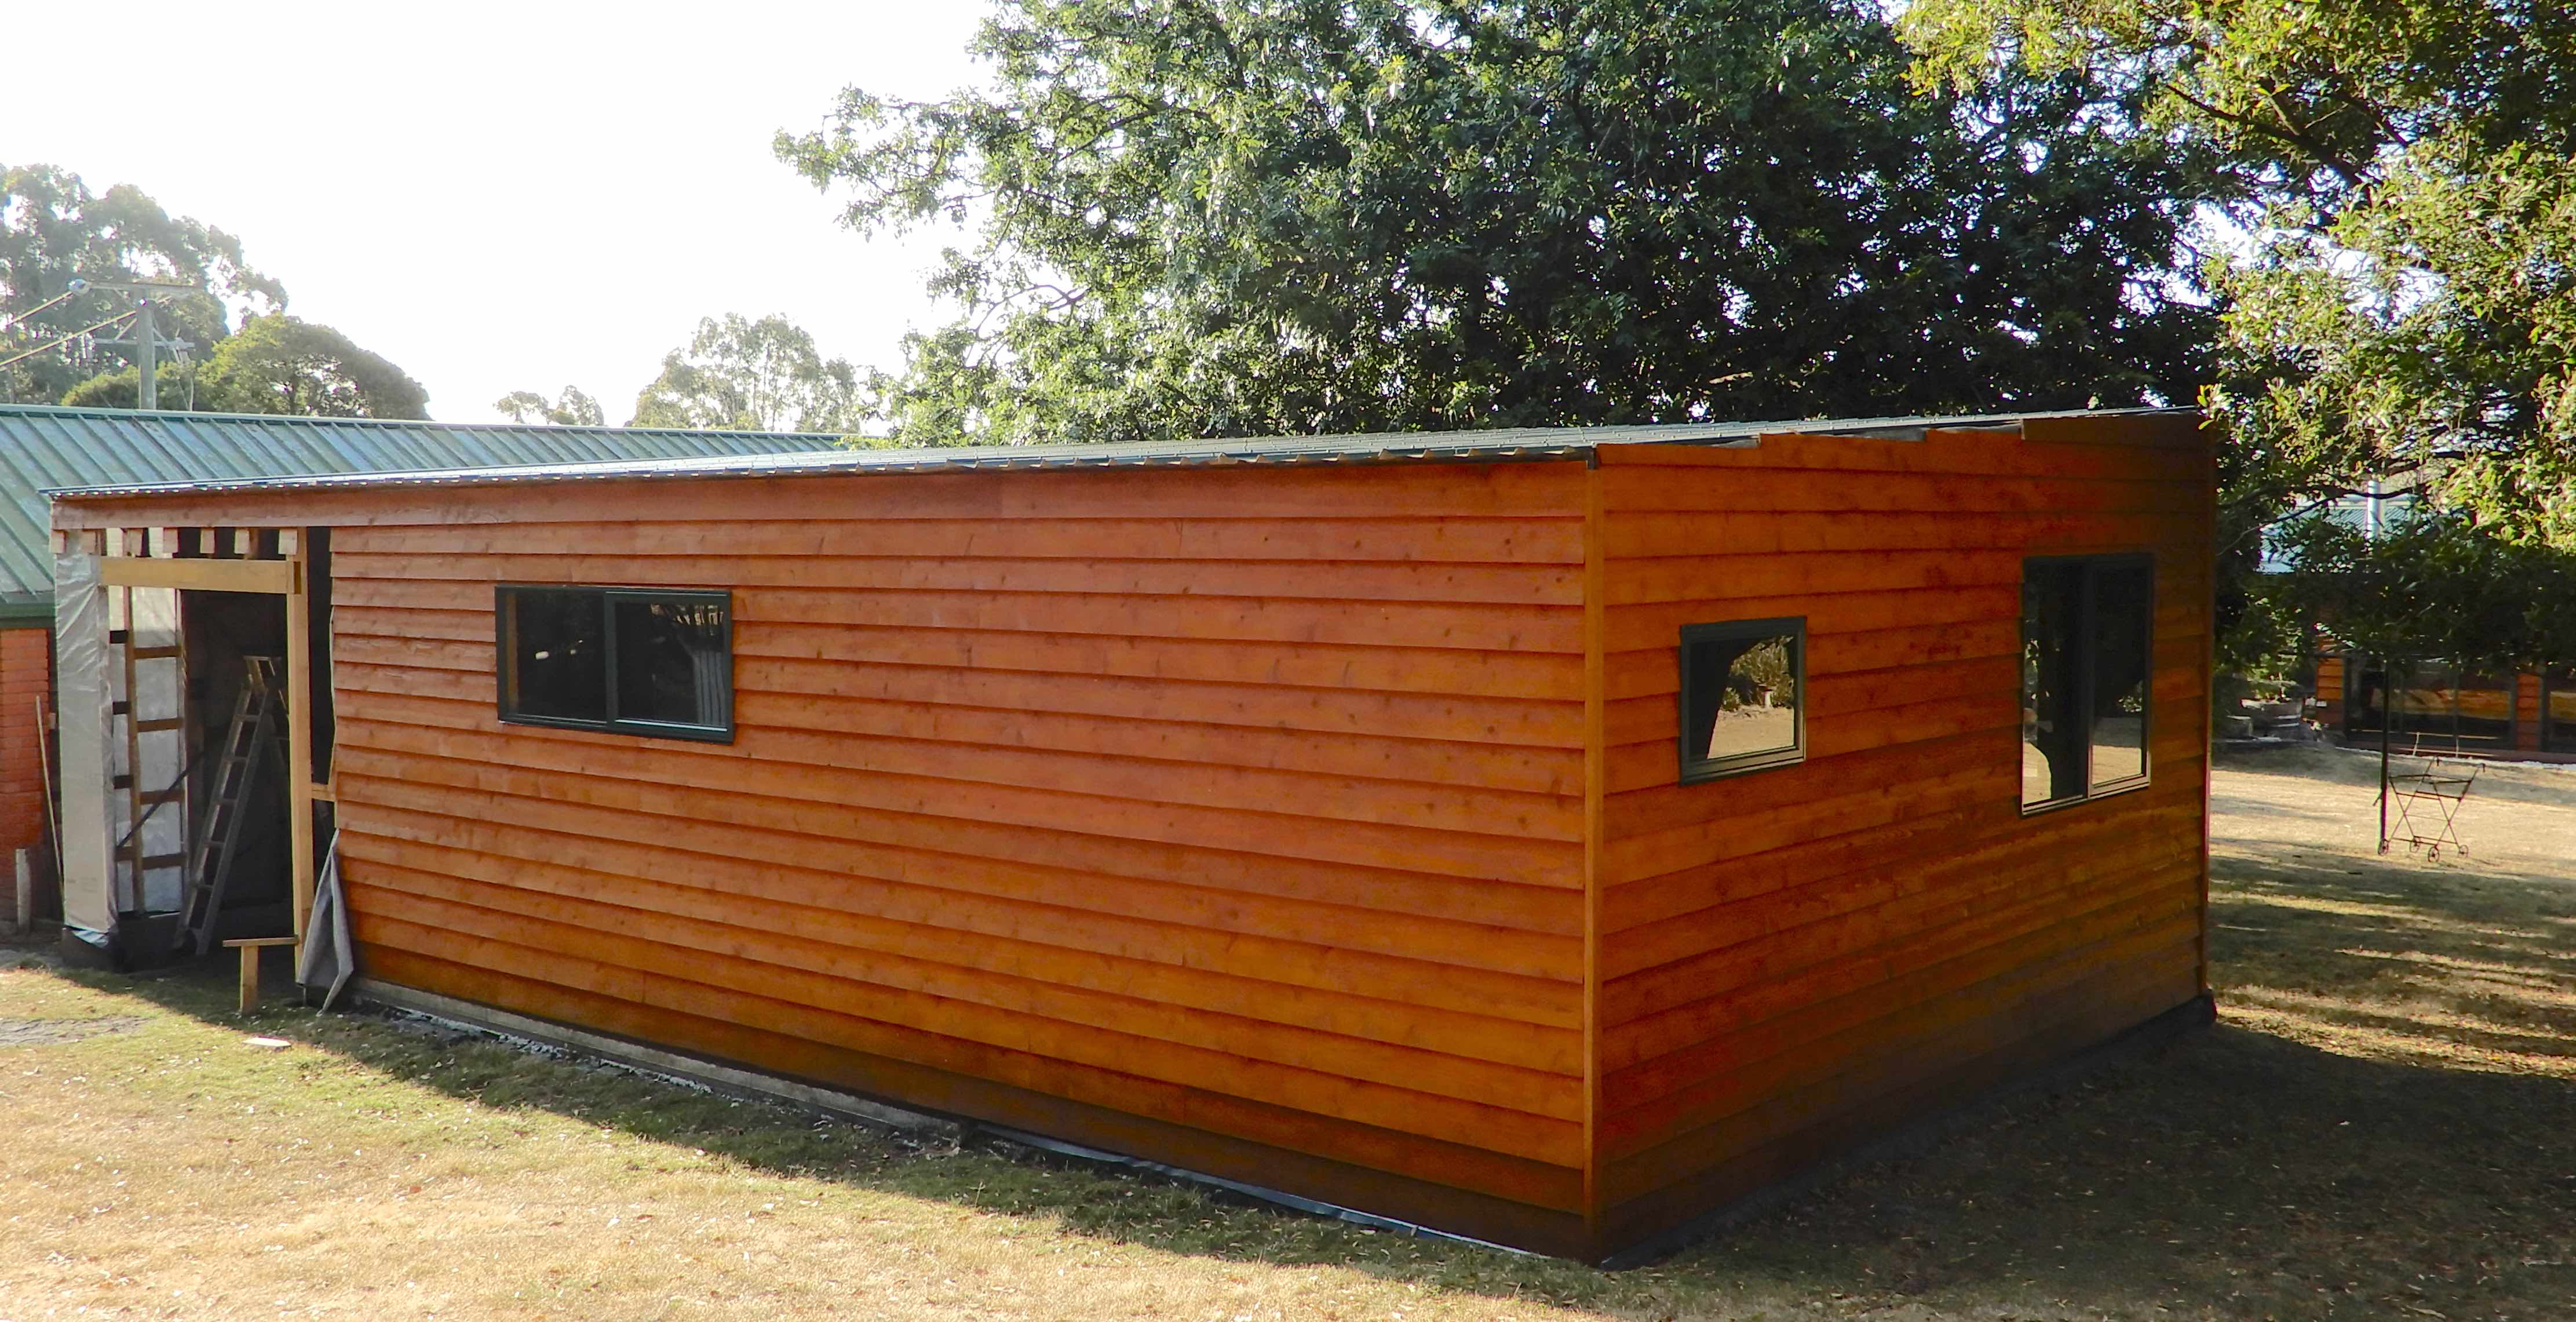
A bit more cladding,

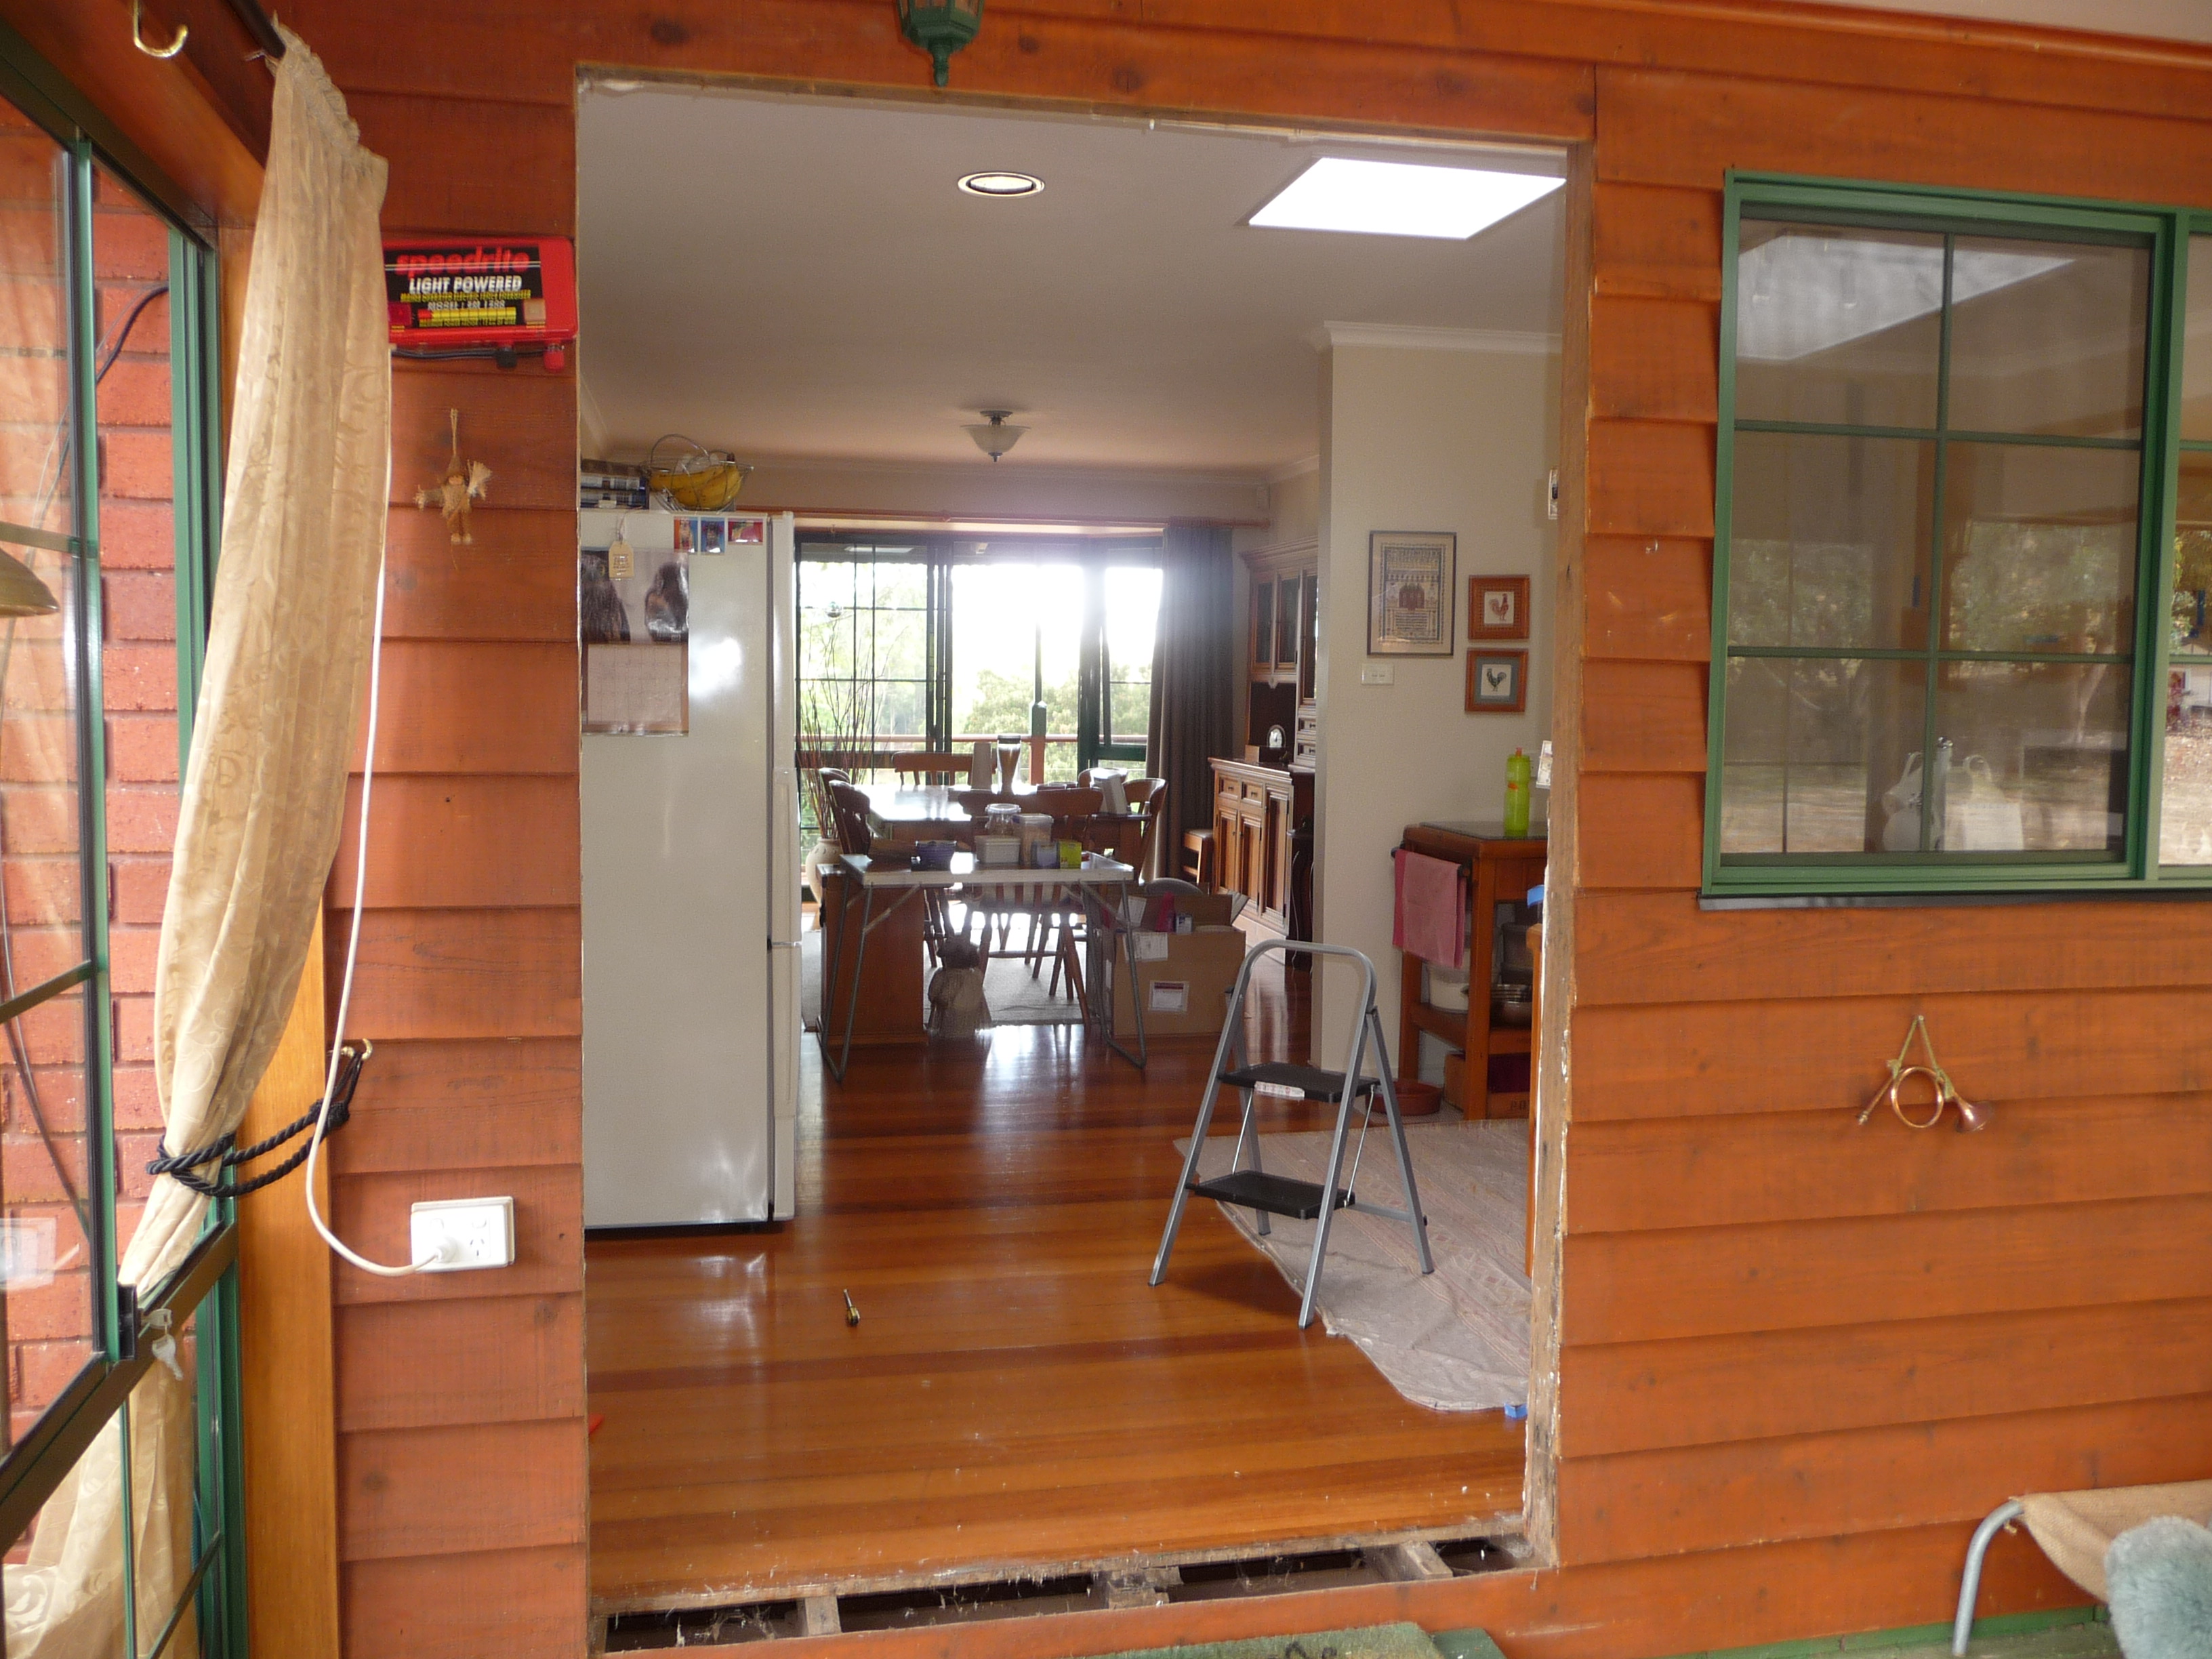
fitting the back door

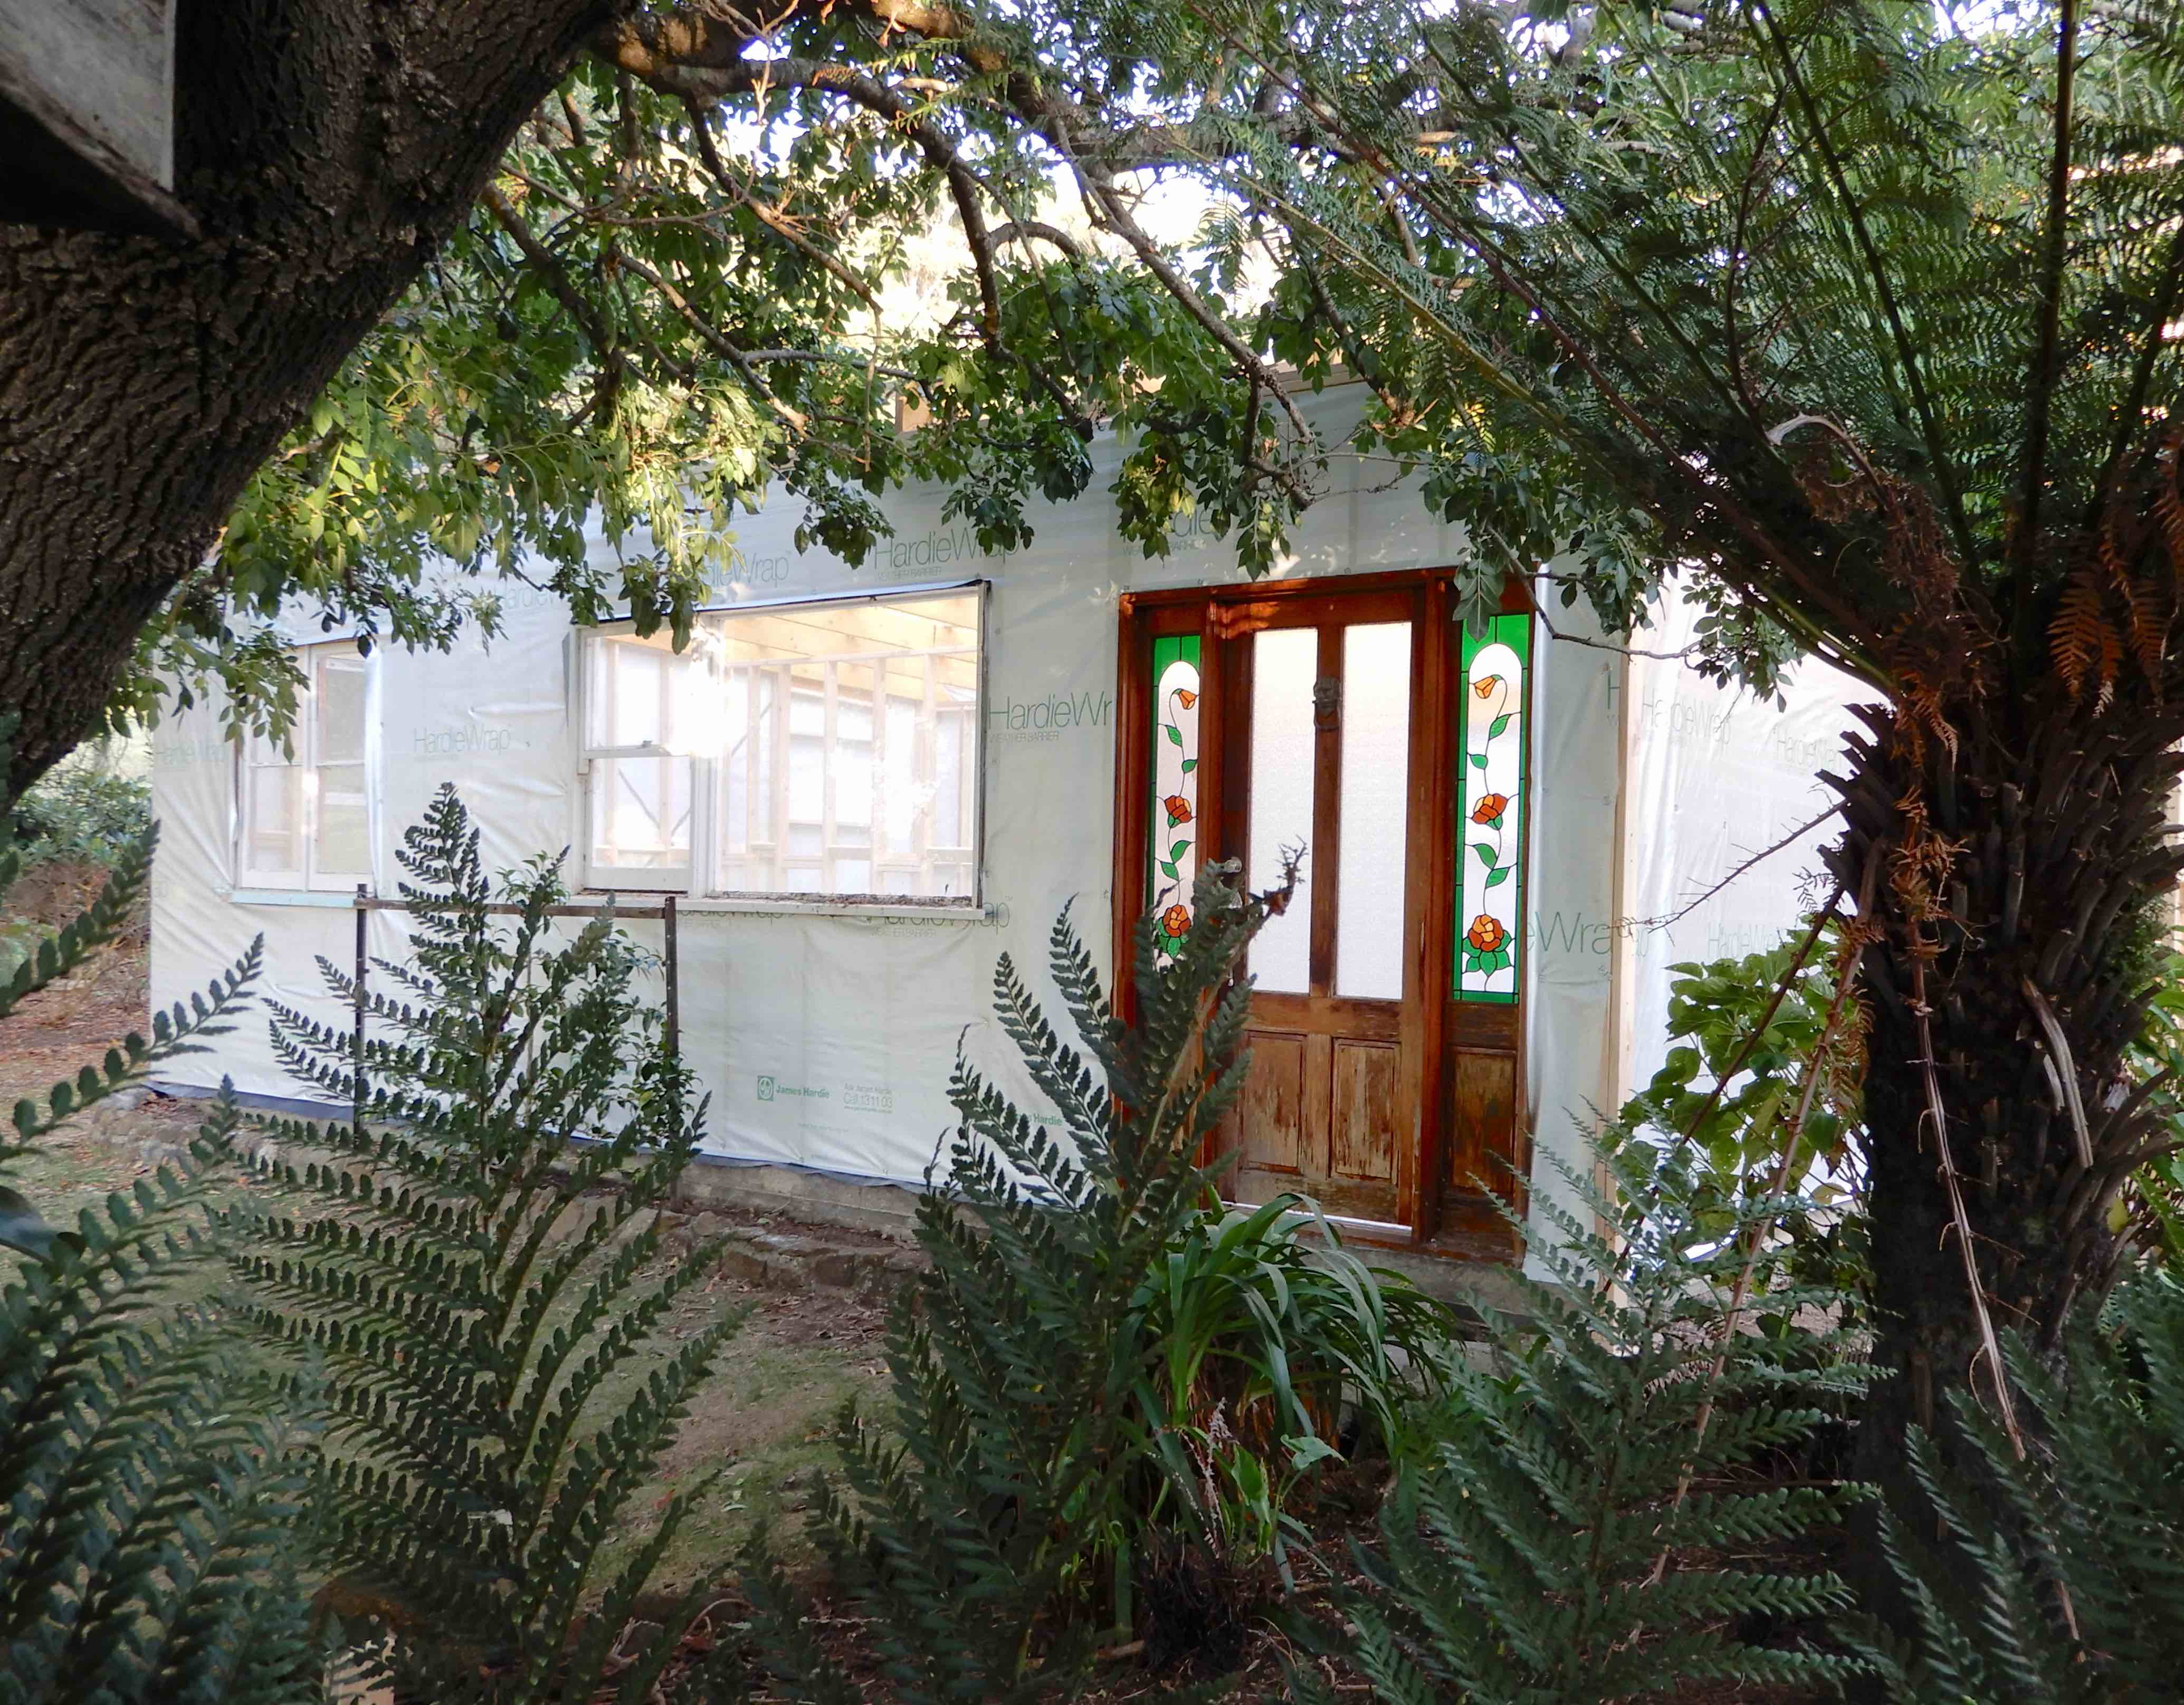
and the new windows arrived two weeks early. We replaced the old ones and finished the cladding

but the season had changed and it was too cold to apply protection until summer.

Many years ago, Michael found an old door at the salvage yard that was too nice to leave there. It has rested in the garage for eight years and now has pride of place as the front door. With the warmer weather, I could finally attempt to restore it to its former glory.

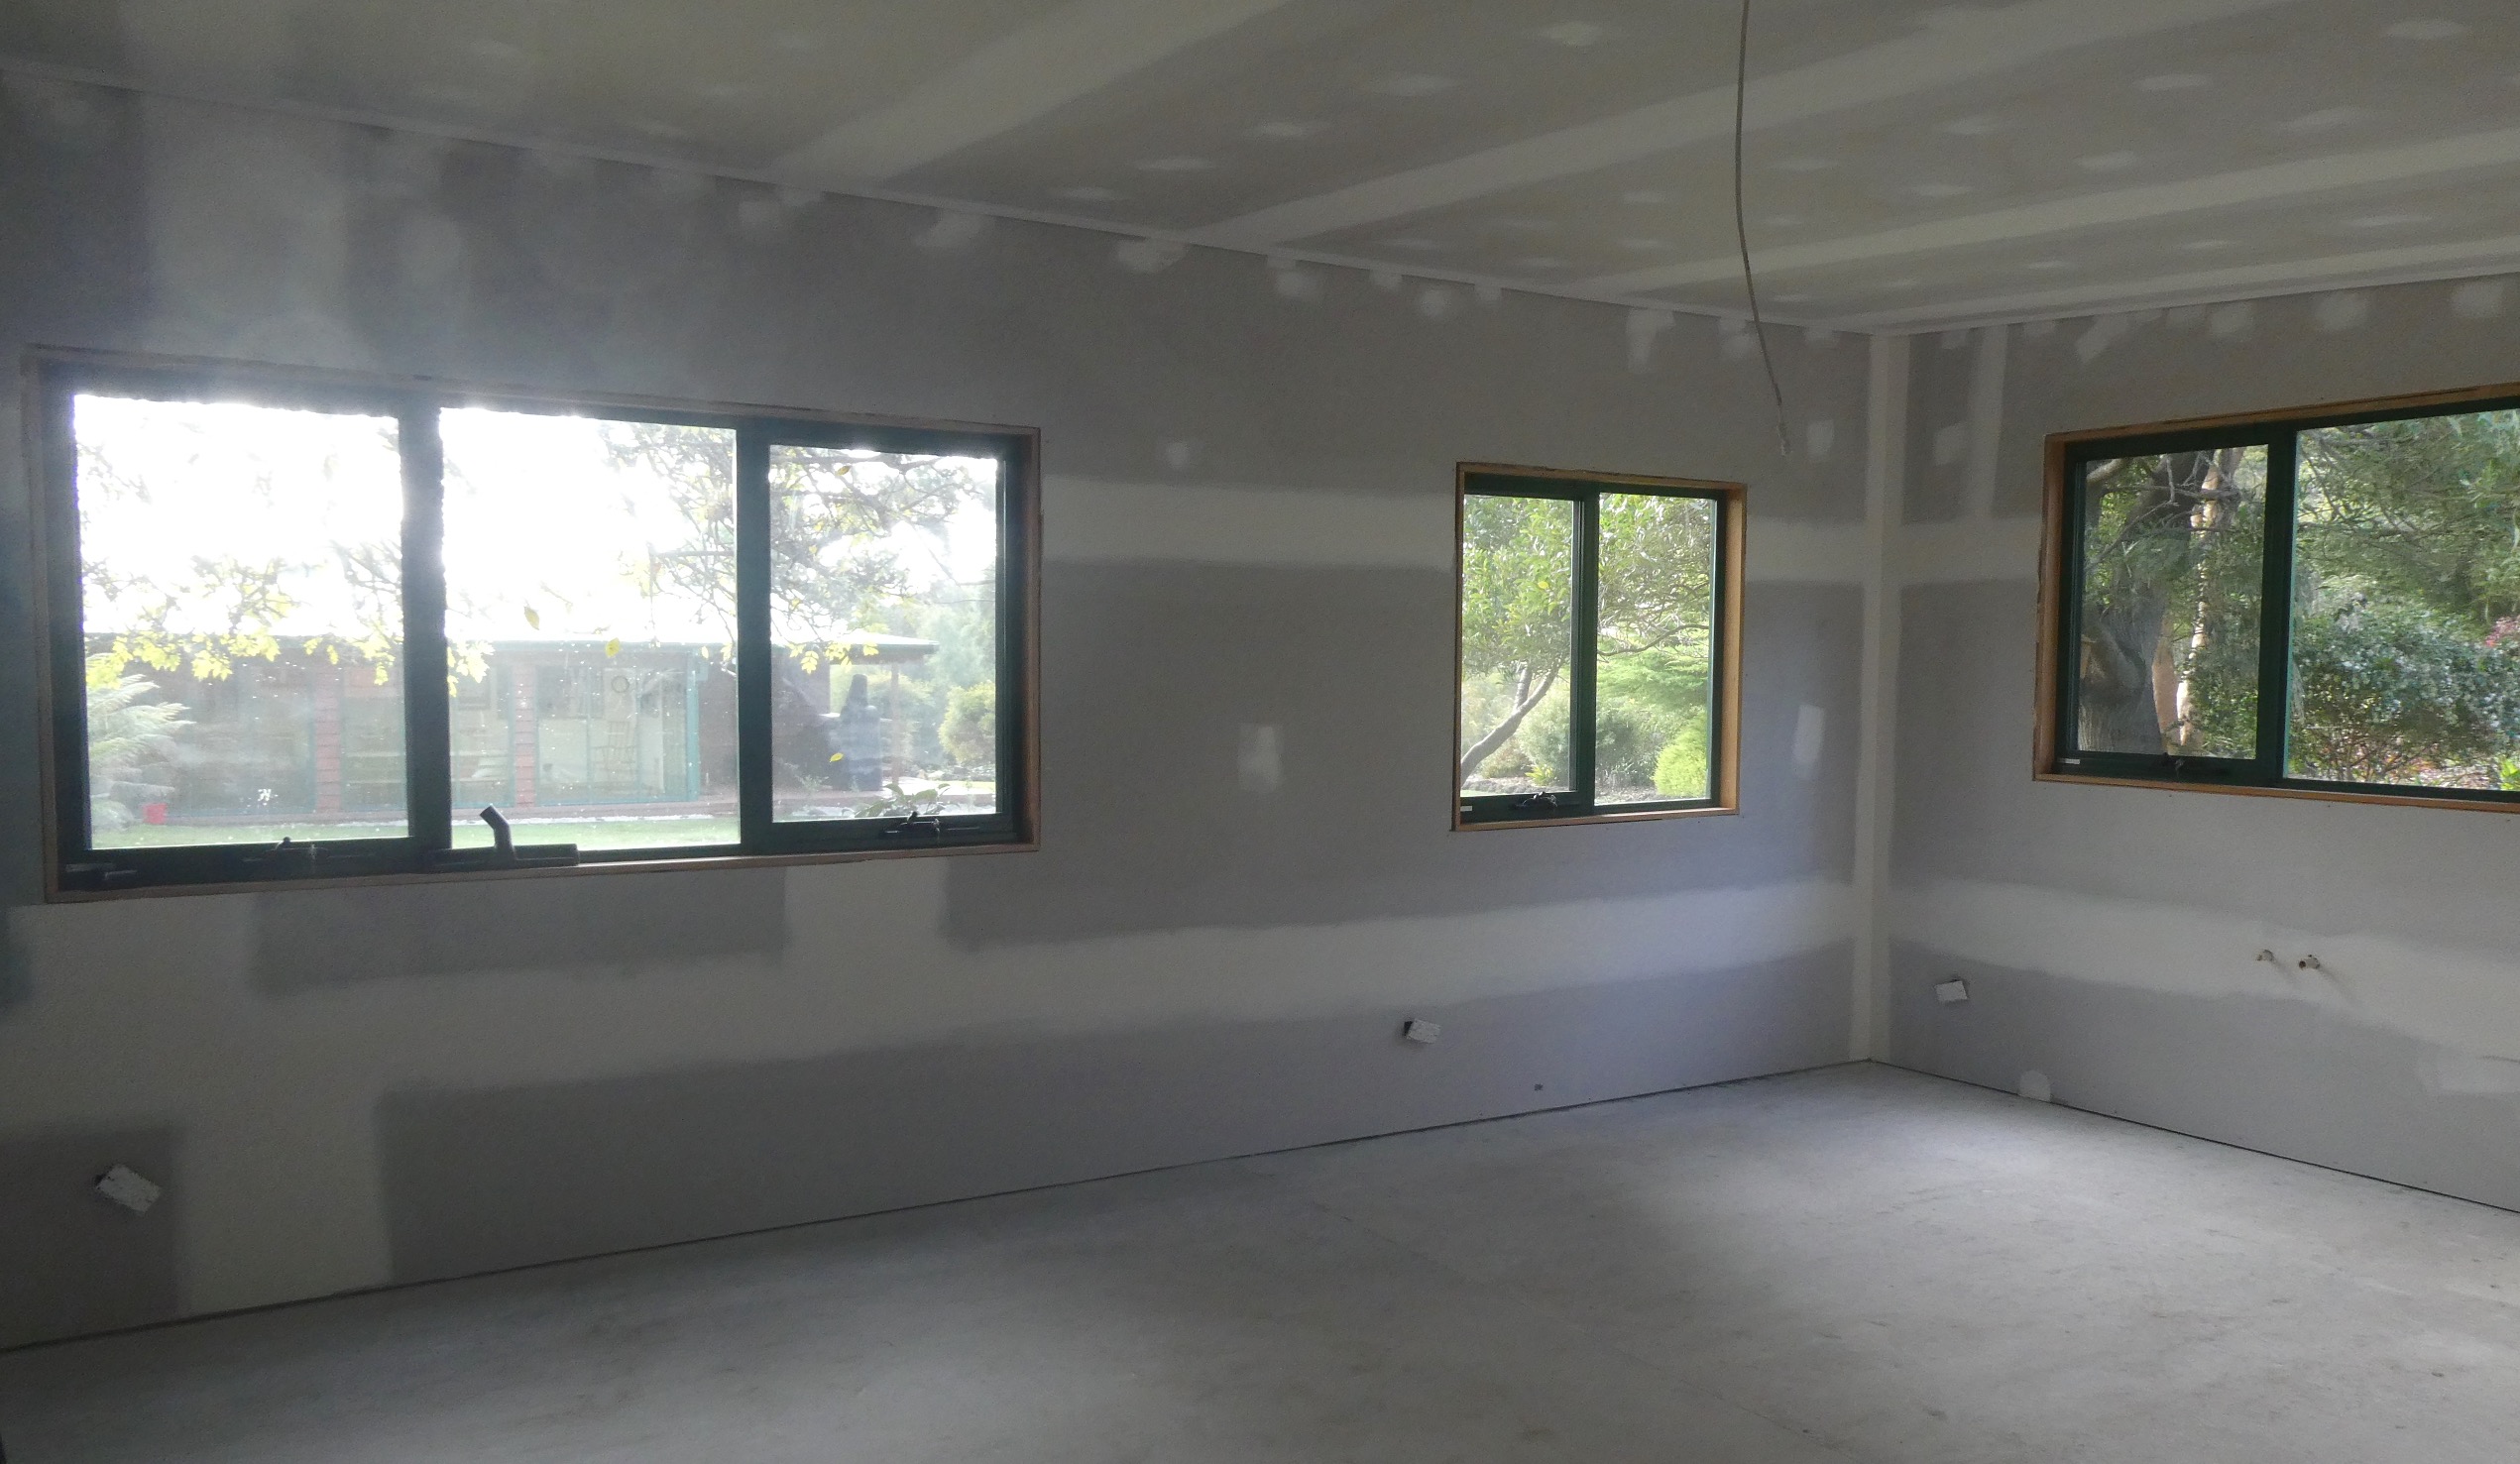
More delays ensued waiting for the electrician and we were now into May 2020. Once his cabling was in, we fitted the insulation batts

and the plasterers were able to work their magic.

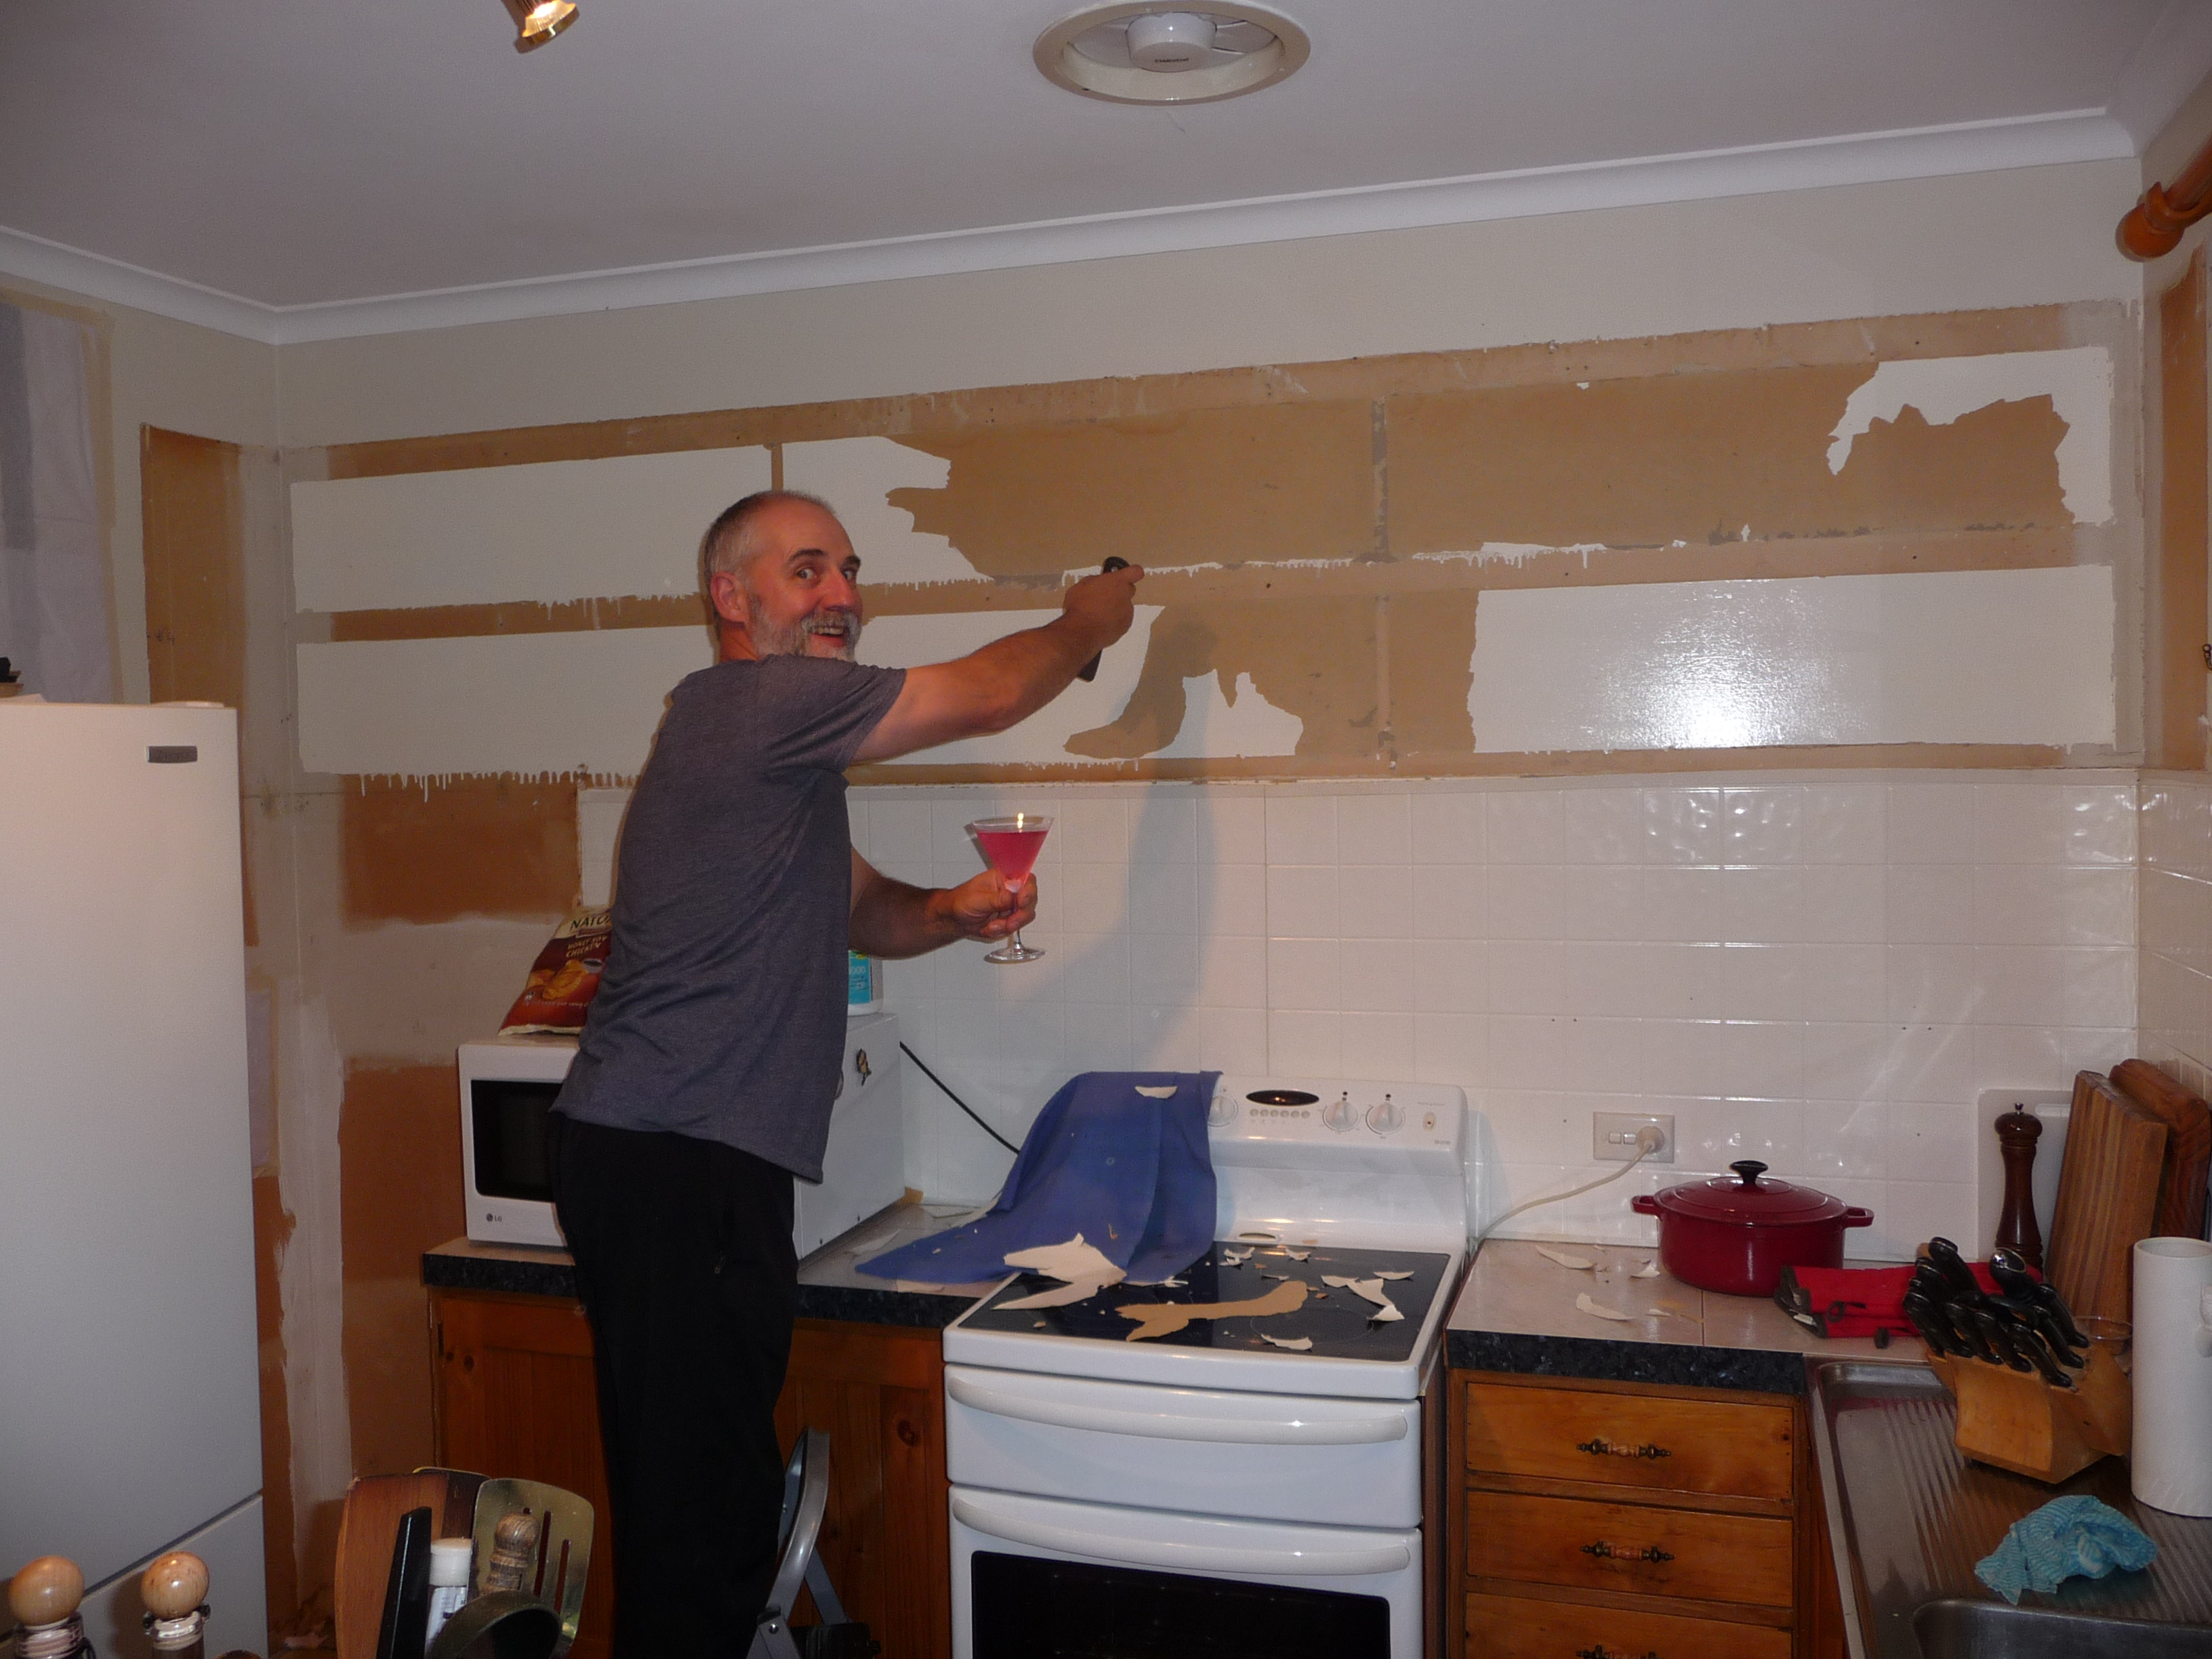
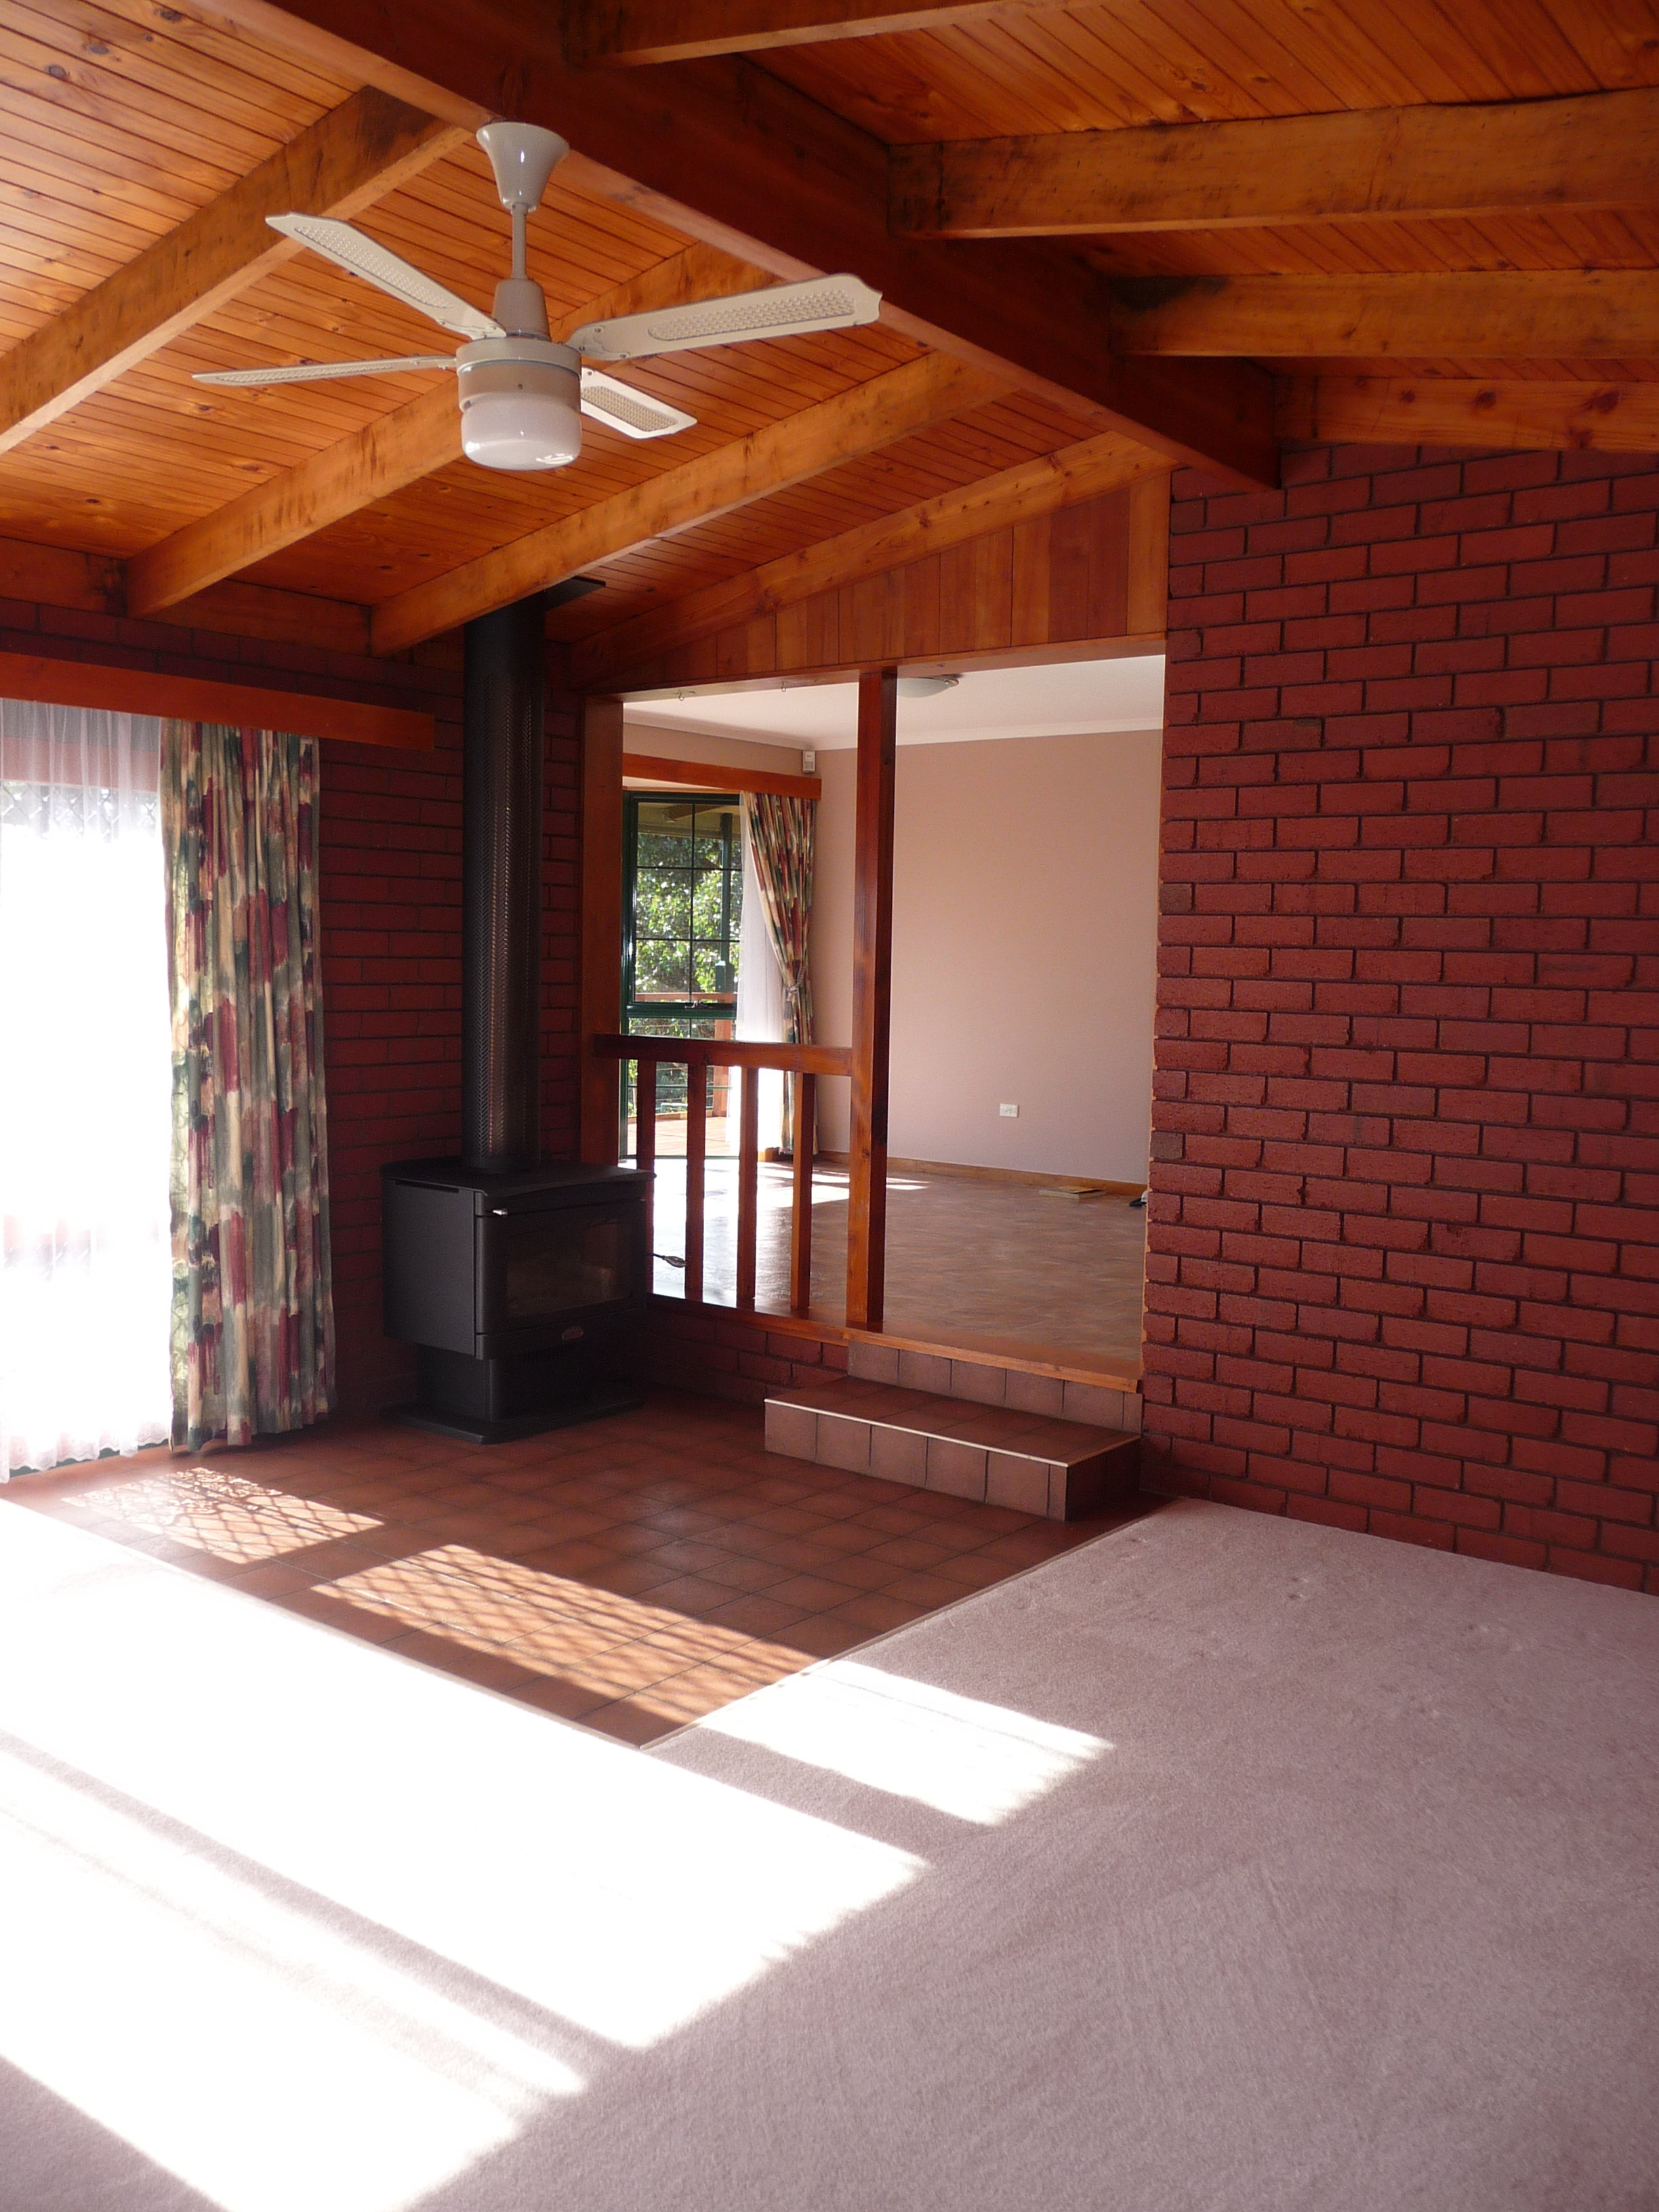
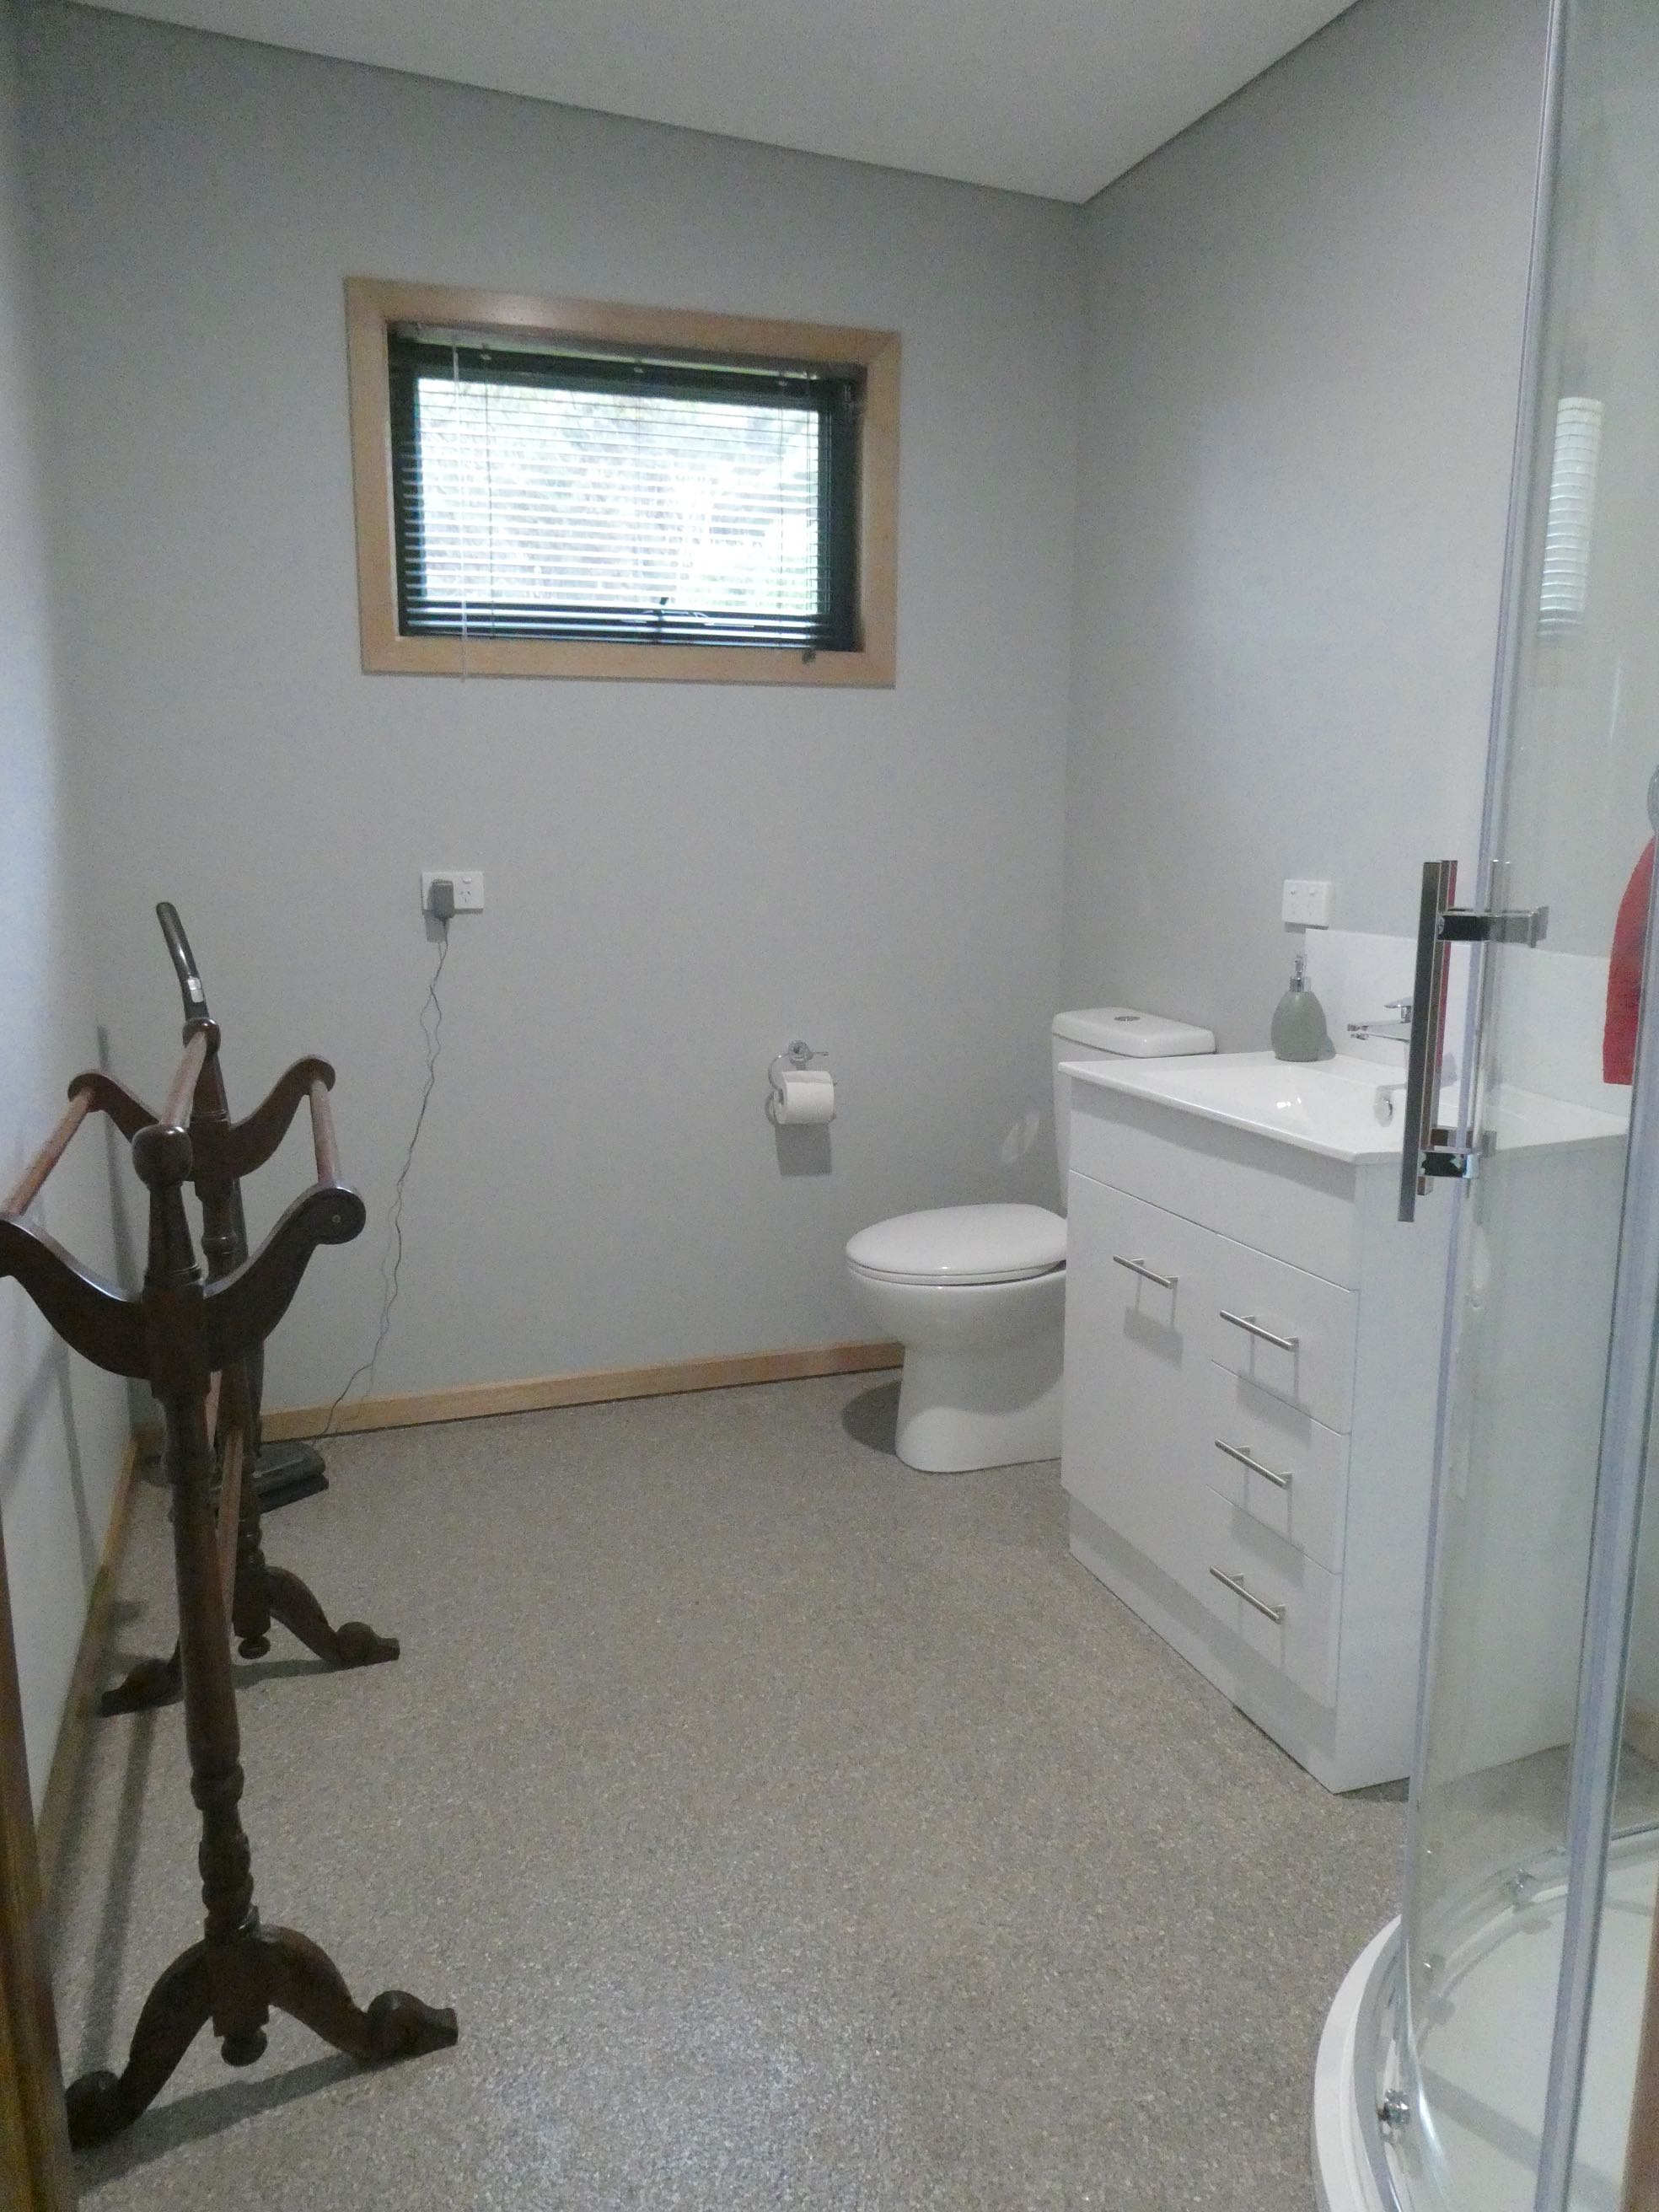
We had decided on epoxy resin with vinyl flakes for the floor and the next few weeks were a juggling act between the plumbers and the flooring contractor. With the heat pump installed we could paint through the cold months and apply architraves and skirtings.

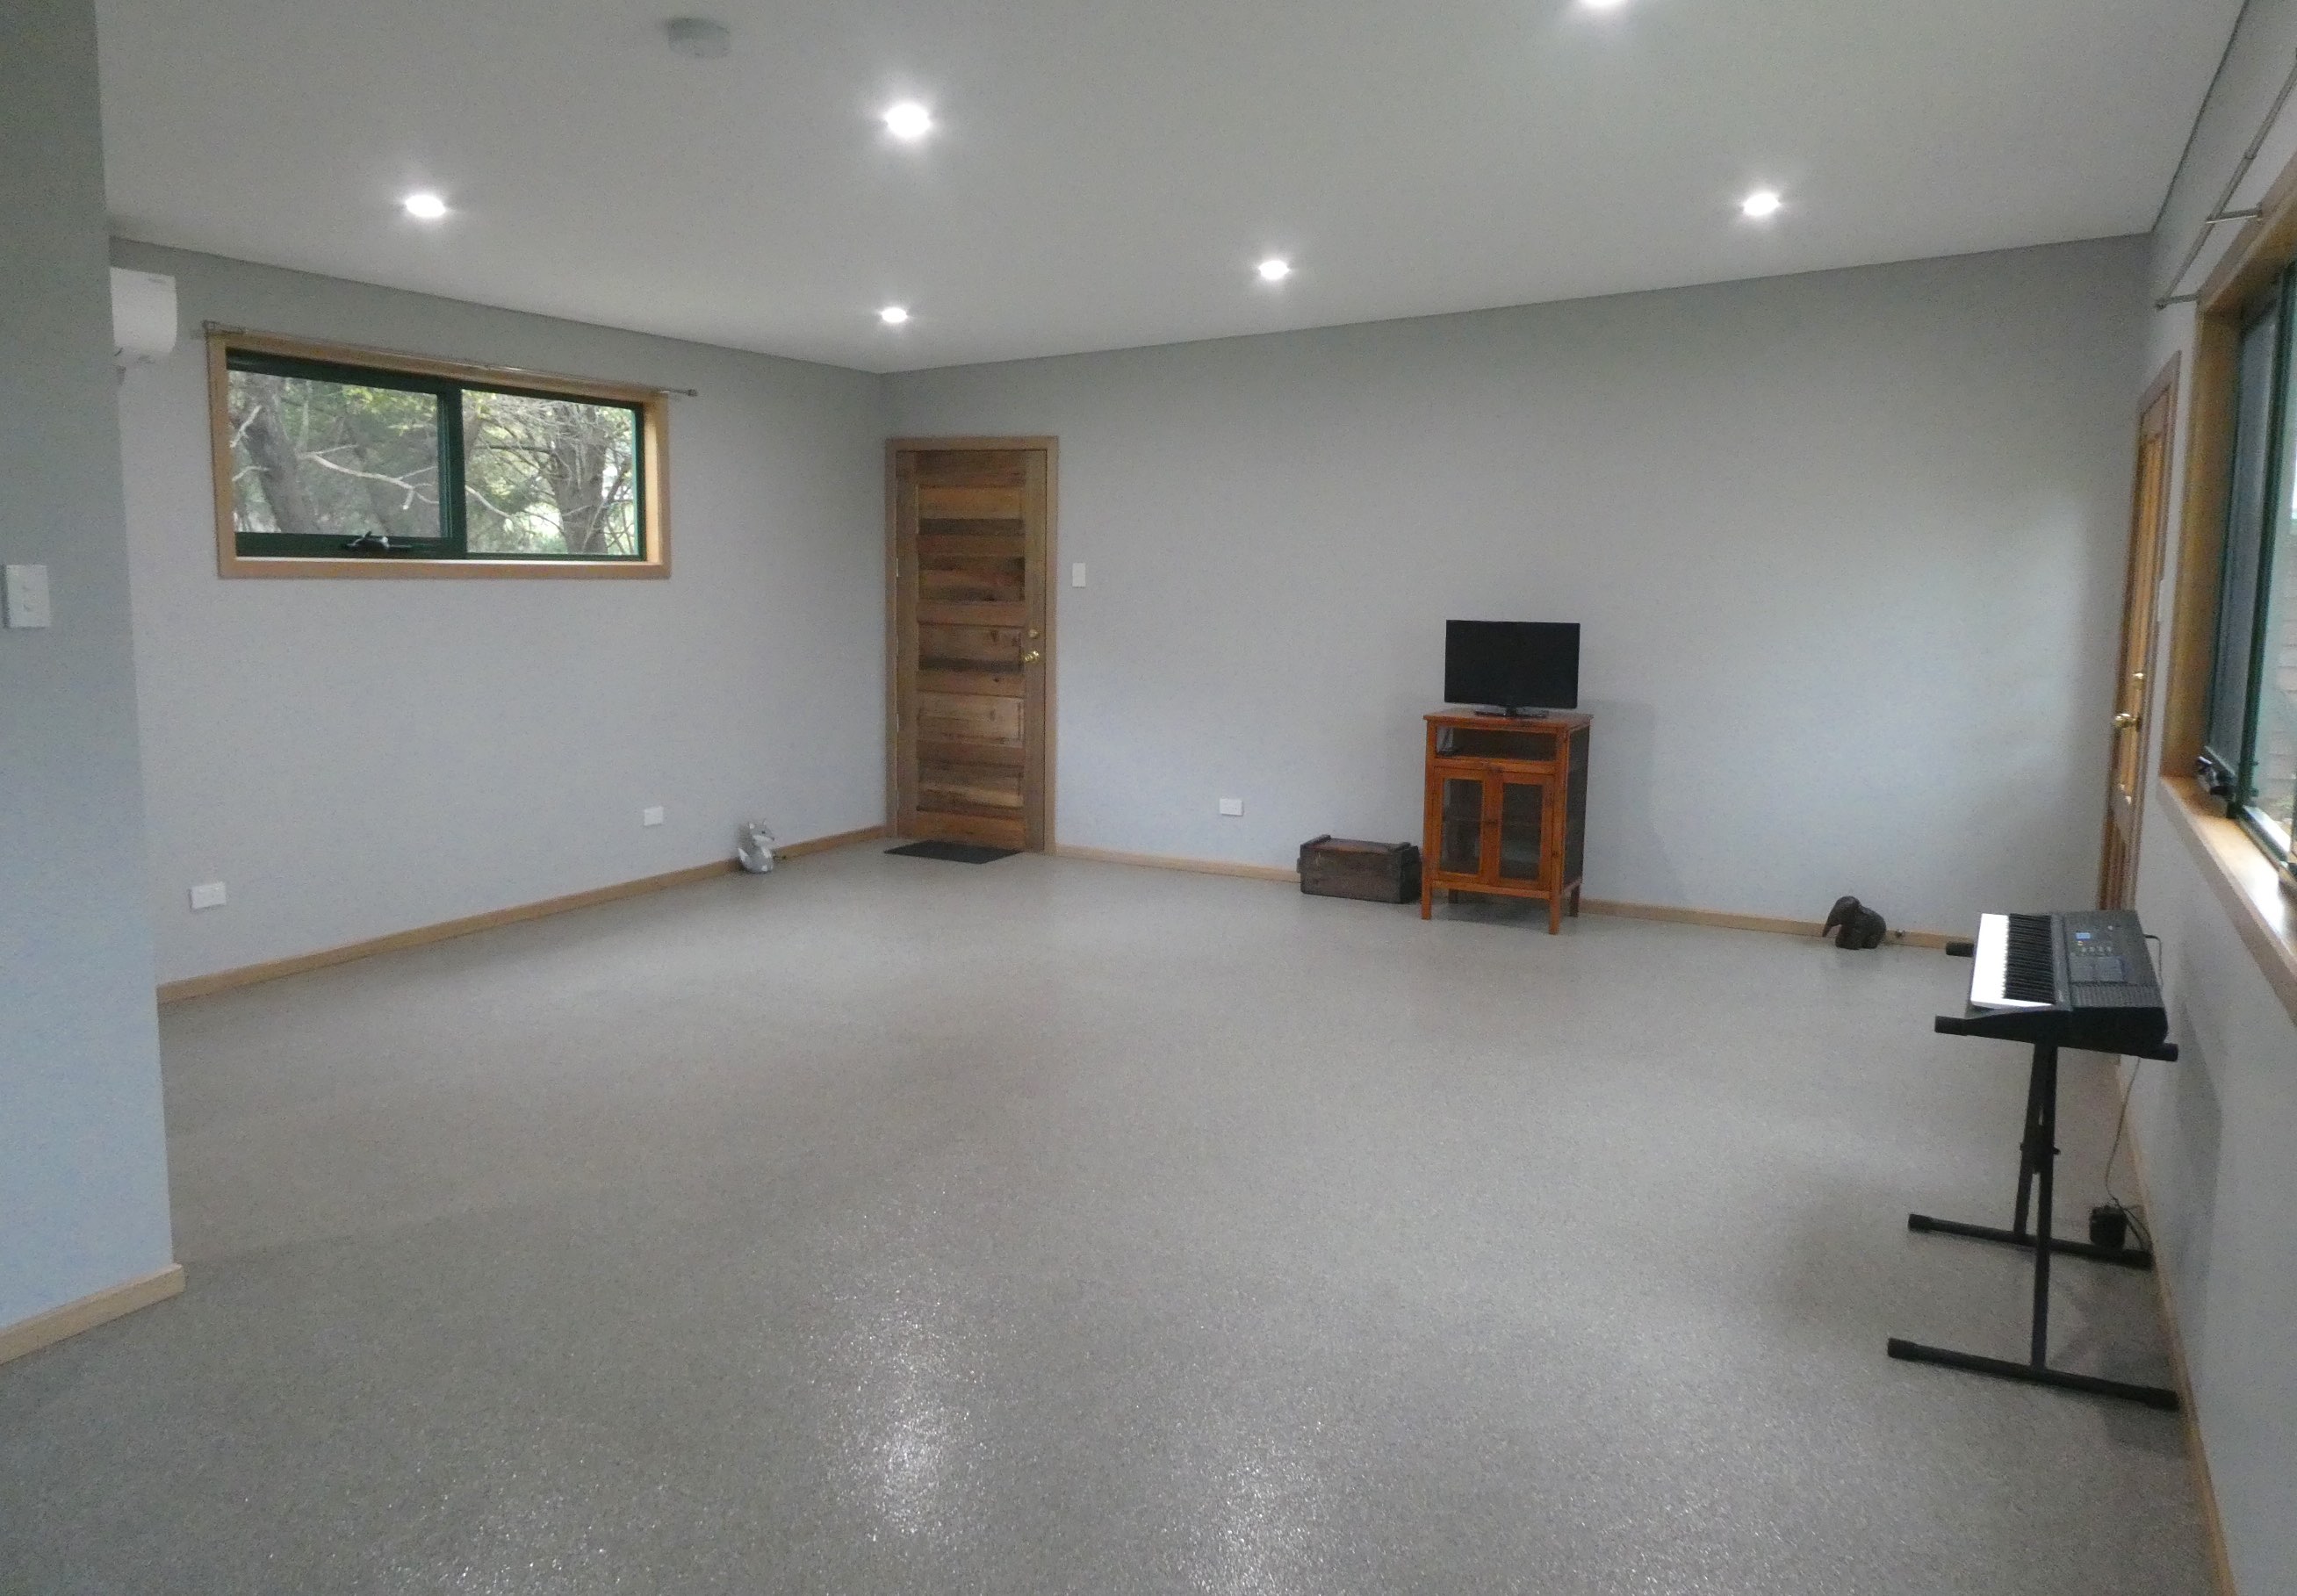
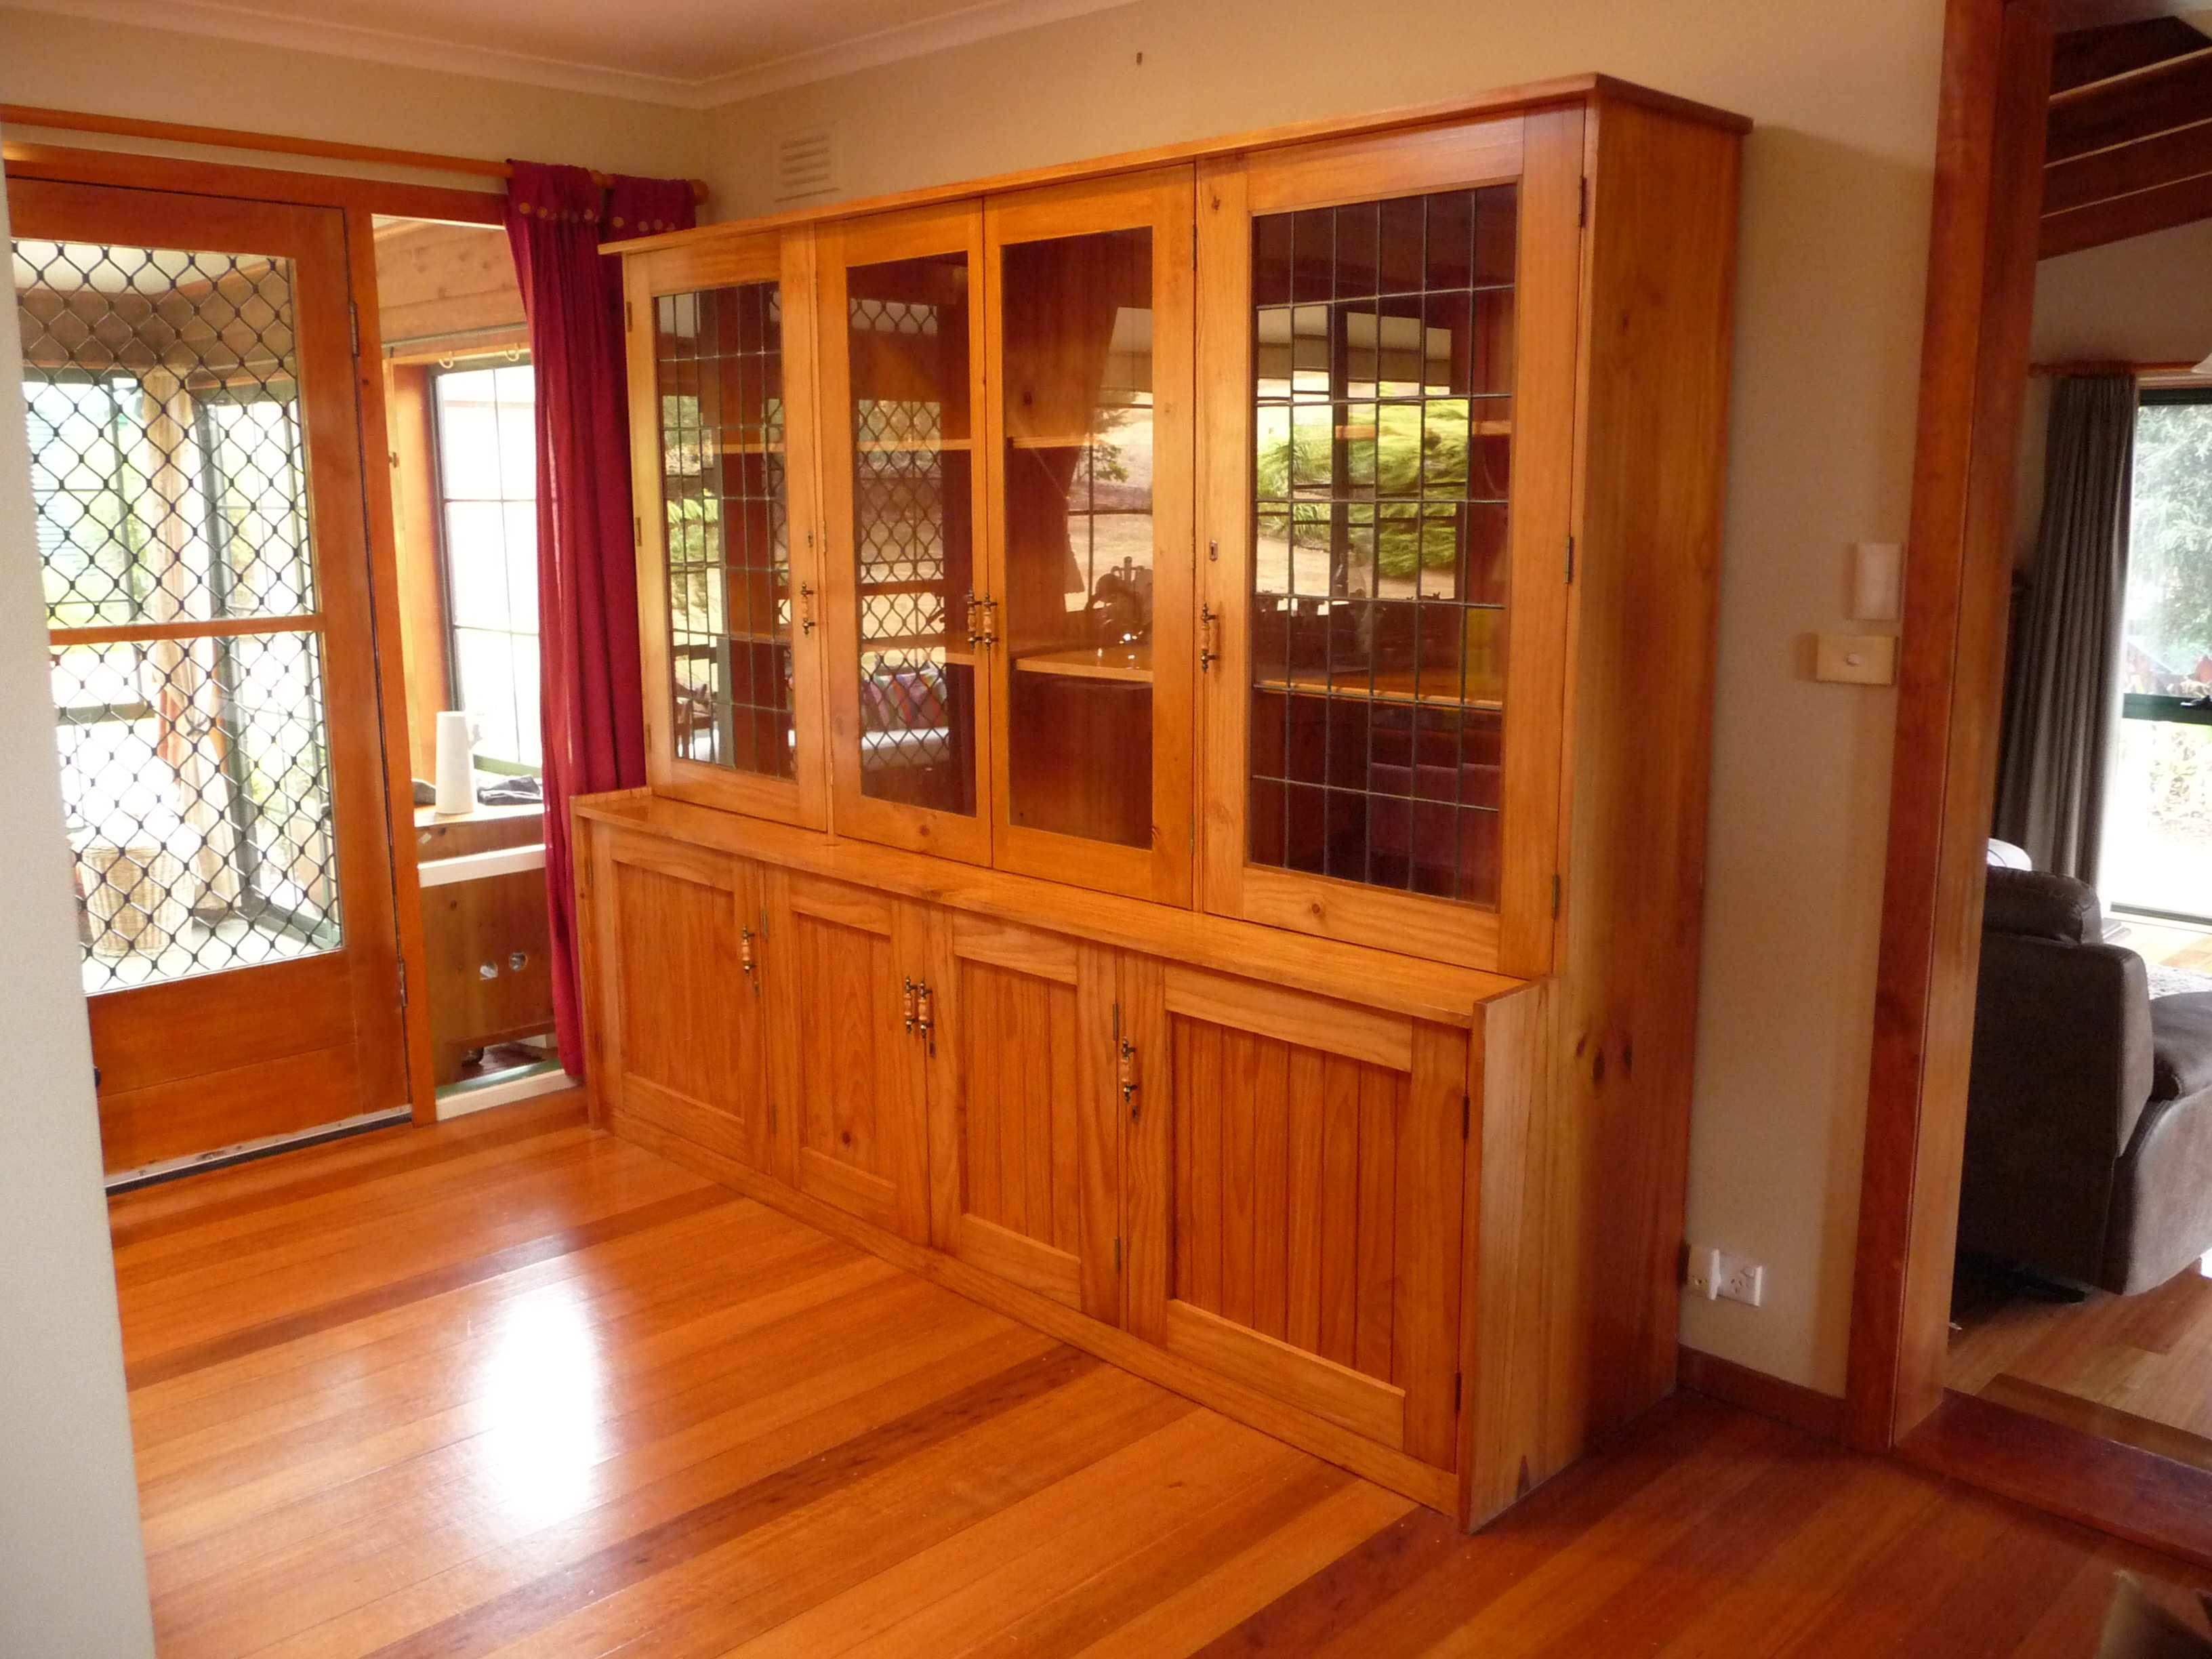
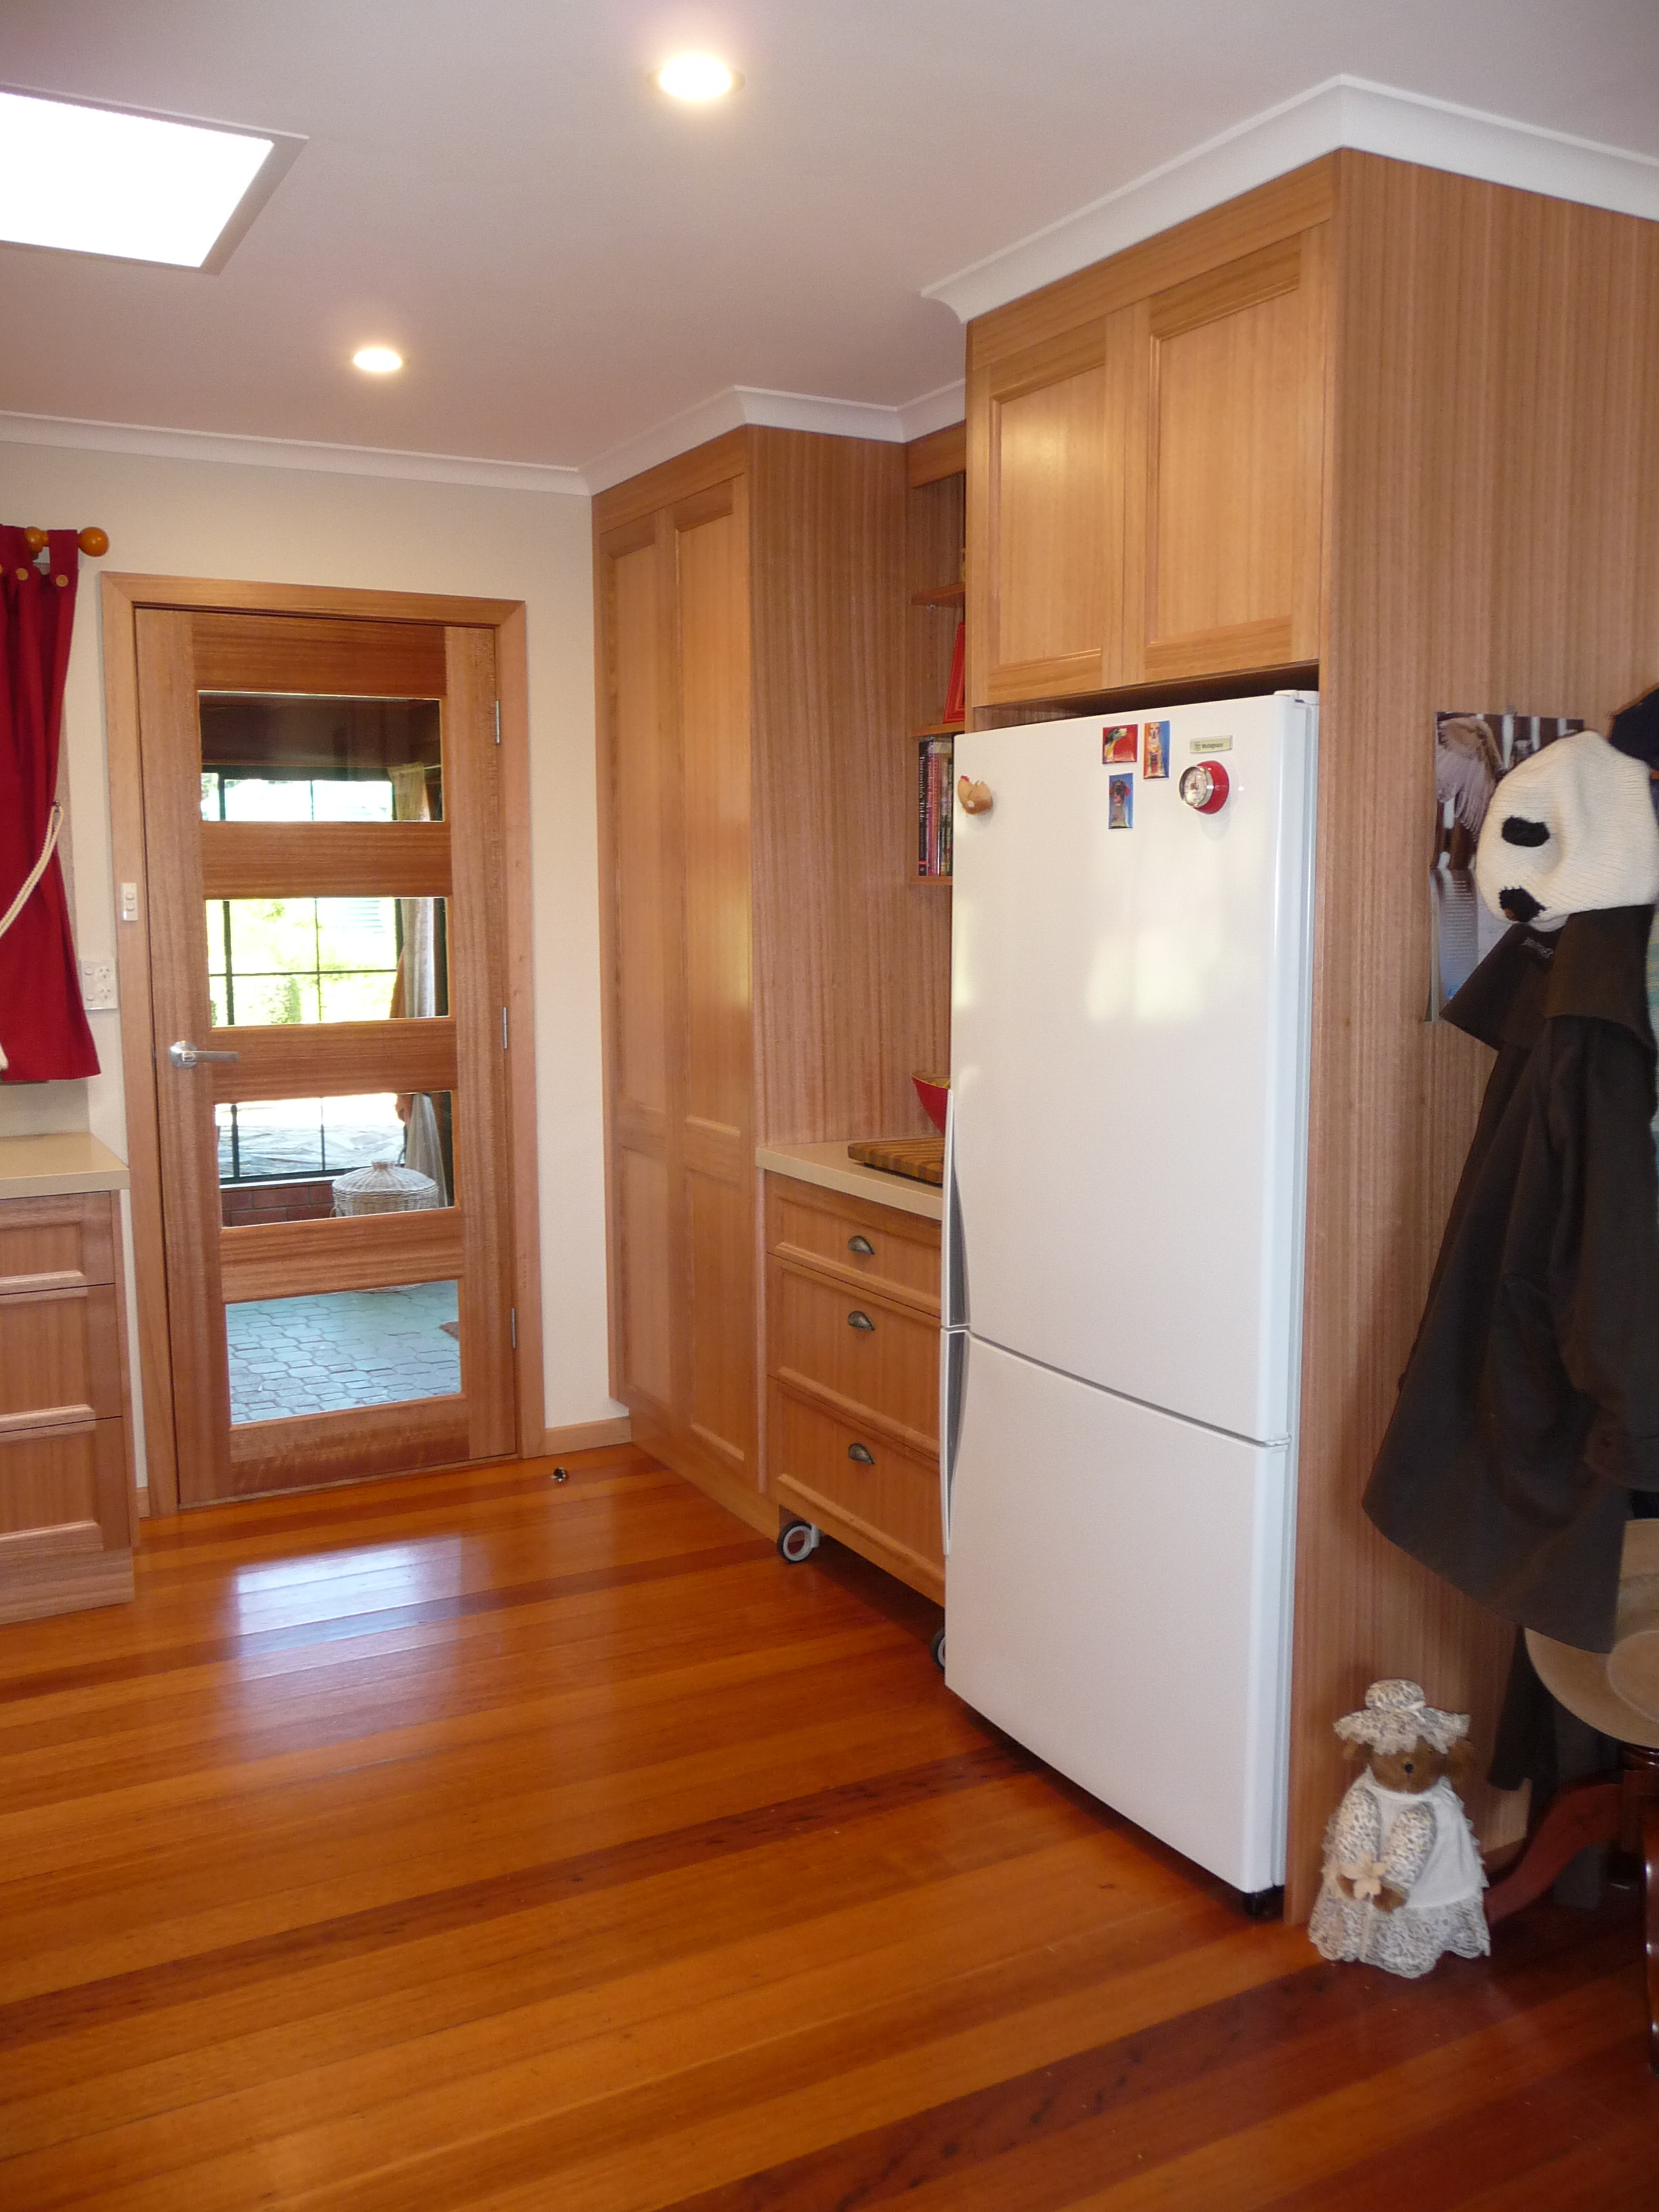
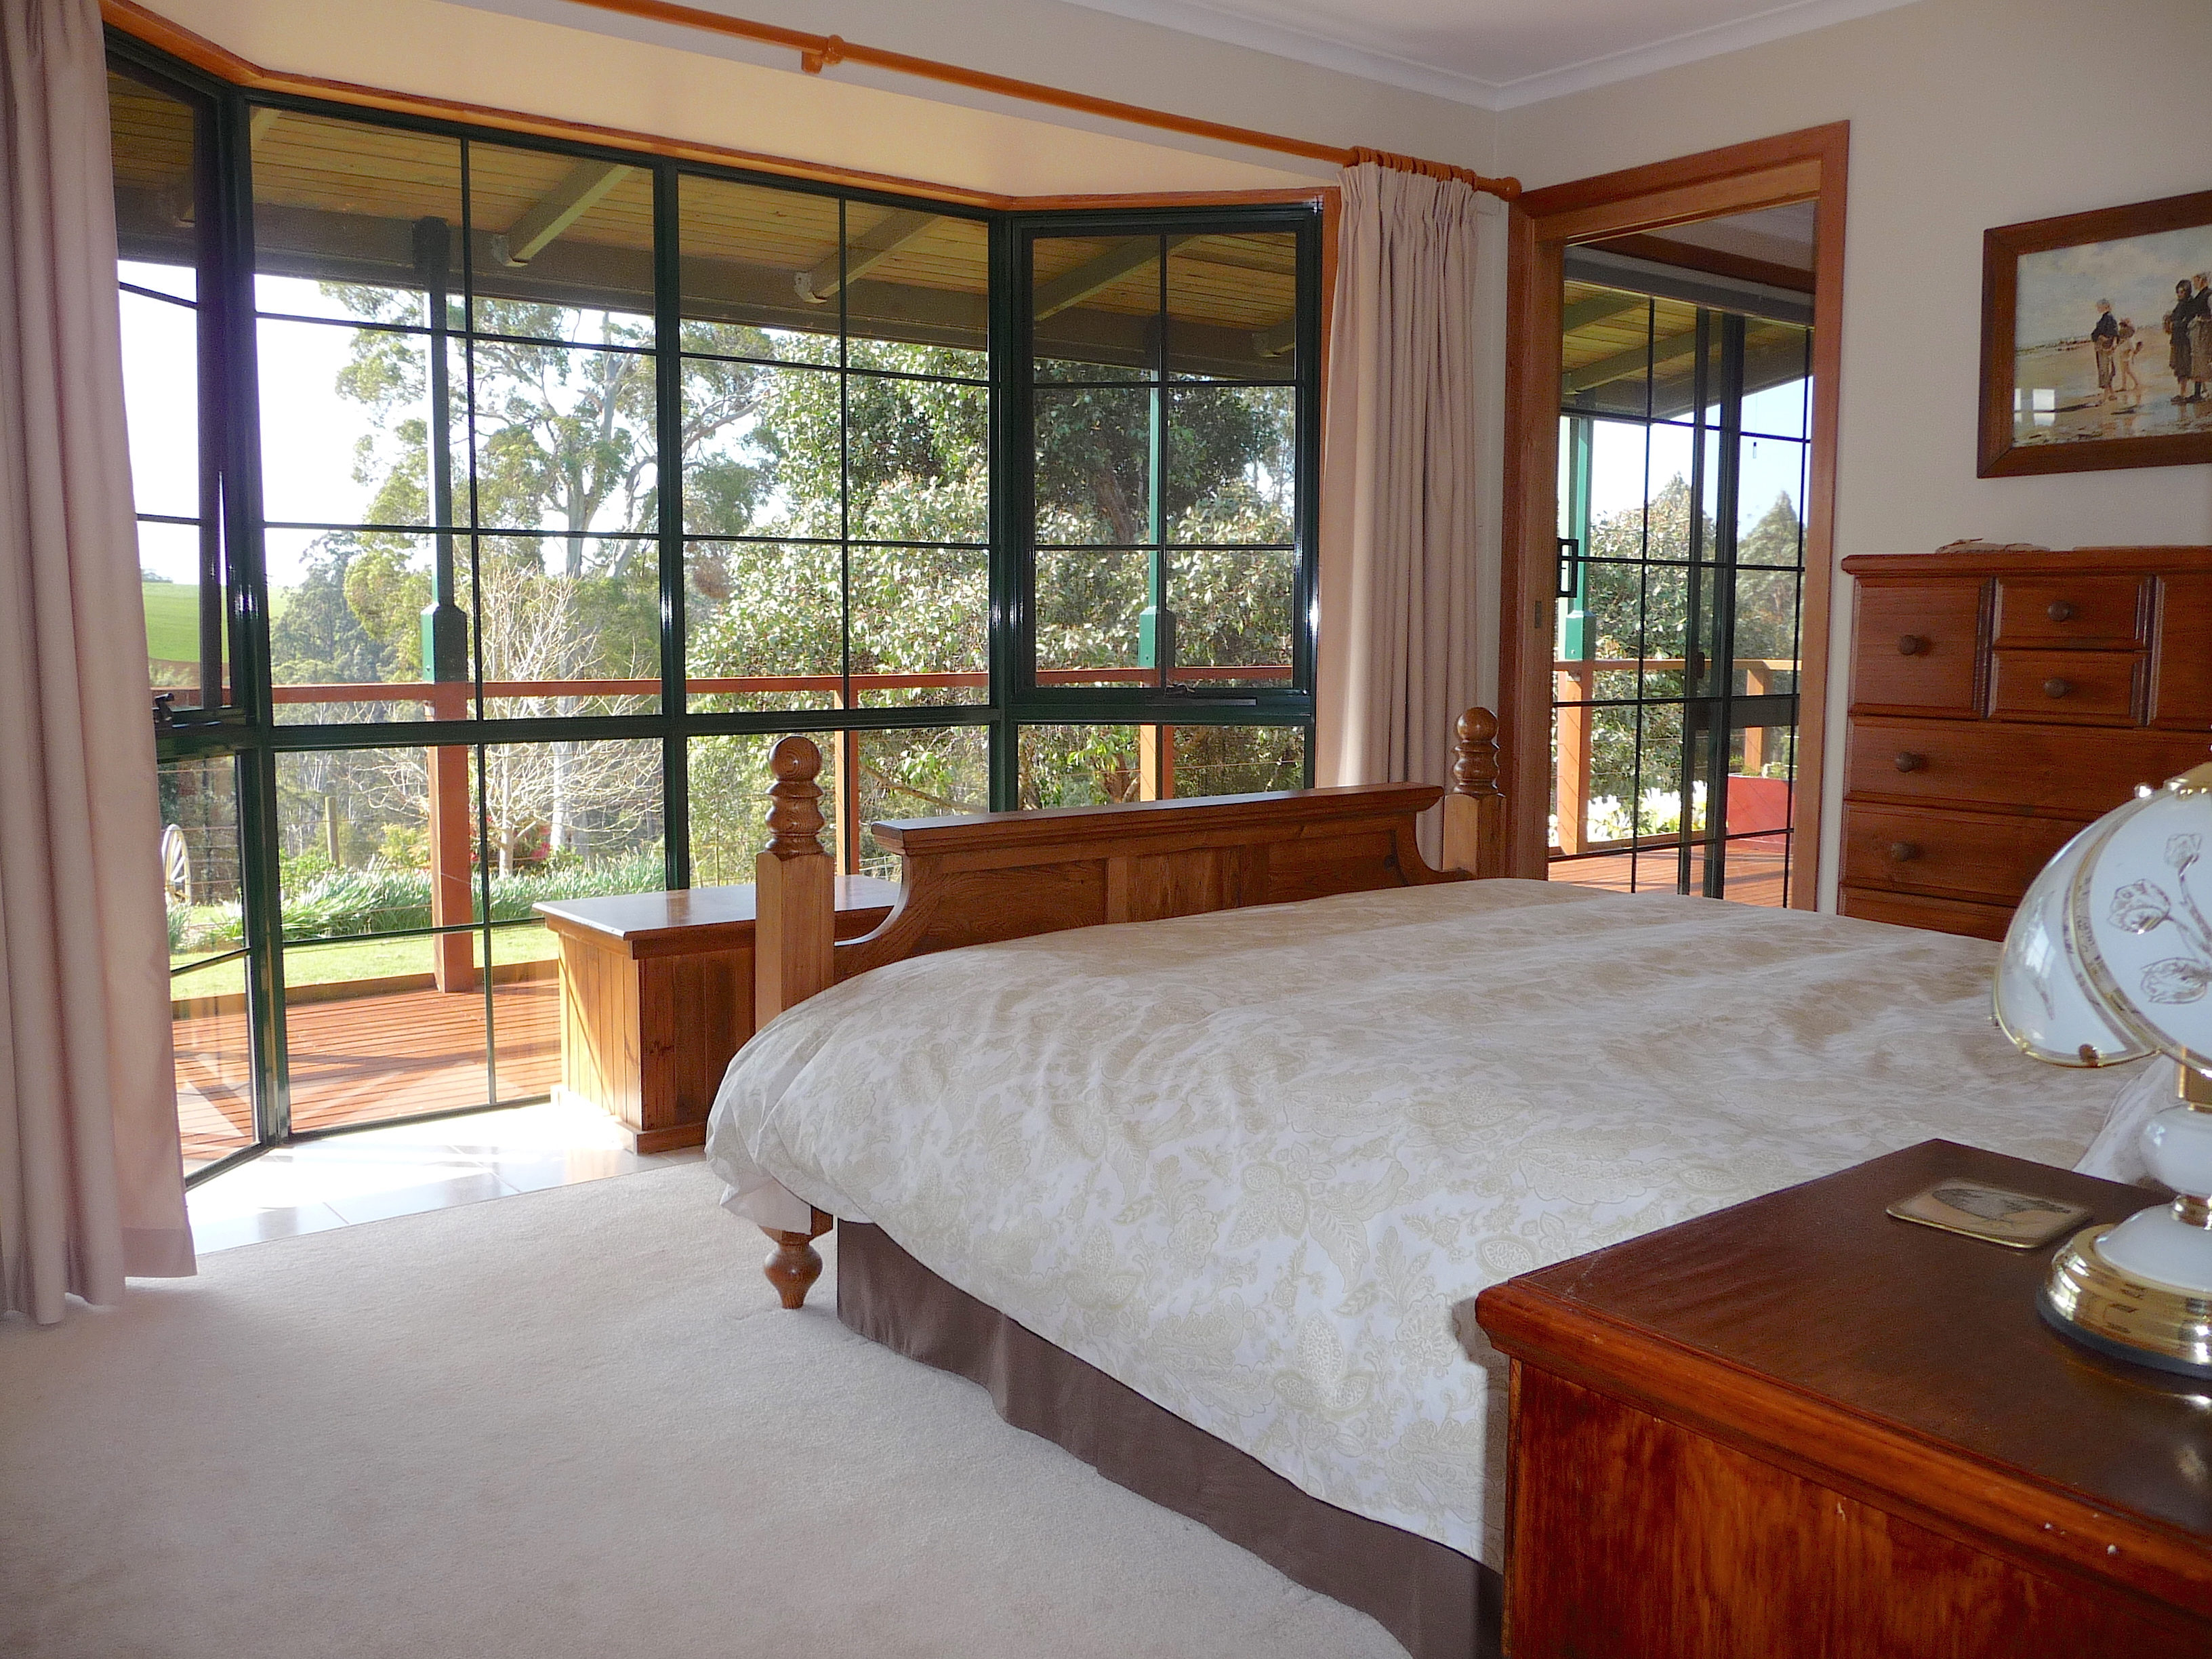
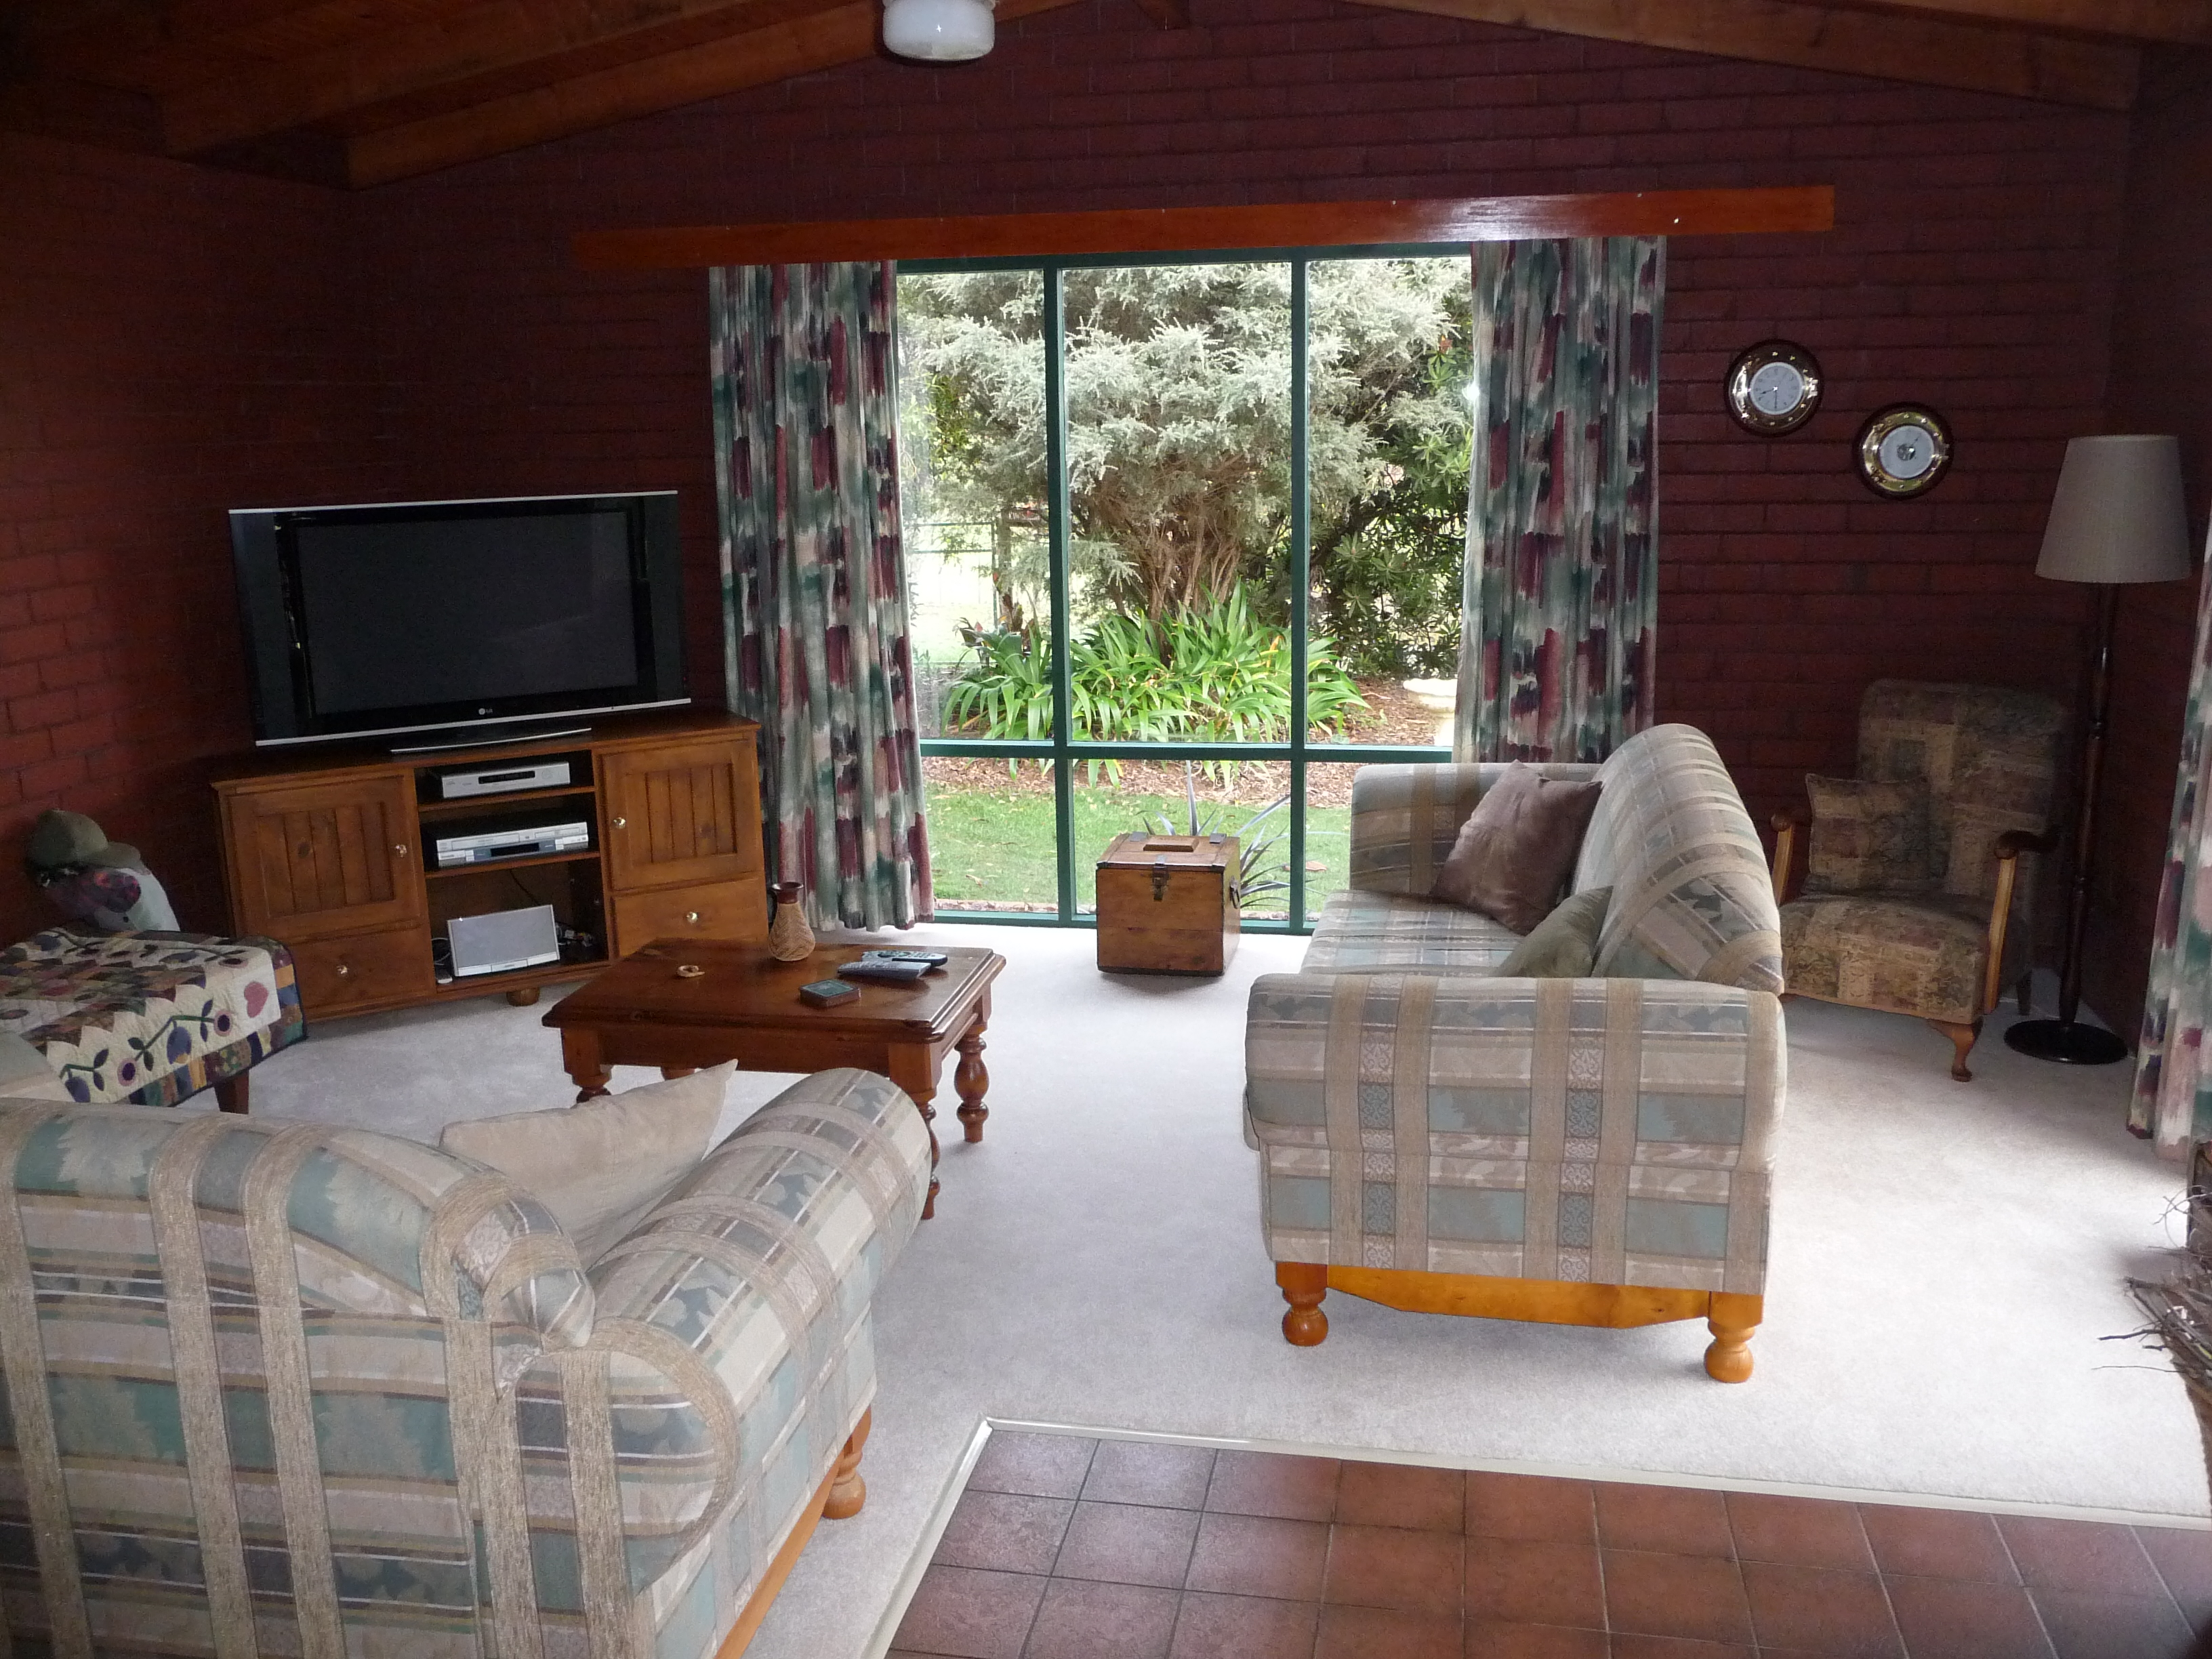
A kitchenette is next and some comfy couches and we have a lovely music studio to relax in as well as a more pleasing vision across the garden.

eleven years

Last month marked eleven years since we moved to our little piece of paradise. This led to some reflection, over a glass of wine or two, of renovations completed and projects accomplished. The property we have now is quite different from the one we purchased in 2009. The first thing to go was the lino on the floor, I don’t understand why anyone would lay that over polished timber.

The pink walls and light fittings soon followed along with the curtains.

With so many outdoor areas, we decided the large deck at the eastern end of the house was better put to use as an office. We included a second bathroom in the extension to serve as an ensuite to the third bedroom for guests.

The main bathroom was next for a makeover, I don’t have a ‘before’ photo of the bathroom, it was so terrible, but you’ll get the general idea. Demolishing the tiny bath and shower cubicle was very satisfying, the transformation is amazing.

The laundry was done at the same time.

The red brick walls in the lounge were rendered and painted, the carpet and tiles replaced with polished timber, new curtains and lounge suite completed the package.

The bedrooms didn’t need too much work, floor coverings were removed, timbers polished and new curtains.

The kitchen was a major project, I had forgotten how ugly it was until I dug out these photos.

At the same time things were changing inside, we were working on some big projects outside. Apart from some delicious strawberries and a few spuds, there wasn’t much growing in the veggie patch. A few months of hard toil changed that.

We then set about building a potting shed from reclaimed materials and somewhere to wash the produce.

The chook shed had seen a number of incarnations before we gave up and bought one that only required assembling.

36.chook house

The driveway needed some attention before it descended into the paddock, we sourced old car tyres to create a substantial retaining wall and then replaced the fence along the entire length.

It was doubtful how long the timbers on the bridge down in the forest would hold the weight of the tractor so we replaced them with new hardwood and brought the old ones up for future use.

The biggest reno to date was the back verandah, motivated when a pair of swallows insisted on building their nest in the eaves. Many months later, we could sit back and enjoy our efforts (the timbers used for the dining and coffee table are some of the old ones from the bridge).

At the end of the back room, we left an area for a BBQ kitchen. The decking was an exhausting enterprise, the fine tuning of the ‘kitchen’ is yet to evolve.

Our most ambitious (and final?) renovation is a work in progress. Hopefully, I will be able share that with you in the not too distant future. There is one thing that will stay the same.

46.cannonhill 569

renovation ruminations: part 5

I have never had an impressive kitchen so wasn’t too disappointed with the existing one.

1.old kitchen2.old kitchen

The lino was evicted the day after we moved in, revealing Tasmanian oak floorboards. The cupboard space was adequate and with the island we brought with us, the kitchen was functional.

3.old kitchen14.old kitchen25.old kitchen

I then saw the cooker of my dreams in a catalogue, an offer too good to refuse. And so, it began. We had to relocate the electric water heater from the corner and solved that problem with solar hot water.

6.during

The huge cabinet only just fit through the door but determination won out.

7.during

We tried not to let the demolition get in the way of cocktail hour.

8.cocktail time9.tiles off

We removed the old door and window next to it to create a wall and fitted a new door

10.door11.door13.door14.door15.door16.door17.door

then returned to the task of demolition.

18.rustic

Next, we were ready for the professionals, who very quickly created a masterpiece.

19.rebuild

The Belling Range takes pride of place.

19a.new cooker

Our kitchen, and home, is now complete.

20.after north view21.after east view22.after south view23.after west view24.after front door25.outside door


renovation ruminations: part 4

The bedrooms didn’t need too much work. The previous owners installed bay windows in the two main bedrooms, adding a bit more space and enhancing the gorgeous views. They tiled the floor area in the window section to blend in with the cream carpet.

the pink walls, pelmets and curtains were first to go.

5. new curtains

We pulled up the carpet and removed the tiles

then filled in the gaping hole with Tasmanian oak flooring. The hideous solid wardrobe doors were replaced with Tassie oak framed mirrored ones

and the floorboards were sanded and polished.

17.K's after16.M's after15.M's after

After much searching, I found some antique bedside cabinets. They are mismatched and after some restoration they completed the picture perfectly.

18.K's bedsides19.M's bedsides

The third bedroom was designated for guests

18.bed 3 before

but the sofa bed was soon re-homed once I discovered how uncomfortable it was. The carpet had to go and a huge built in cupboard was deconstructed and resurrected in the shed. With some rearranging, the room has become a cosy guest suite for one as well as my playroom.


renovation ruminations: part 3

The lounge required more of a makeover than renovation. The previous owners added the extension and despite the cream carpet, the red brick walls darkened the room.

1.before lounge2.before lounge3.before lounge

The first part of the project was to render and paint the walls to match the rest of the house.

4.rendering5.rendered6.rendered

The window was replaced with double glazing and new curtains soon followed.

7.new curtains:window

We removed the carpet and most of the tiles around the fireplace. The concrete slab was sealed and Tasmanian Oak flooring laid & polished.

8.stripped floor9.raw floor10.polished floor11.polished floor

A new sliding door opens onto the deck.

13.new window

The new step linked perfectly to the original timber flooring through the dining room and along the hallway.

12.new step14.after1

The new modular lounge suite and rug completed the picture.

15.after216.after317.after4