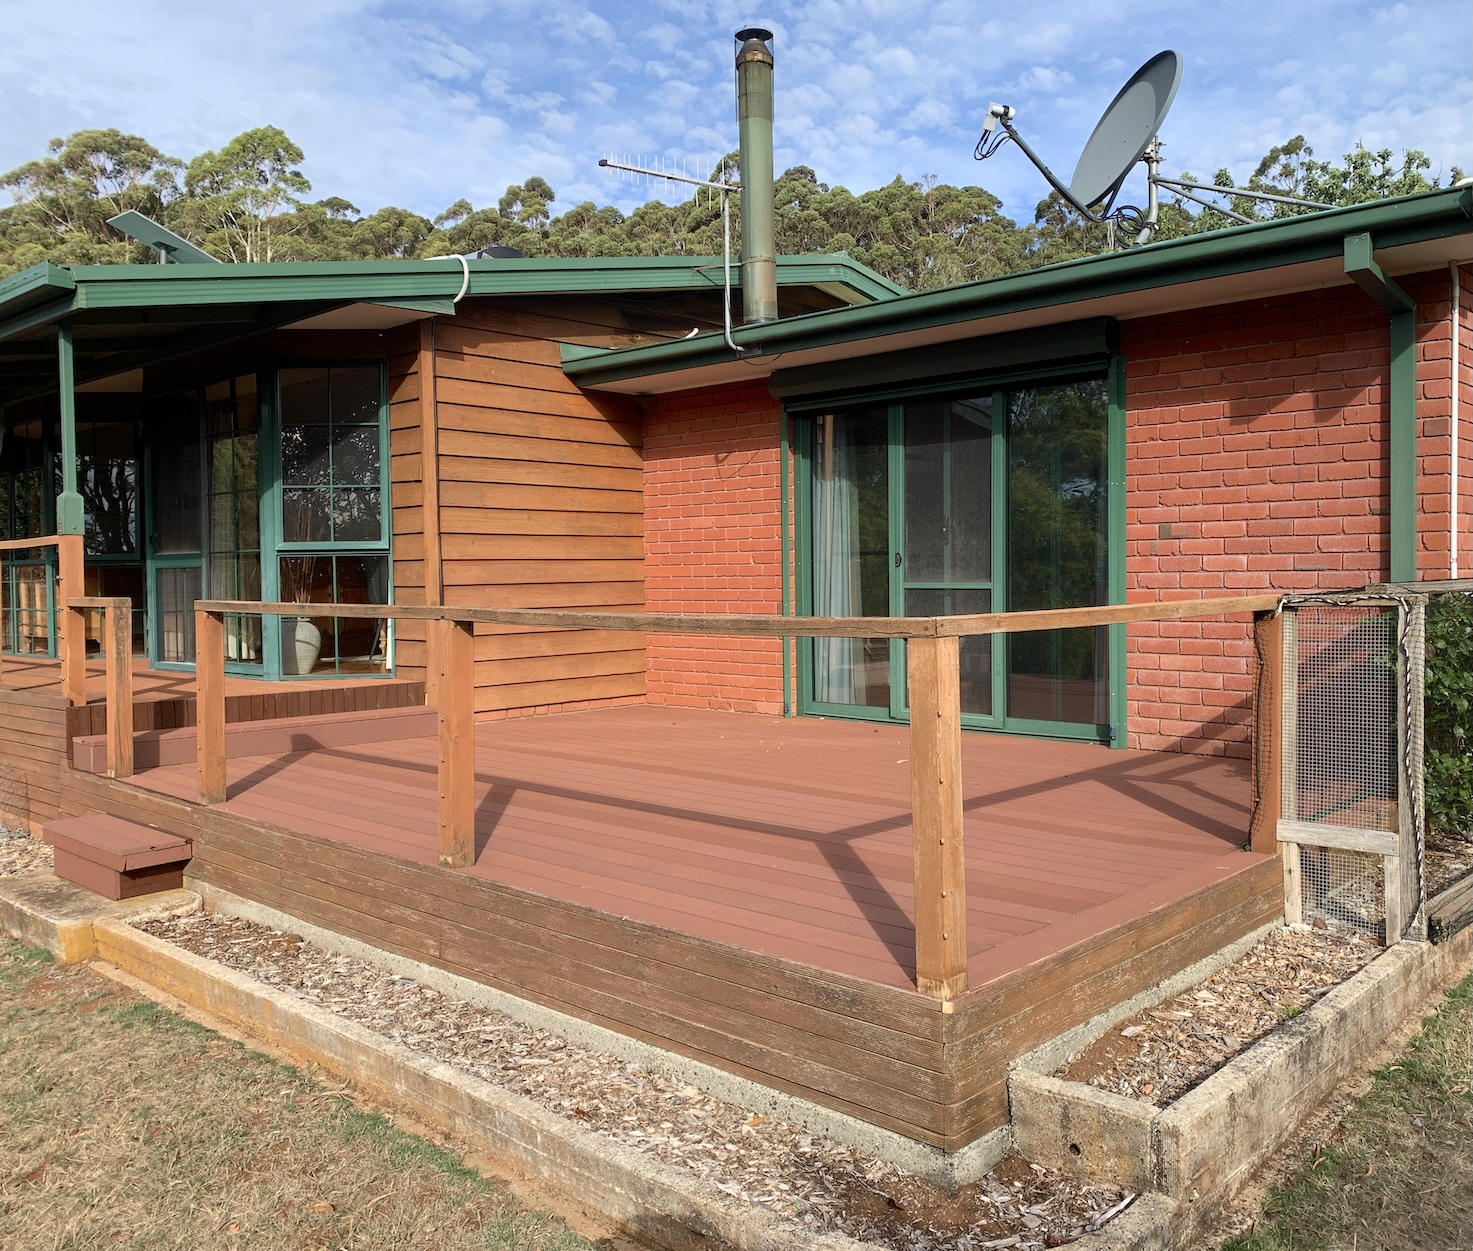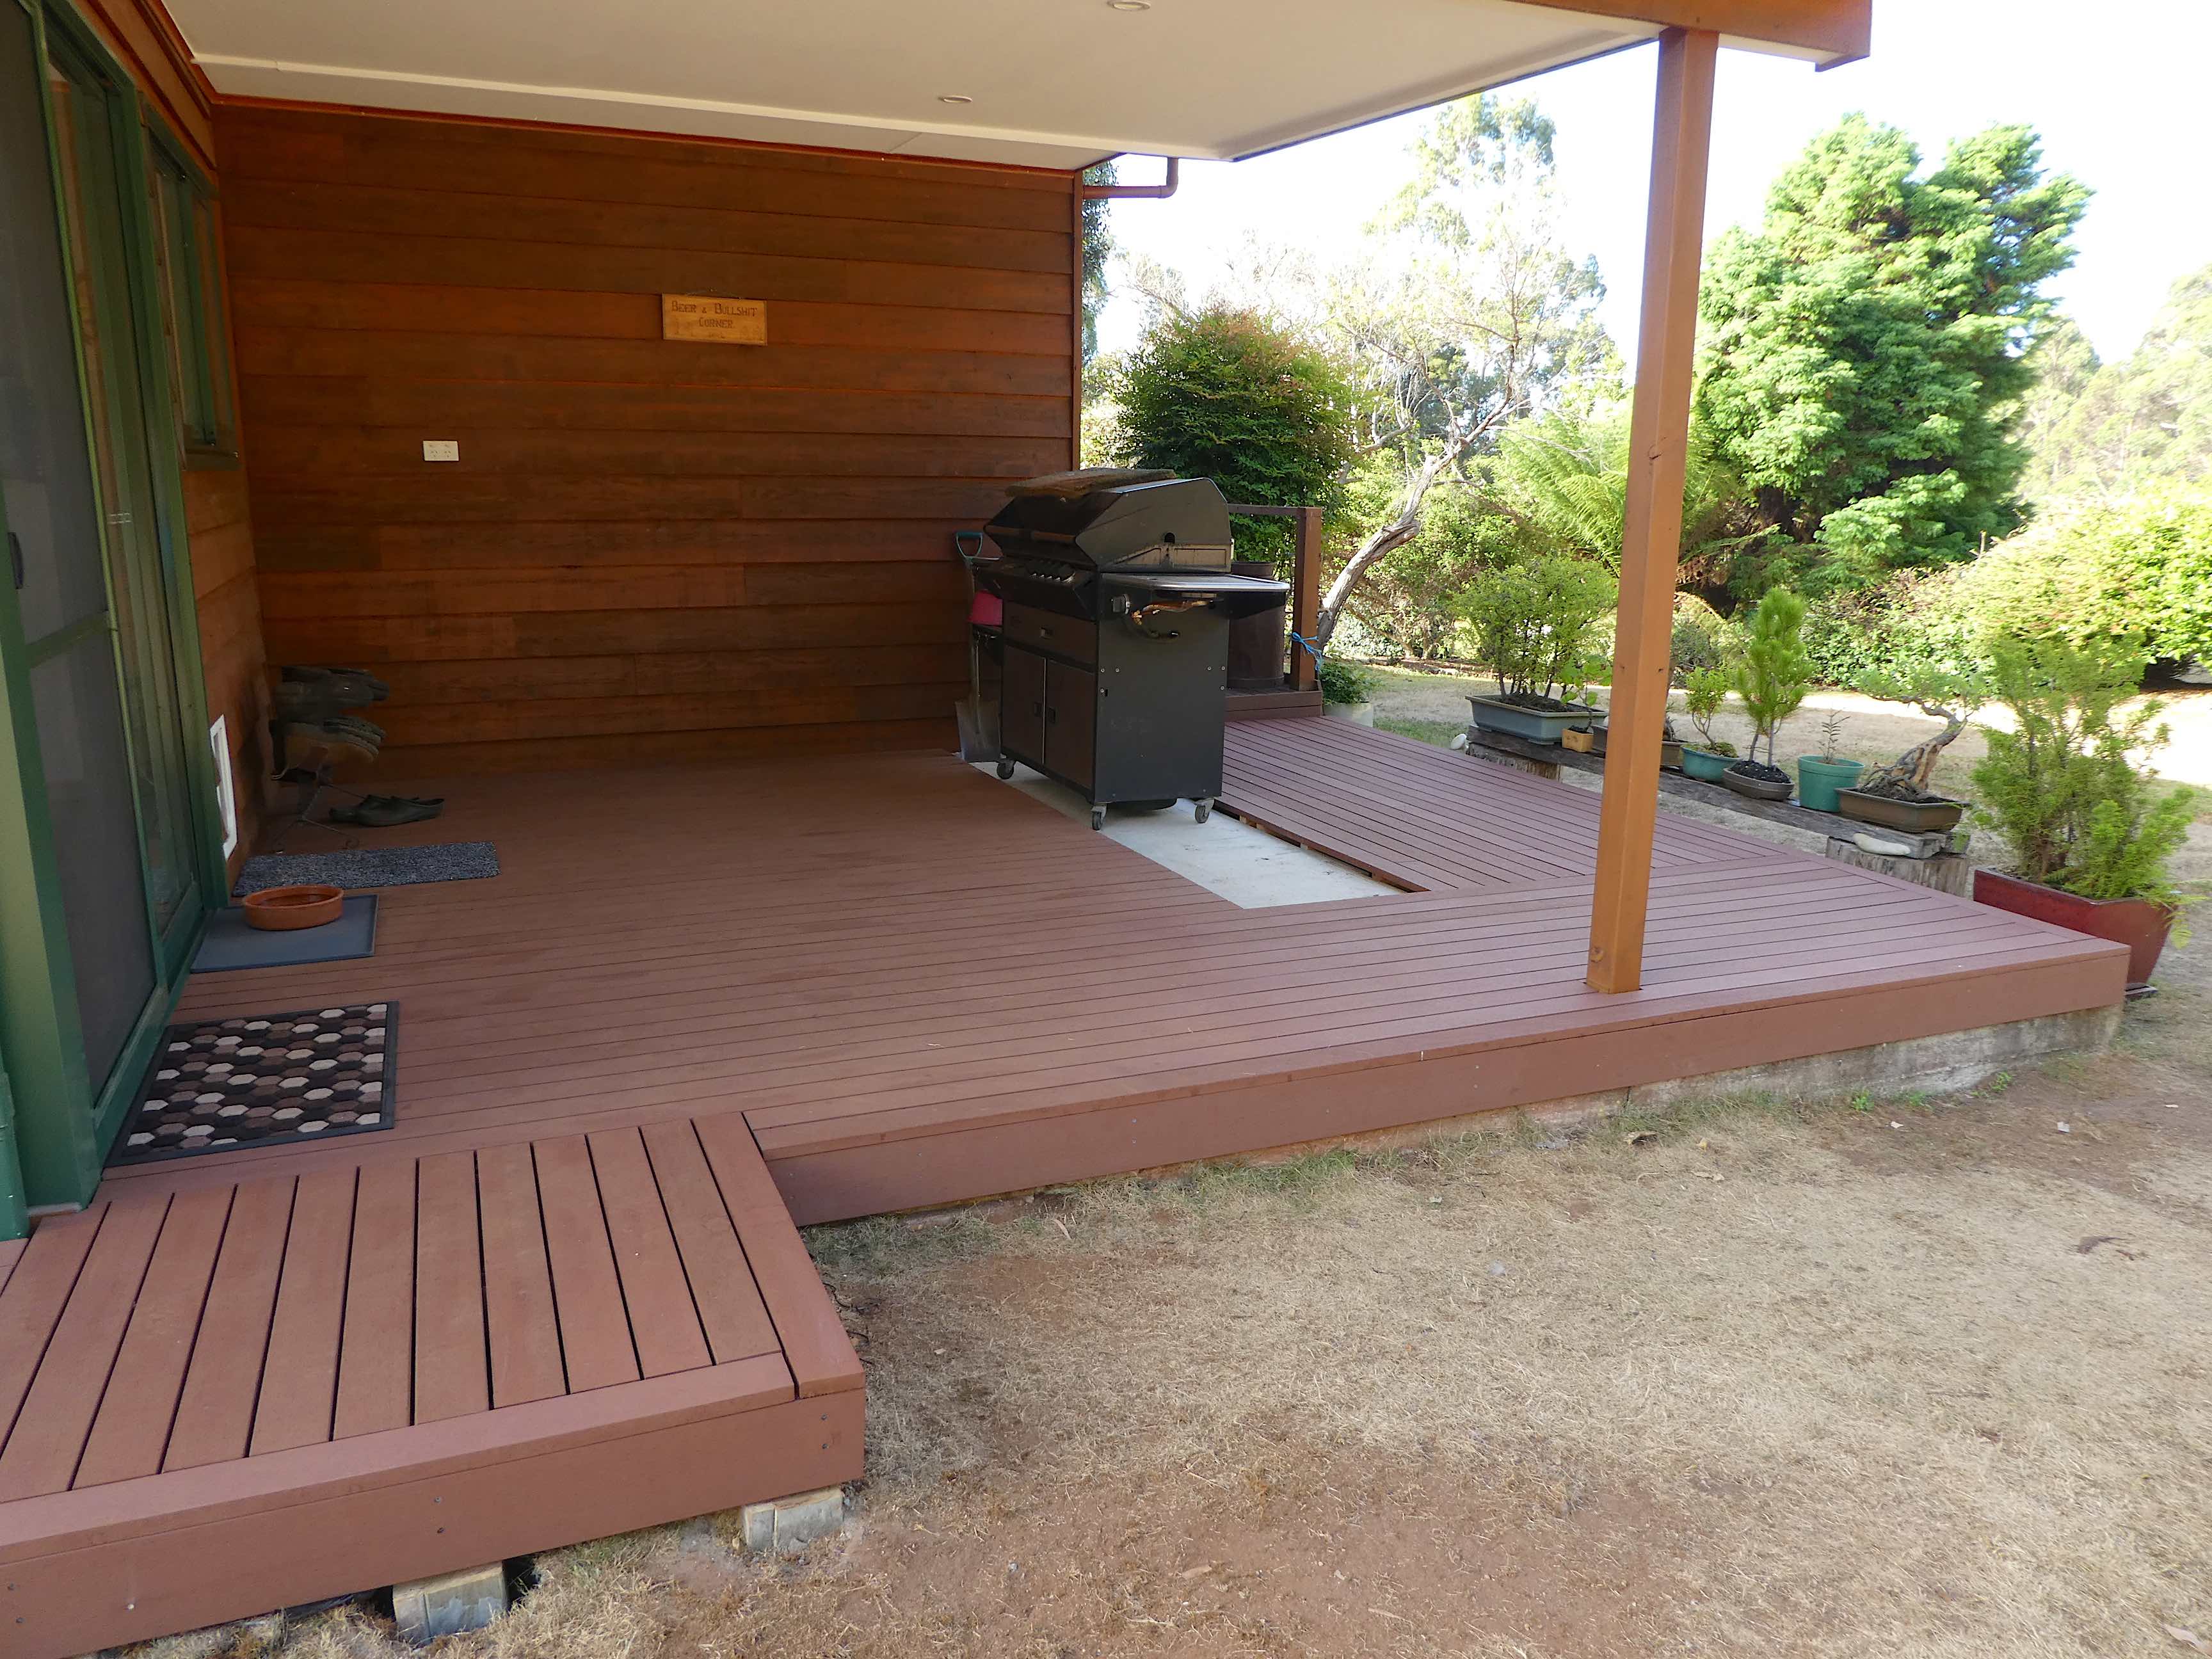
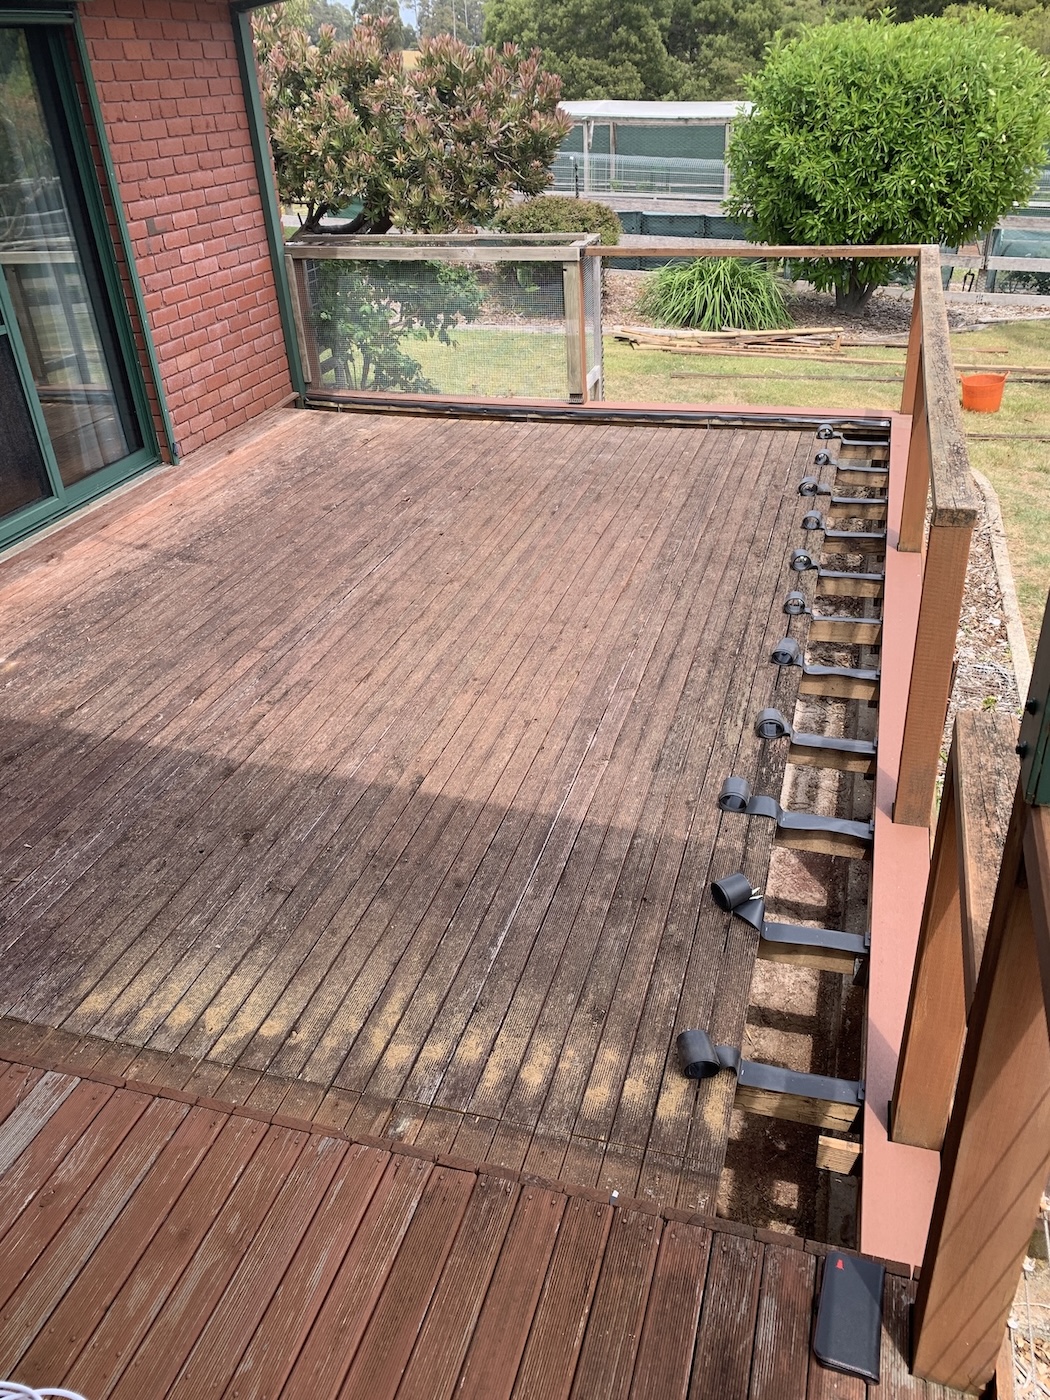
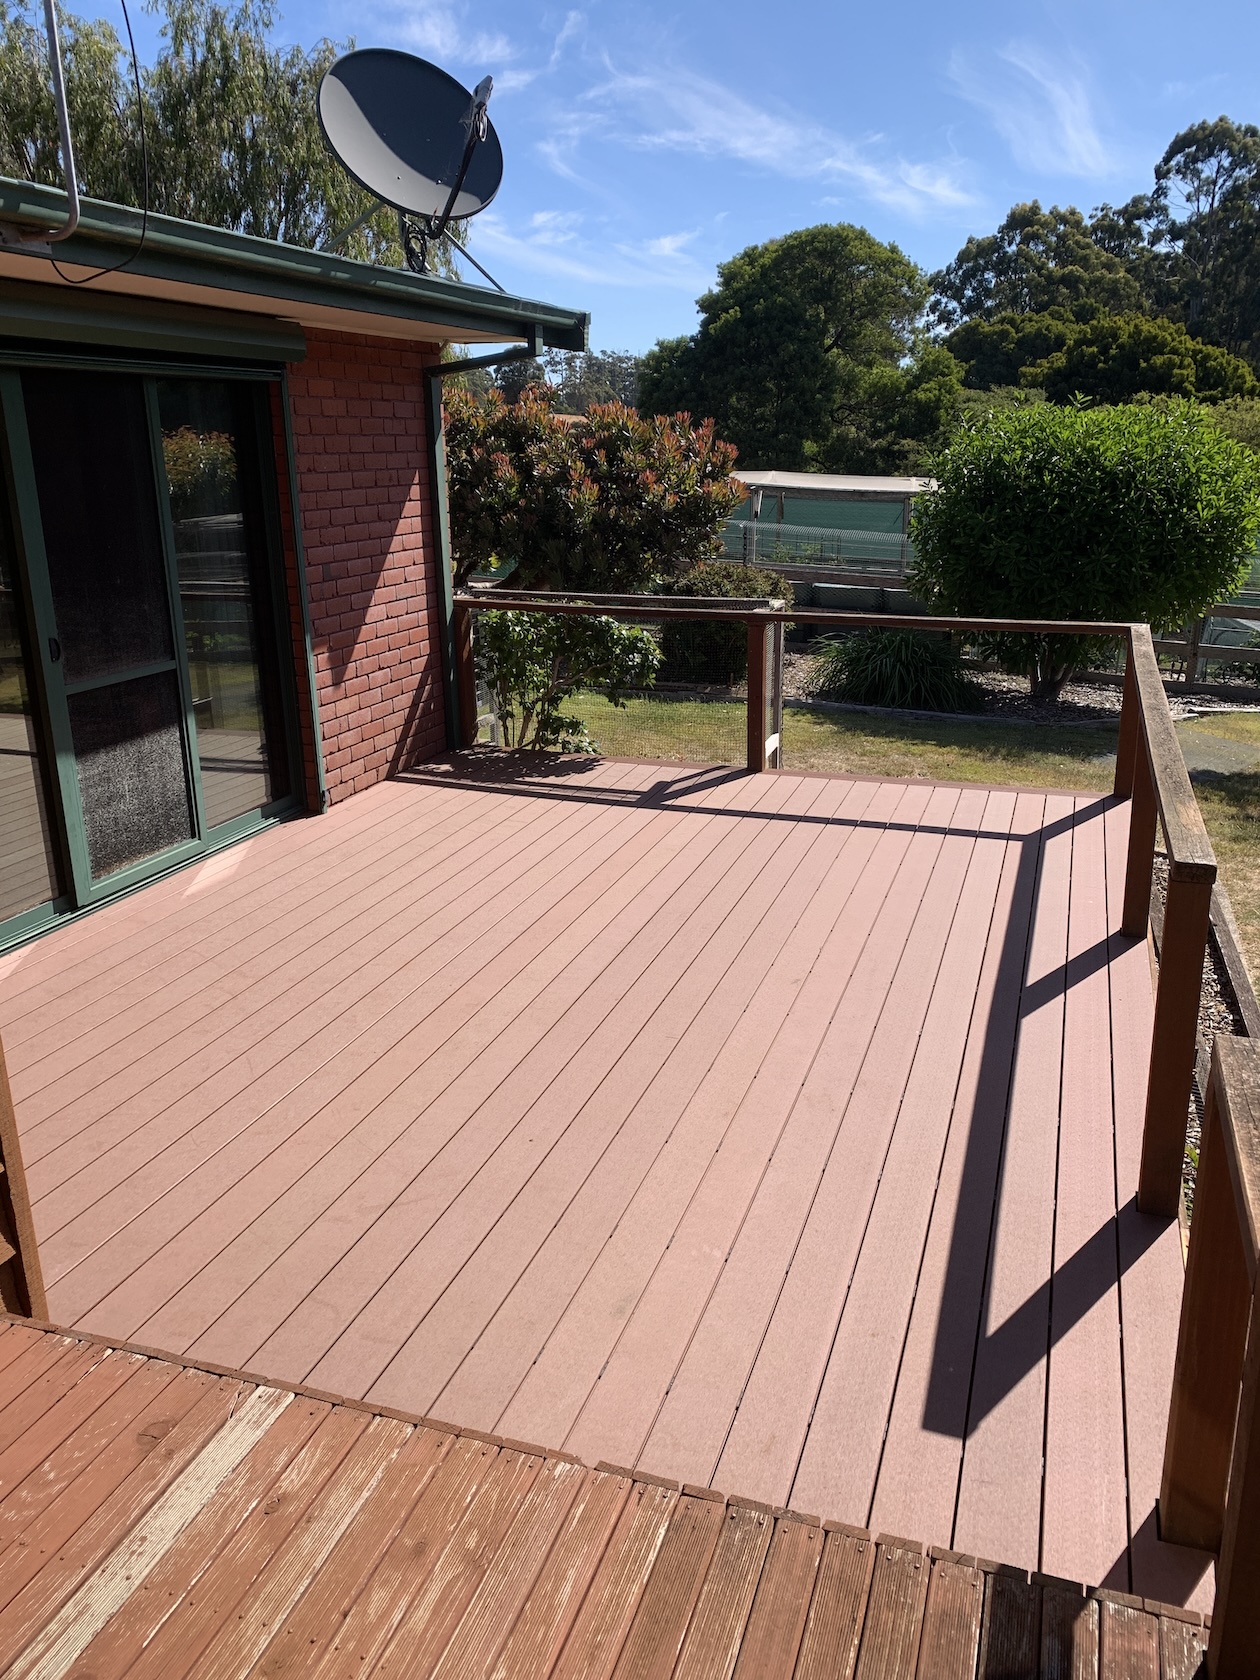
Every time we think we have completed our last ‘big project’, another one somehow appears on the list. The large decked area outside the lounge is exposed to the worst of our weather and the timbers have suffered over the years.
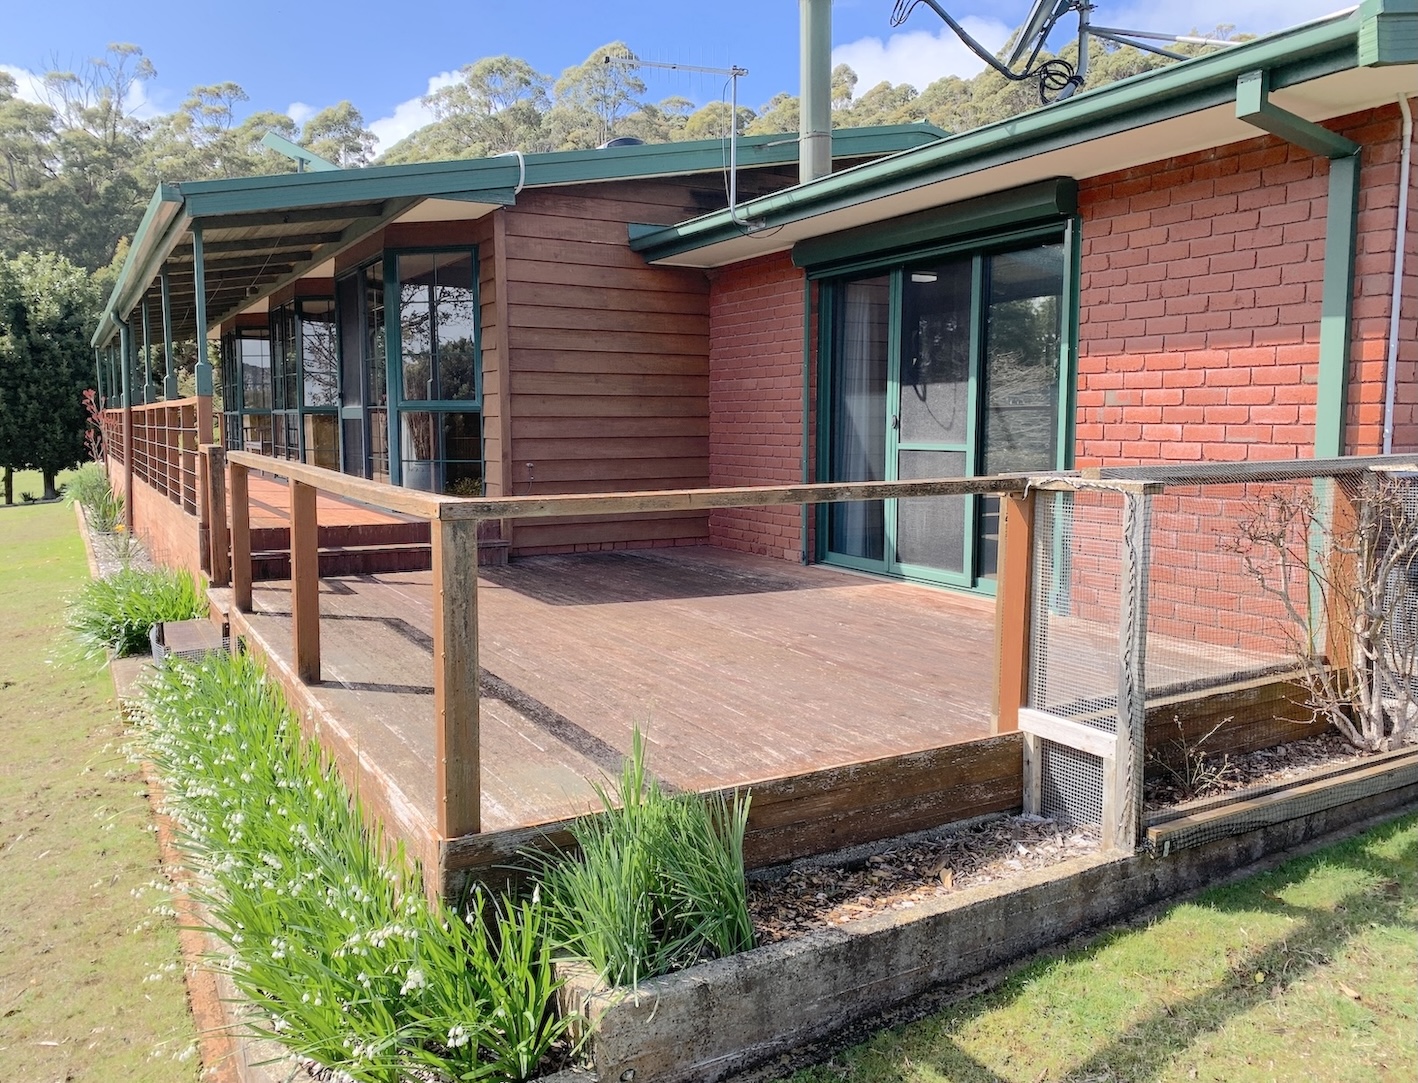
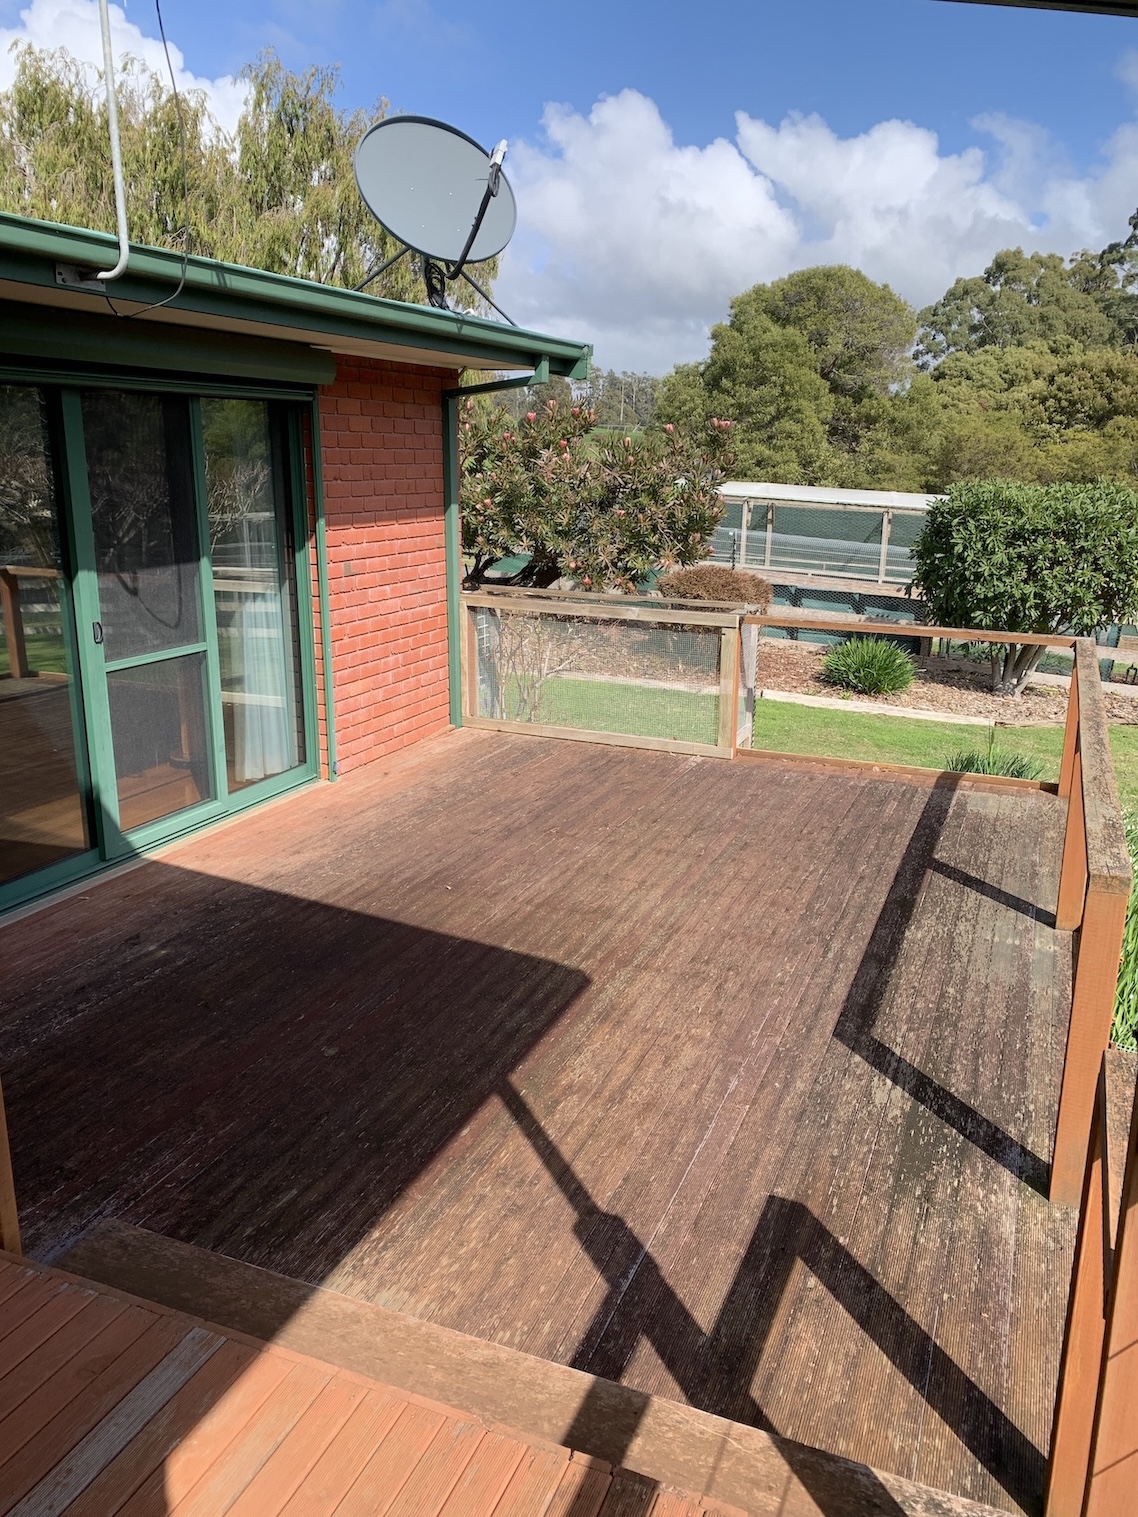
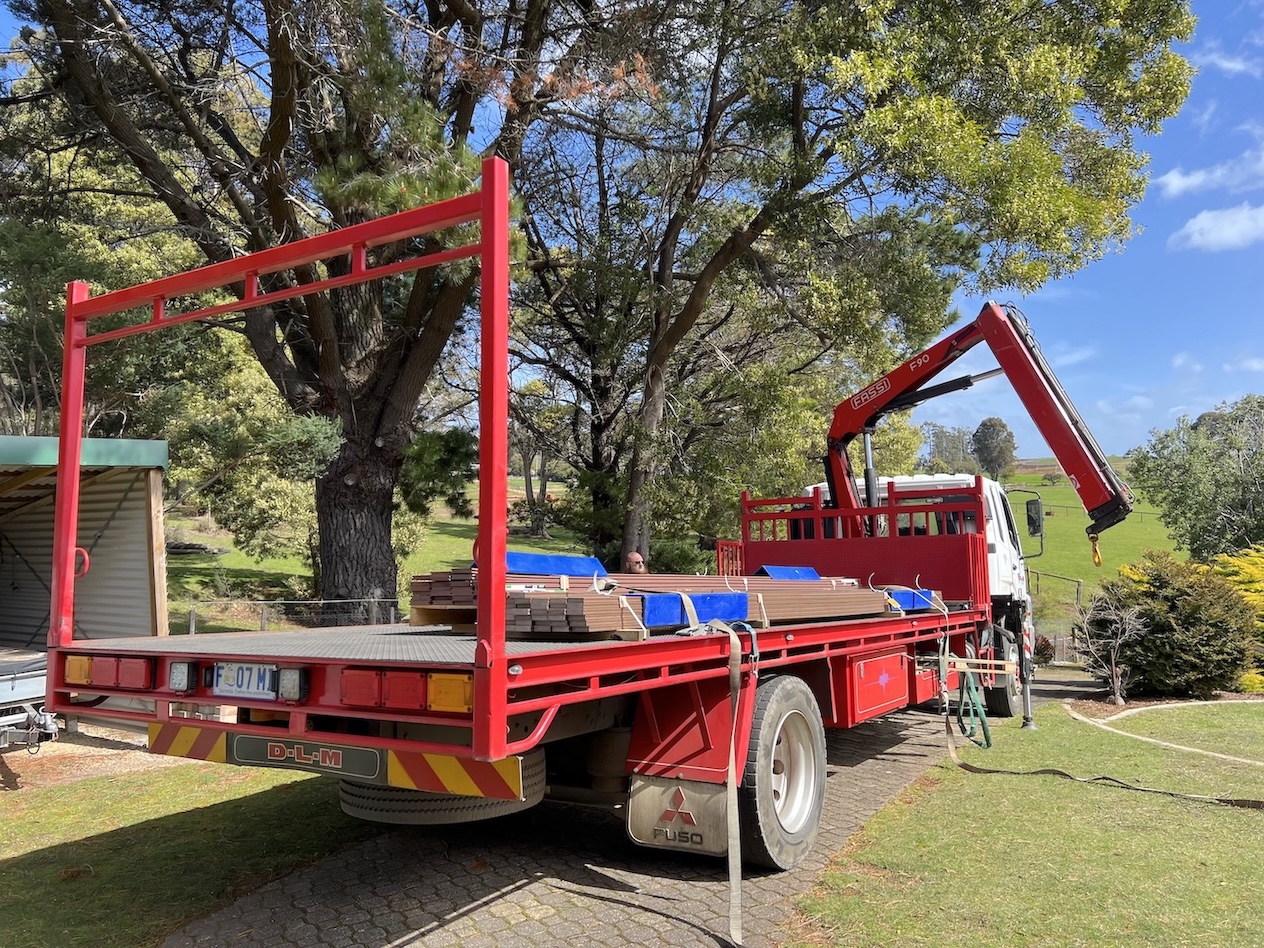
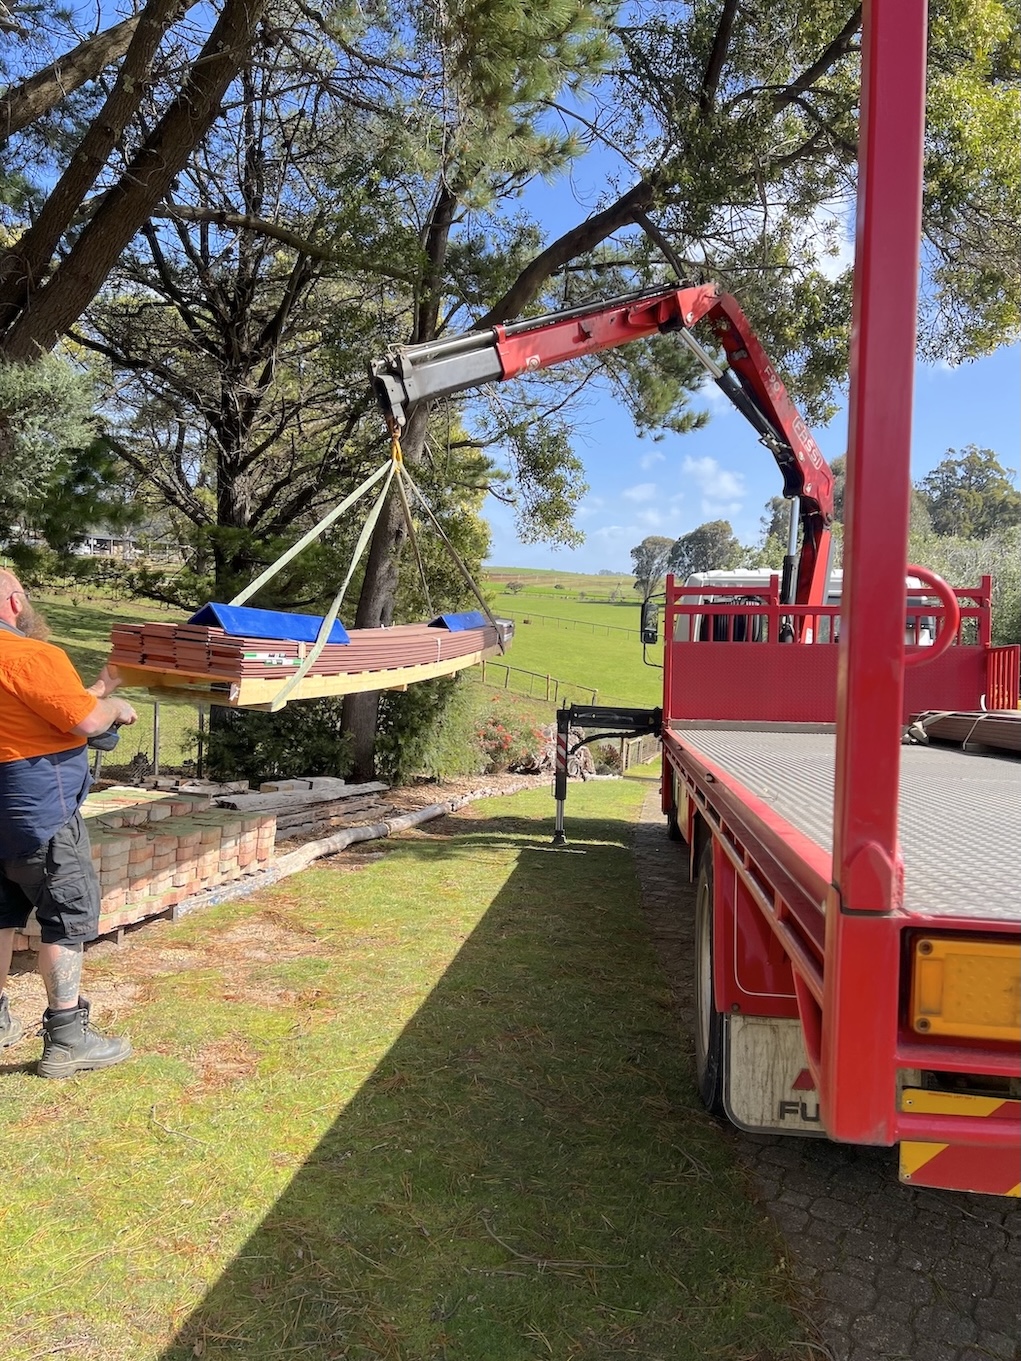
Having been advised that replacing it would improve saleability, we took up the challenge. Ekodeck was our material of choice, having used it for a previous project, high winds added a degree of difficulty to the delivery.
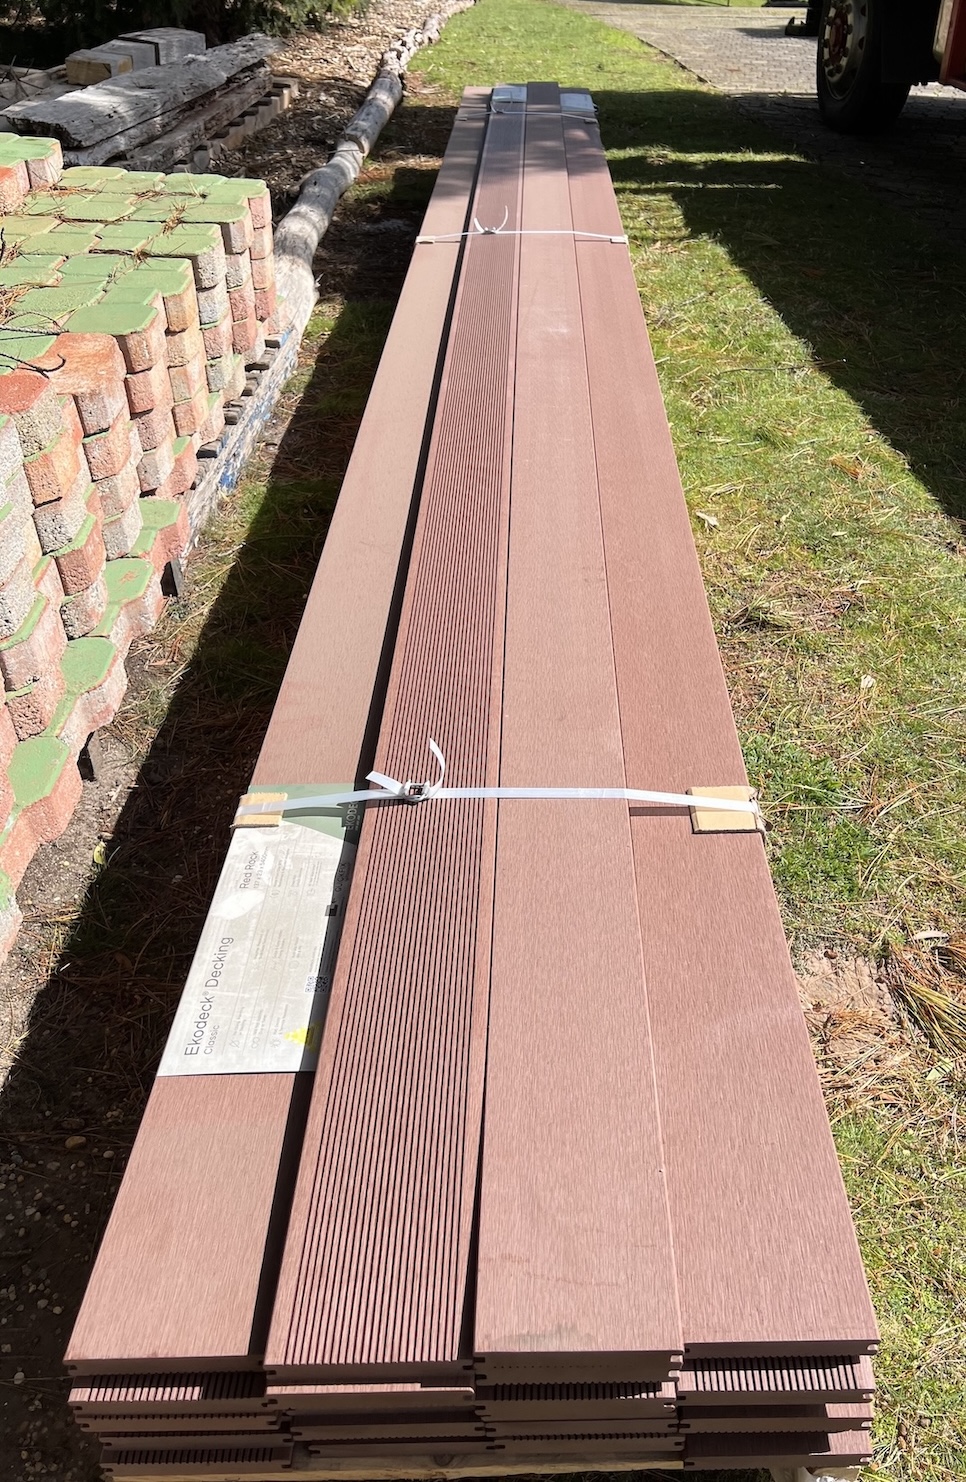
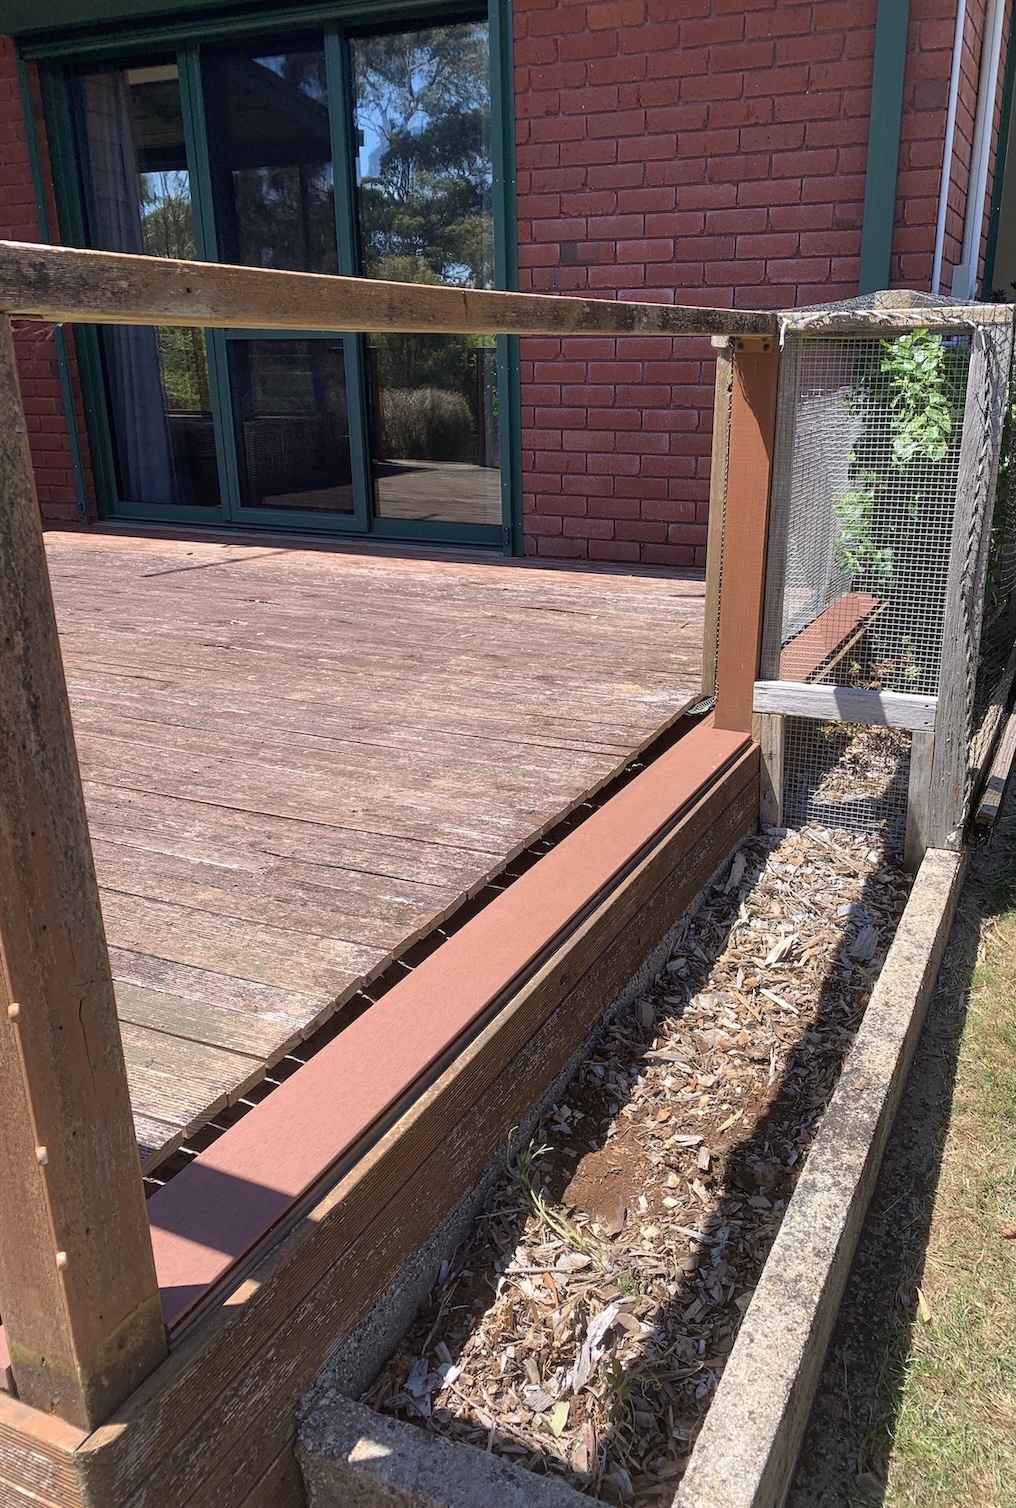
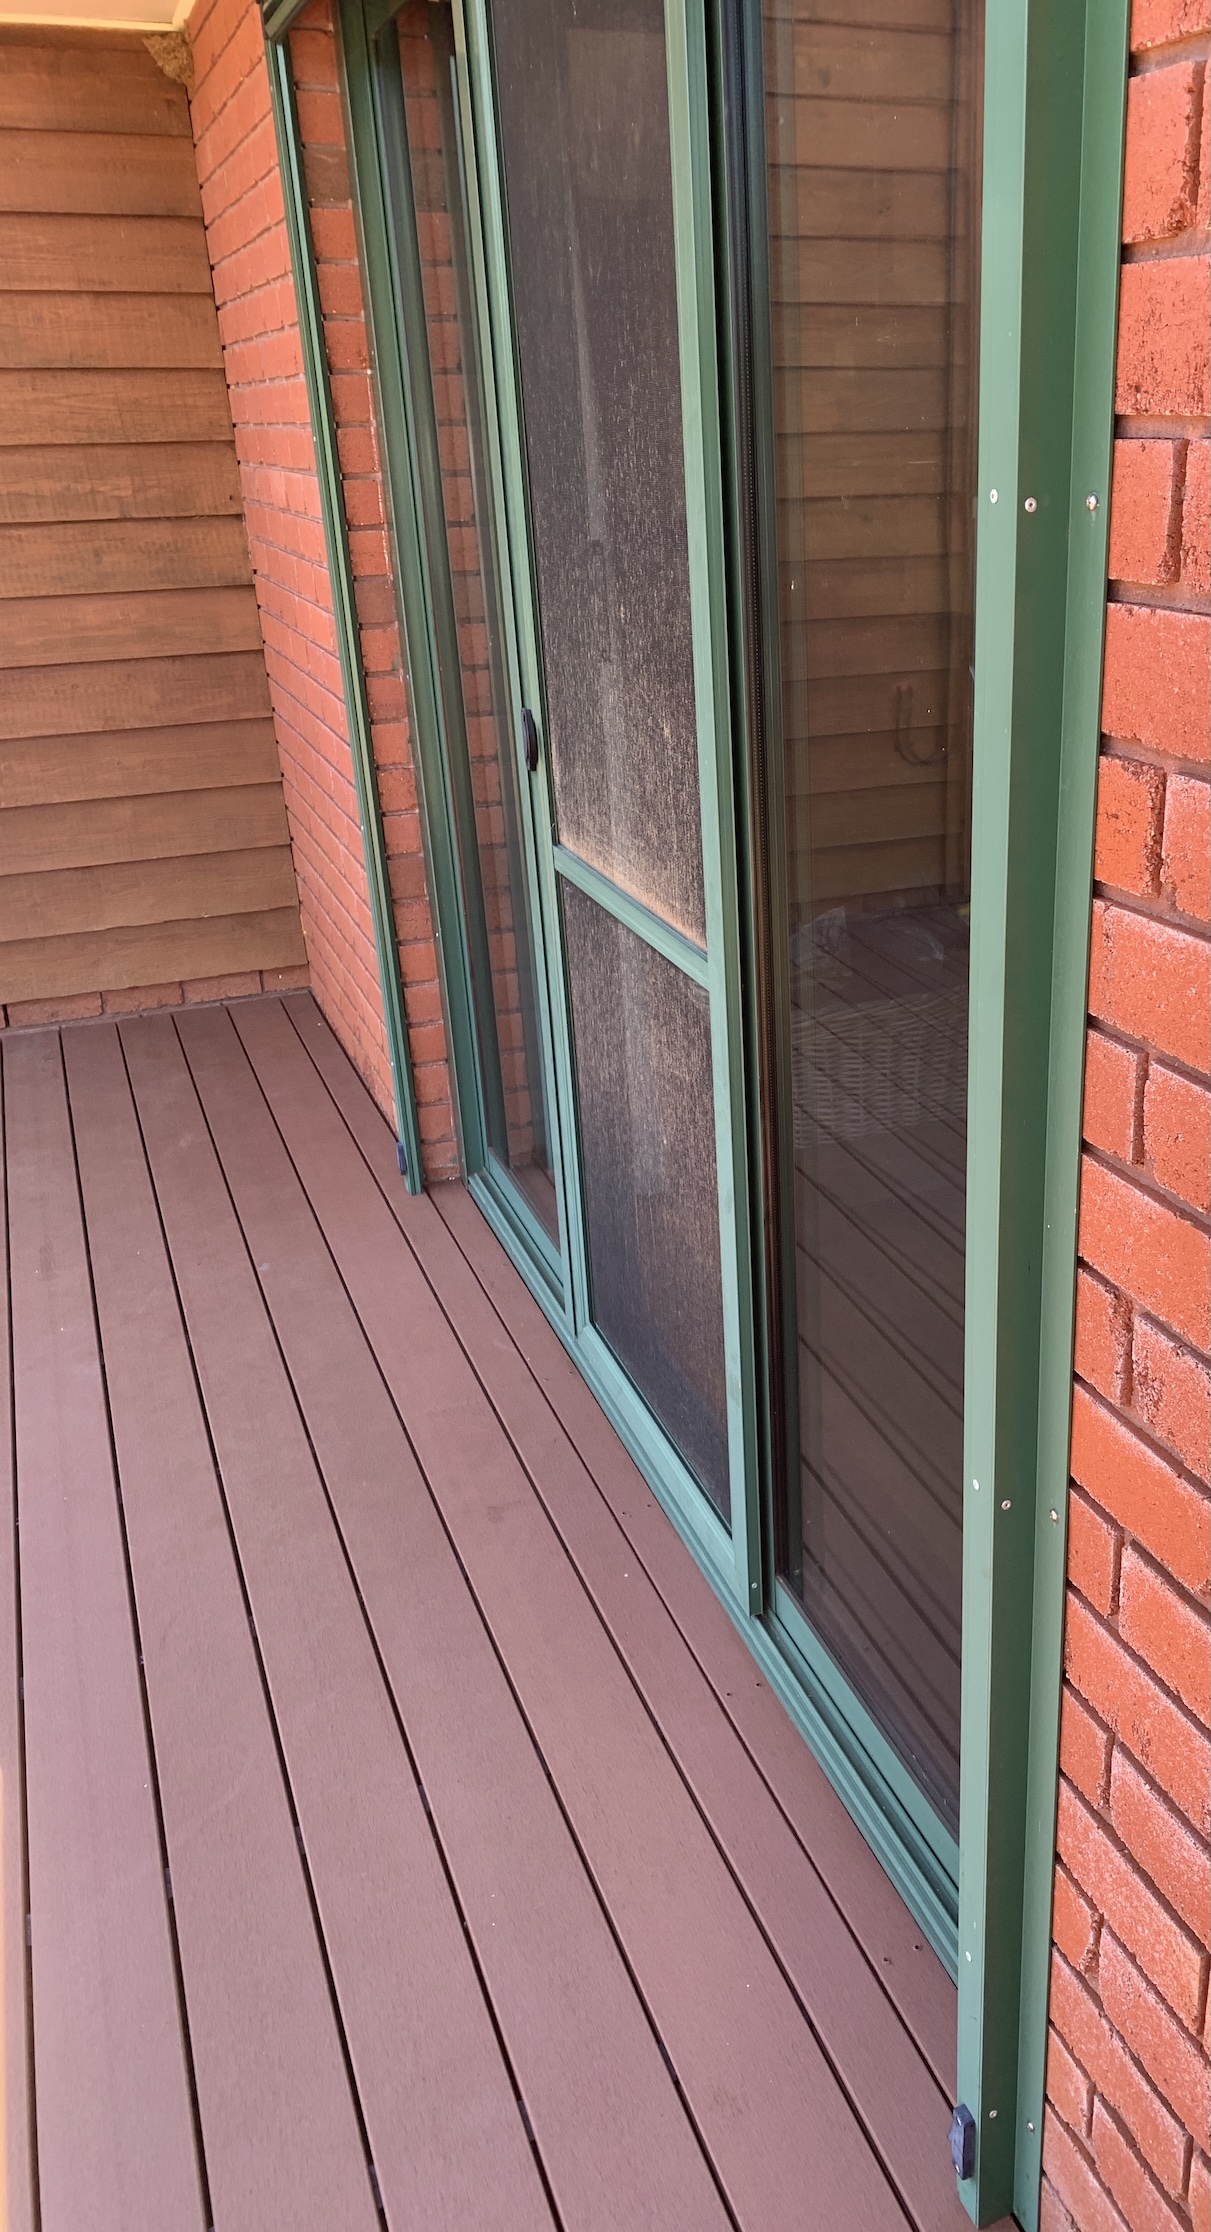
We had worked out that if we laid an end board, we could use the full 5.4 metre lengths for the rest and avoid extra trimming. The old boards were cut away to allow for that first board, fitted with precision around the upright posts.
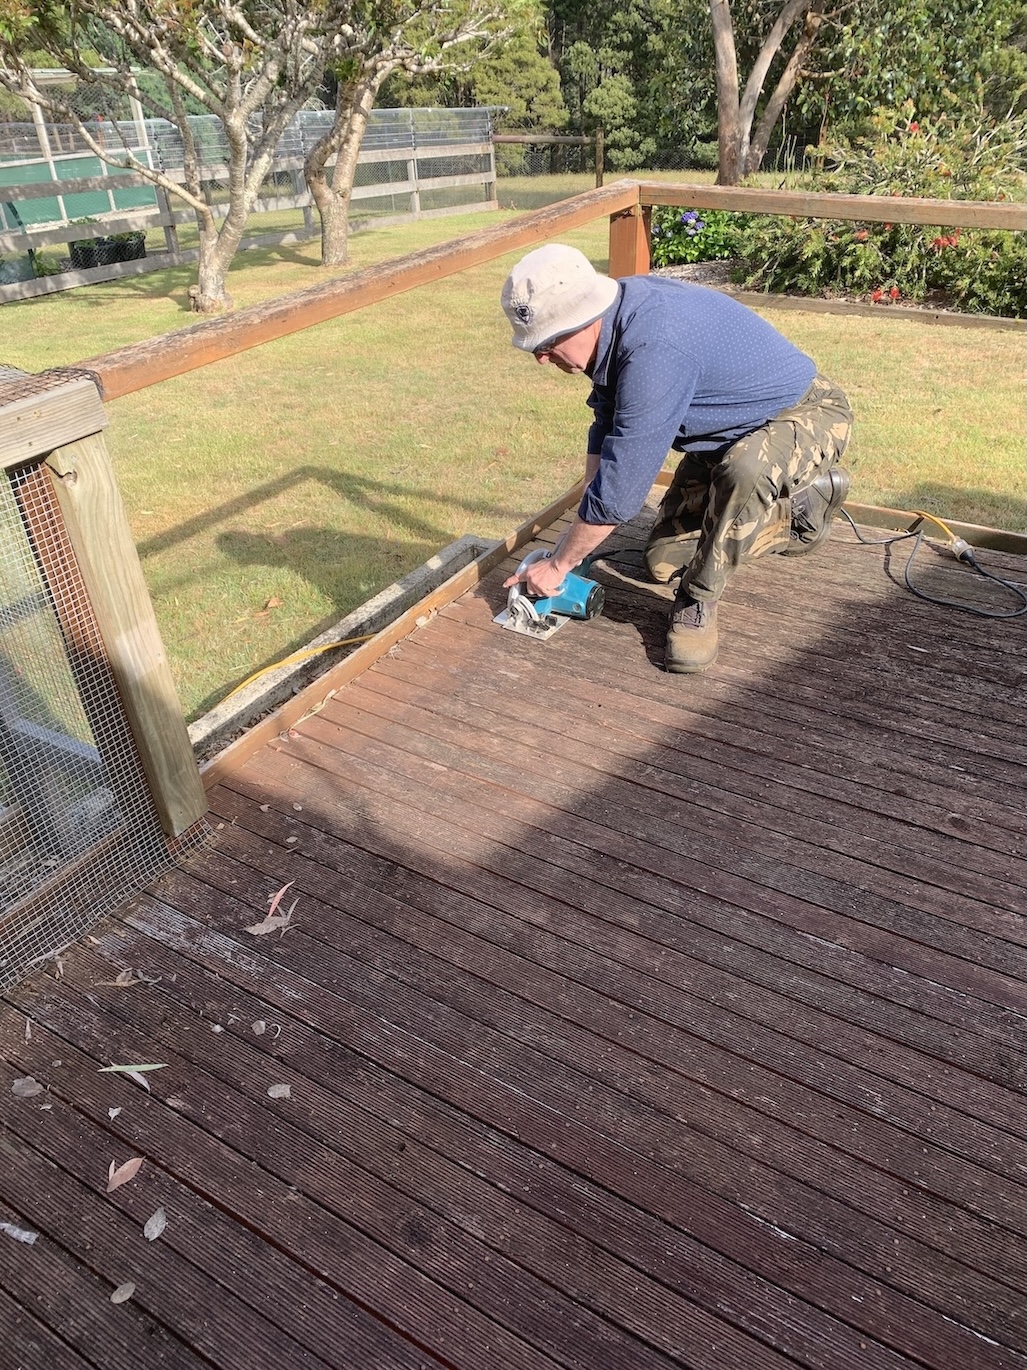
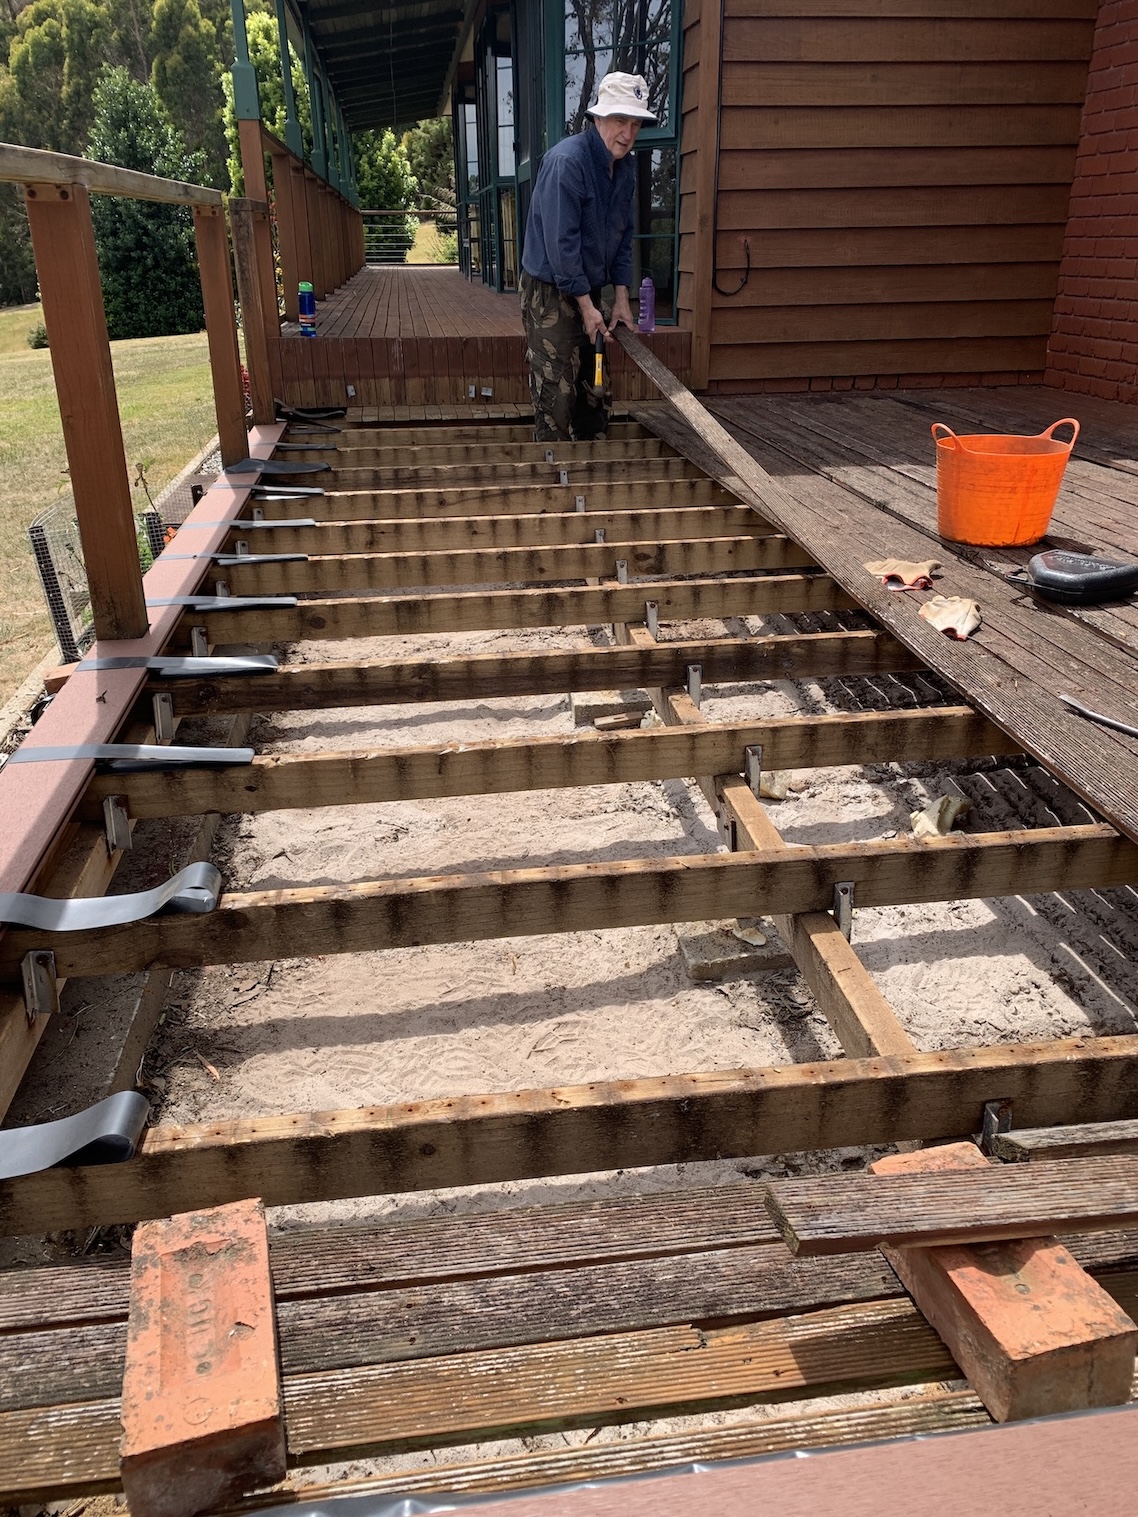
While I set about demolishing the old step,
Michael extended the cut to avoid damaging the new board as we removed the old ones.
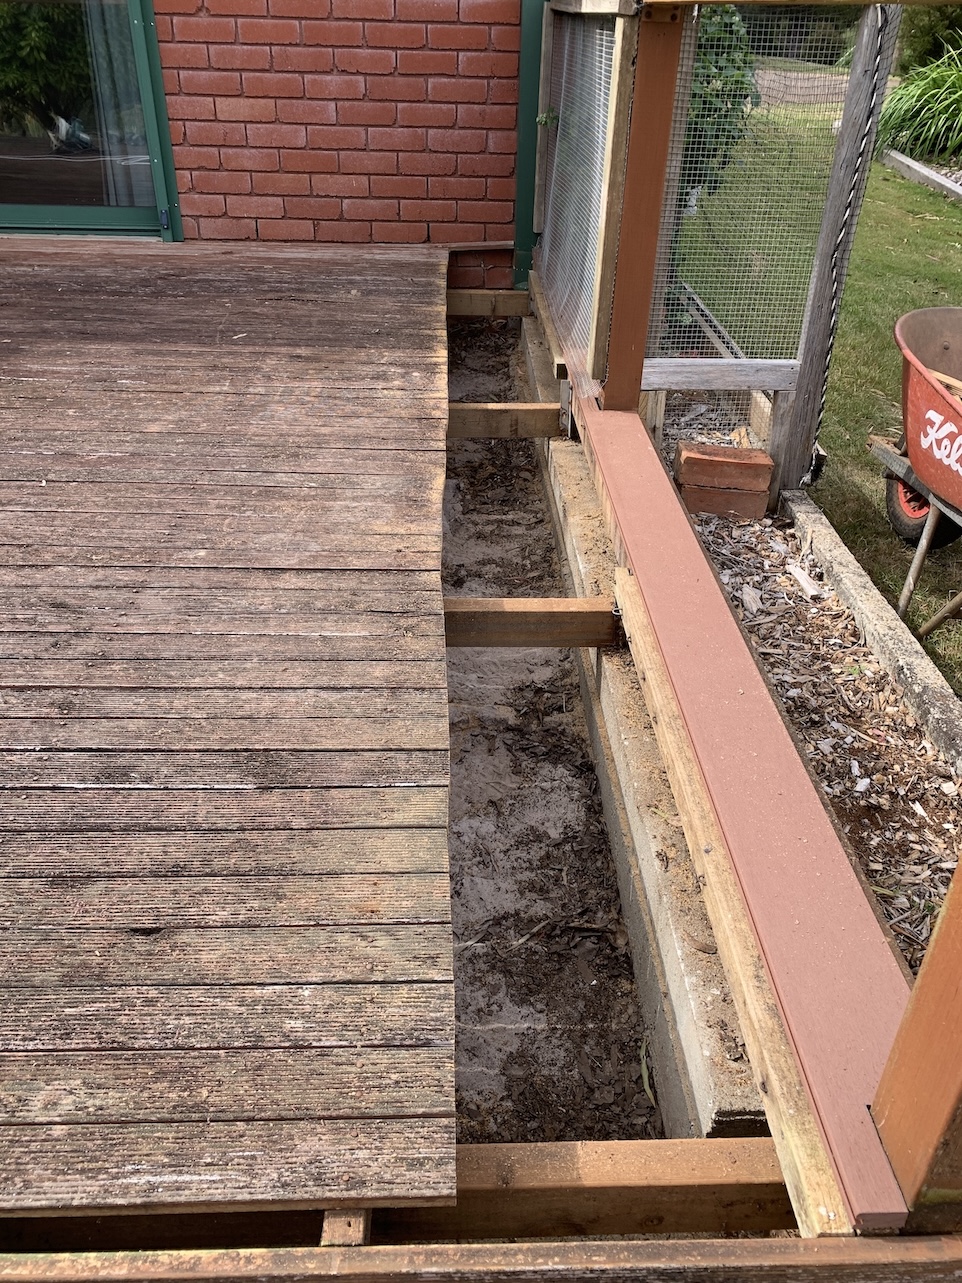
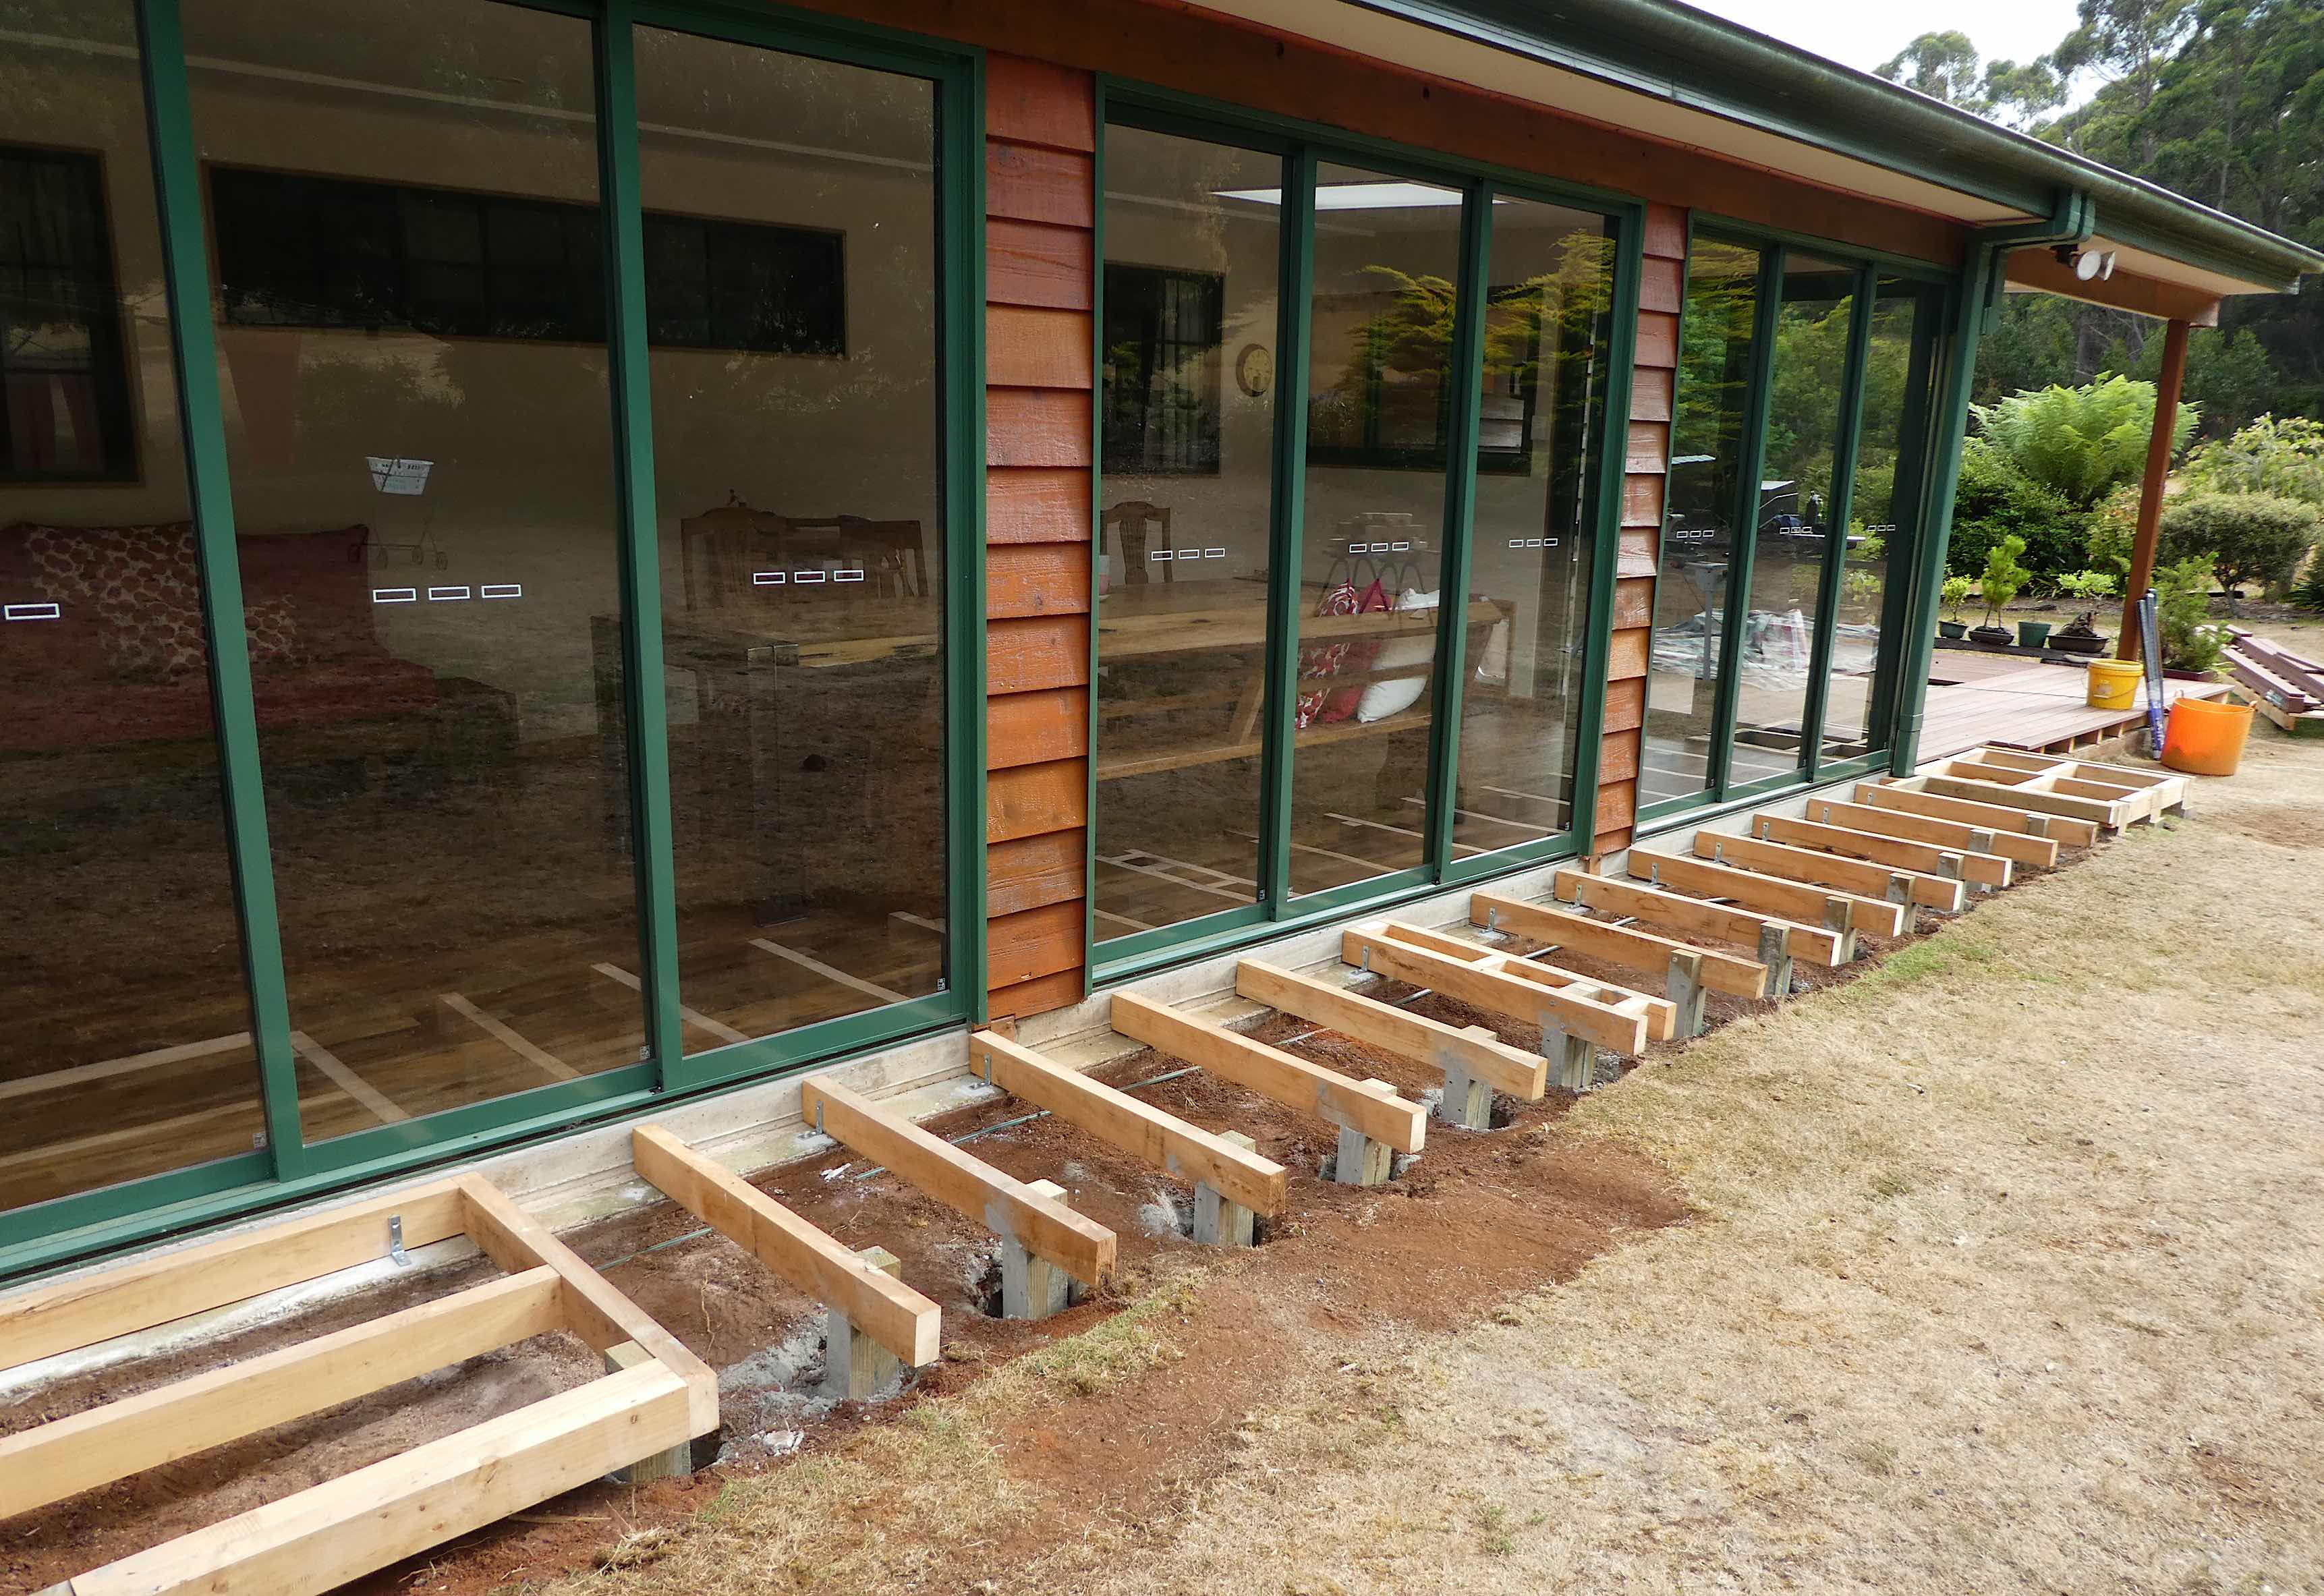
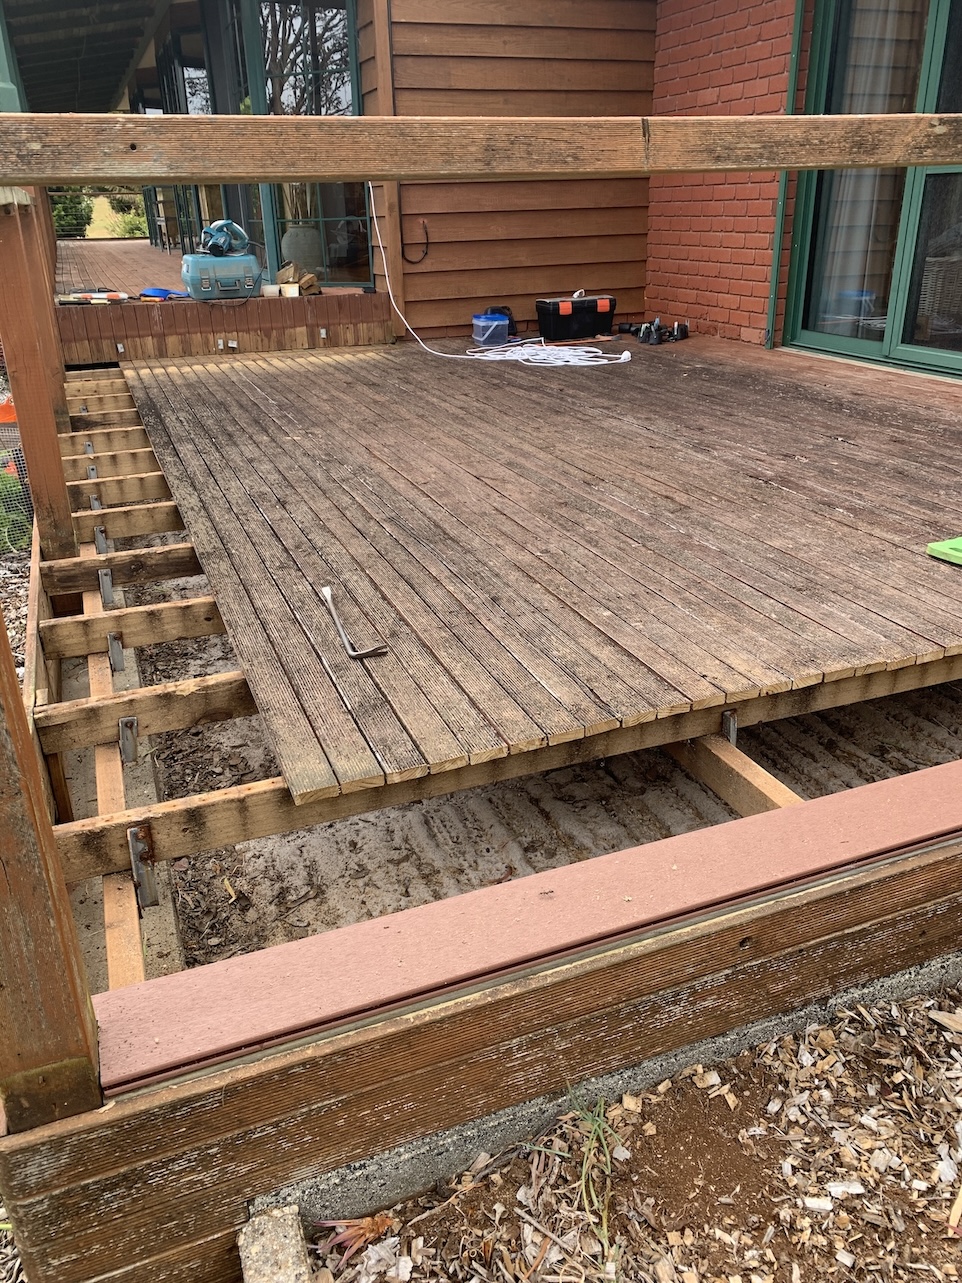
We both thought removing the old boards would be the easy part but it took a lot of effort to prise them off. Our concern that the joists and bearers may have needed replacing was, fortunately, unfounded.
More precision cutting
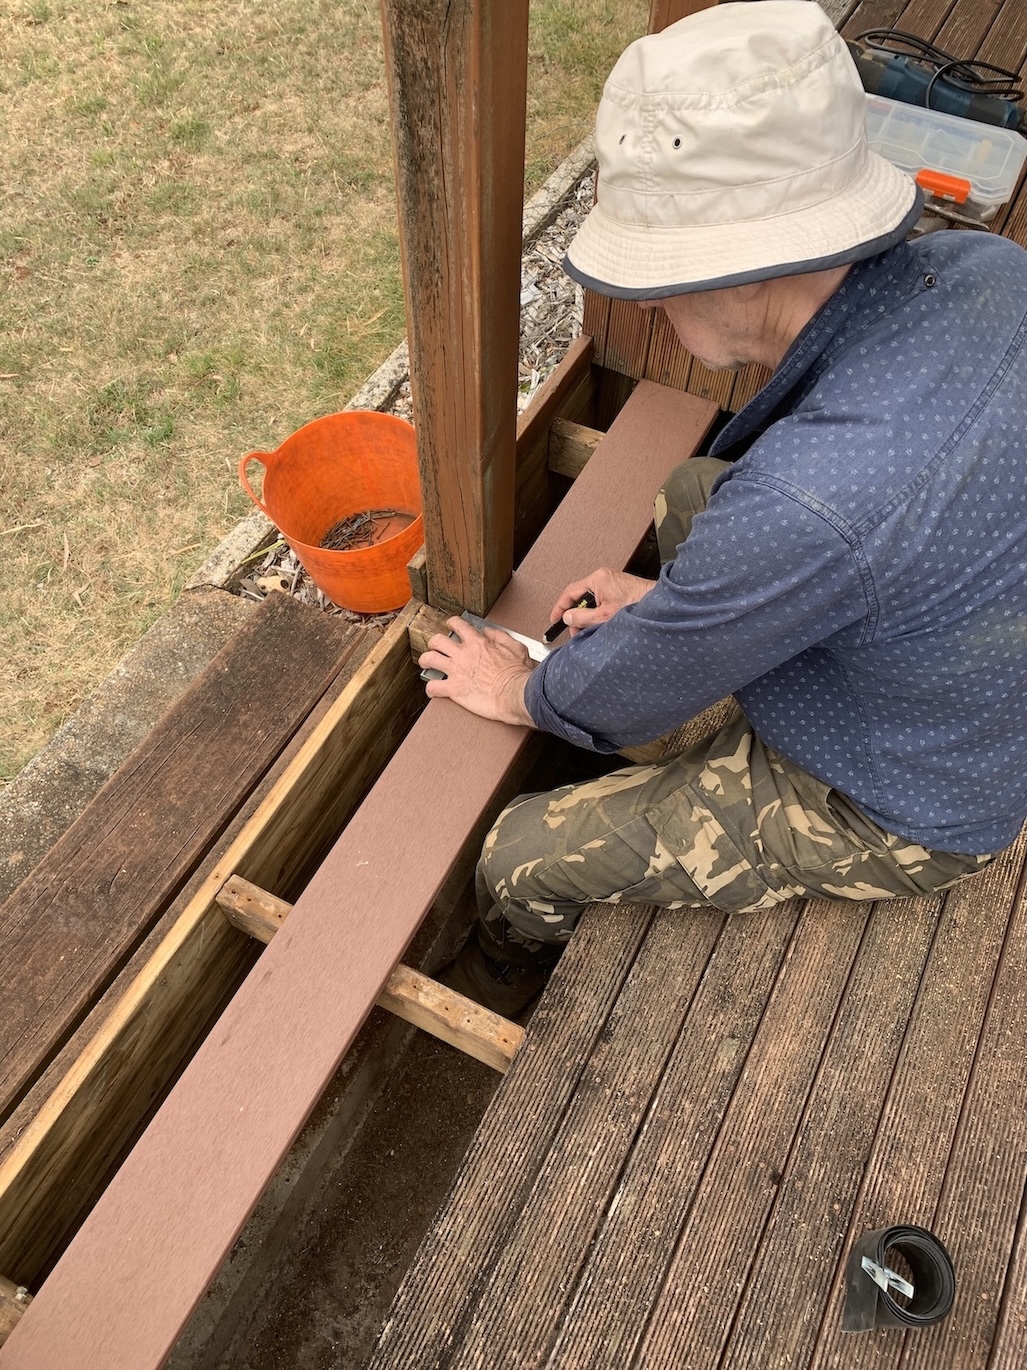
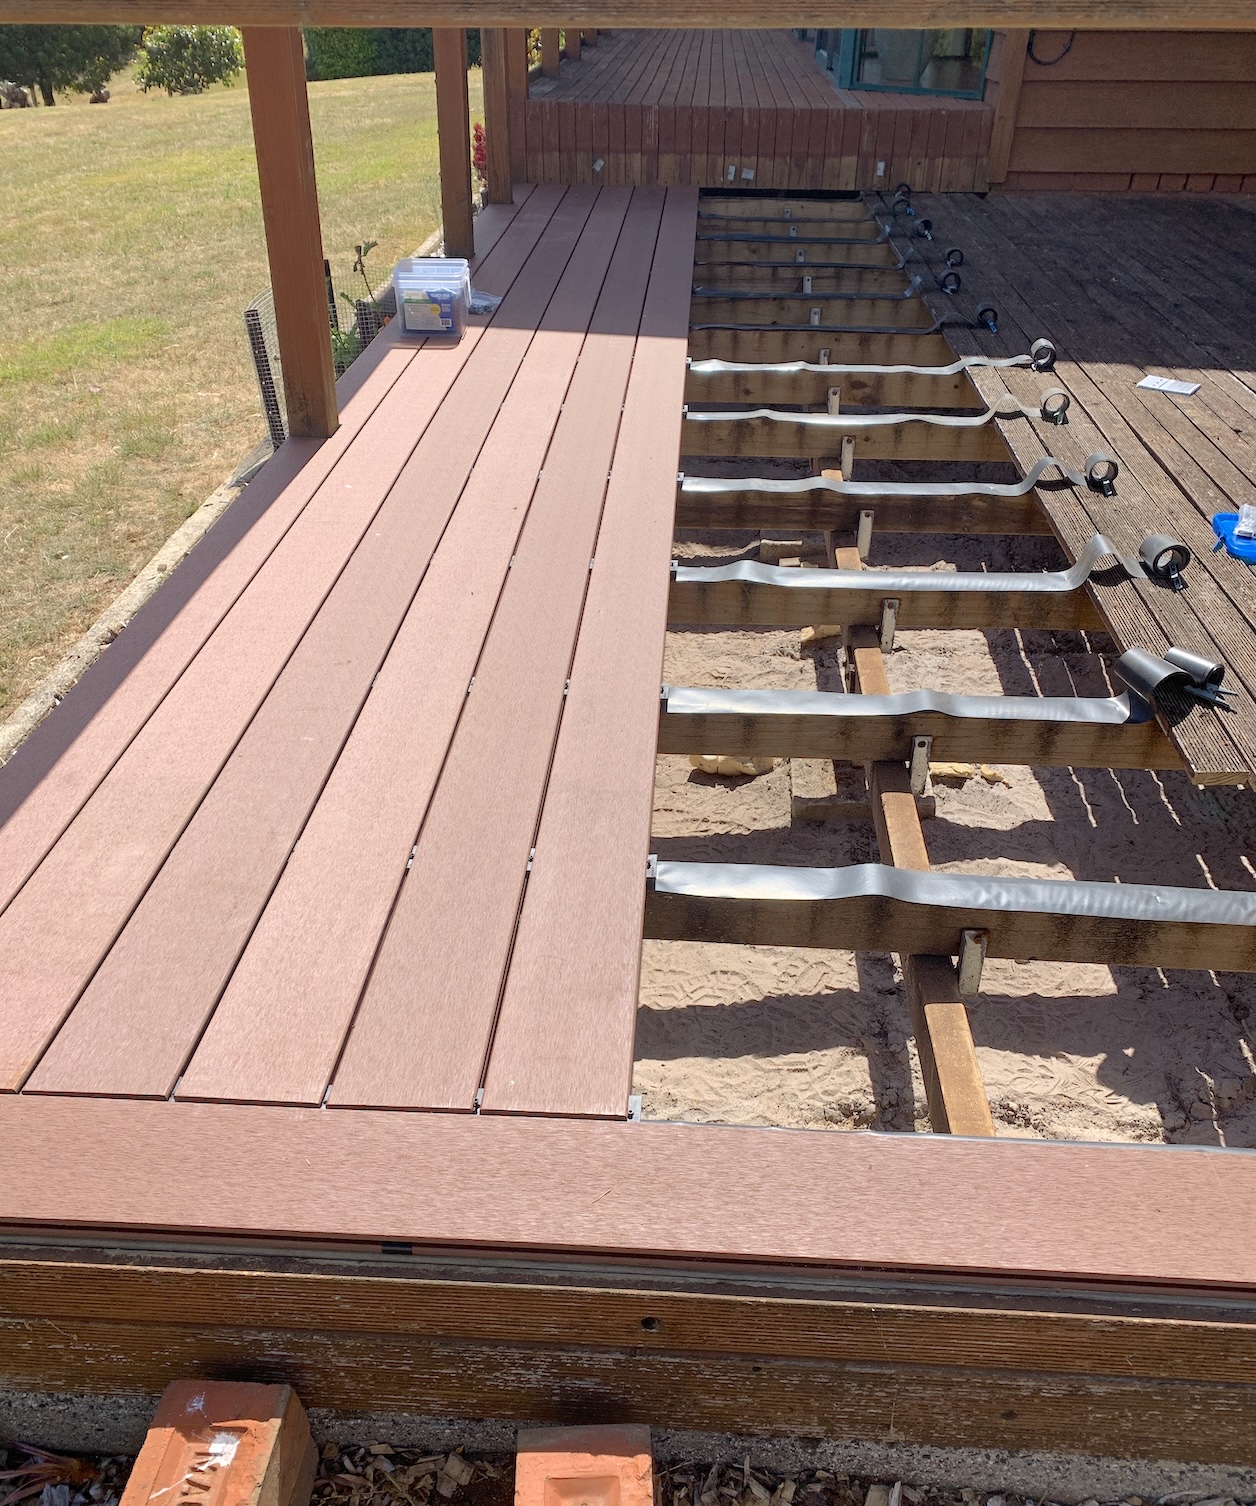
and the first of the long boards was laid.
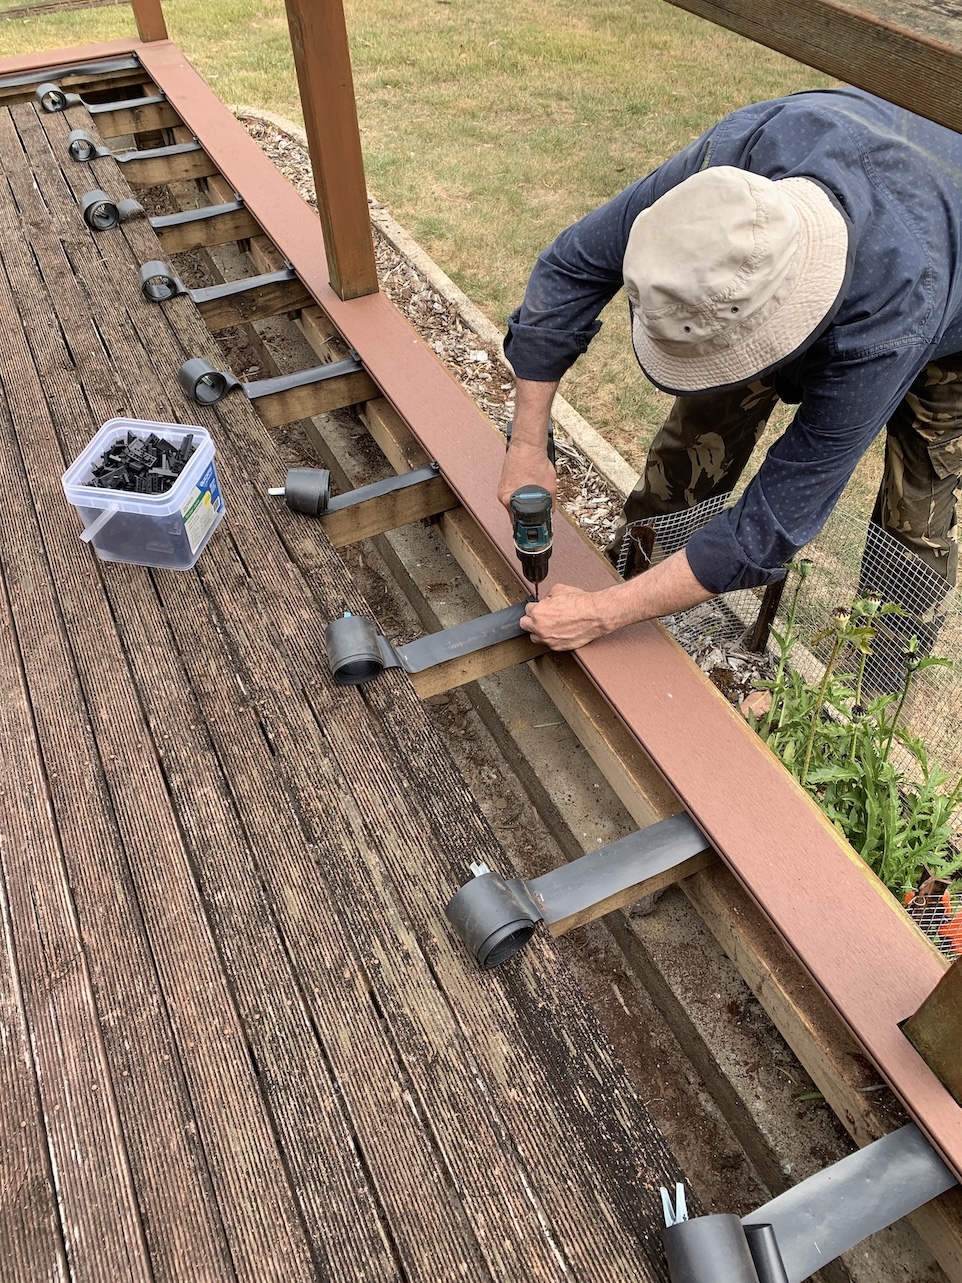
We made our own joist tape out of concreters plastic (that, for some reason, we have a very large roll of). The cut strips were rolled up, secured with a clothes peg and unfurled as we progressed.
After removing a section of the old boards,
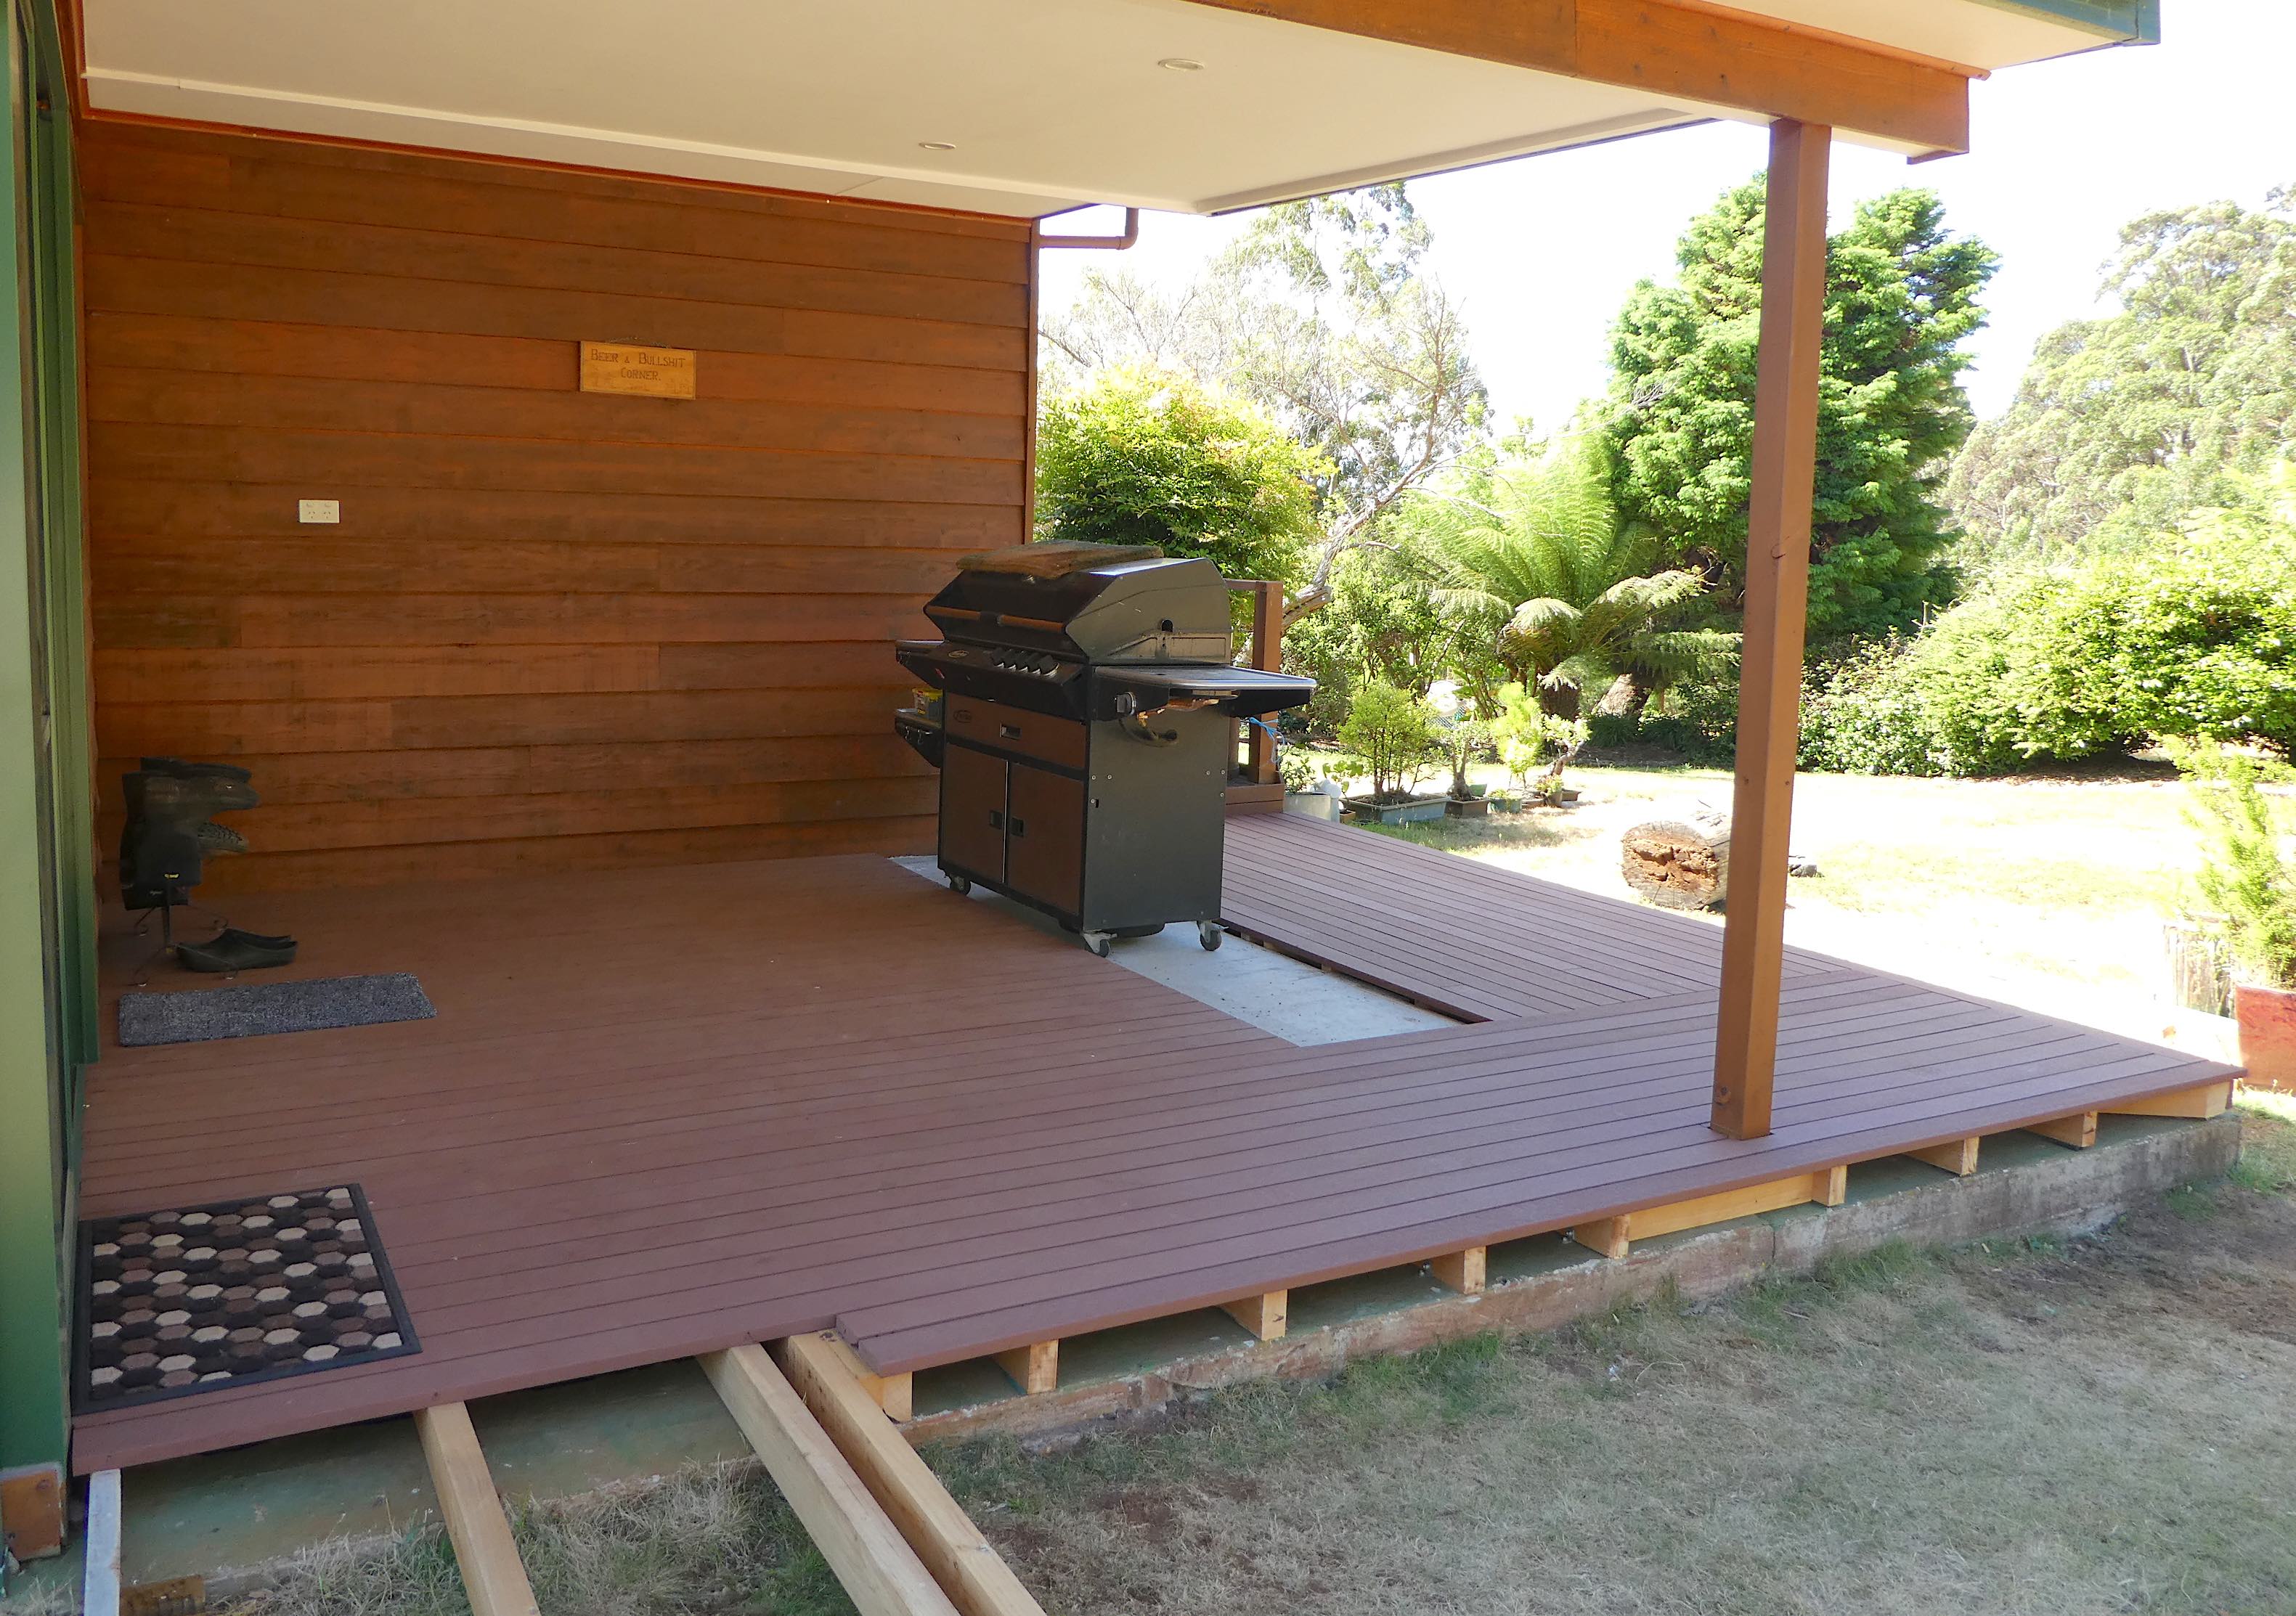
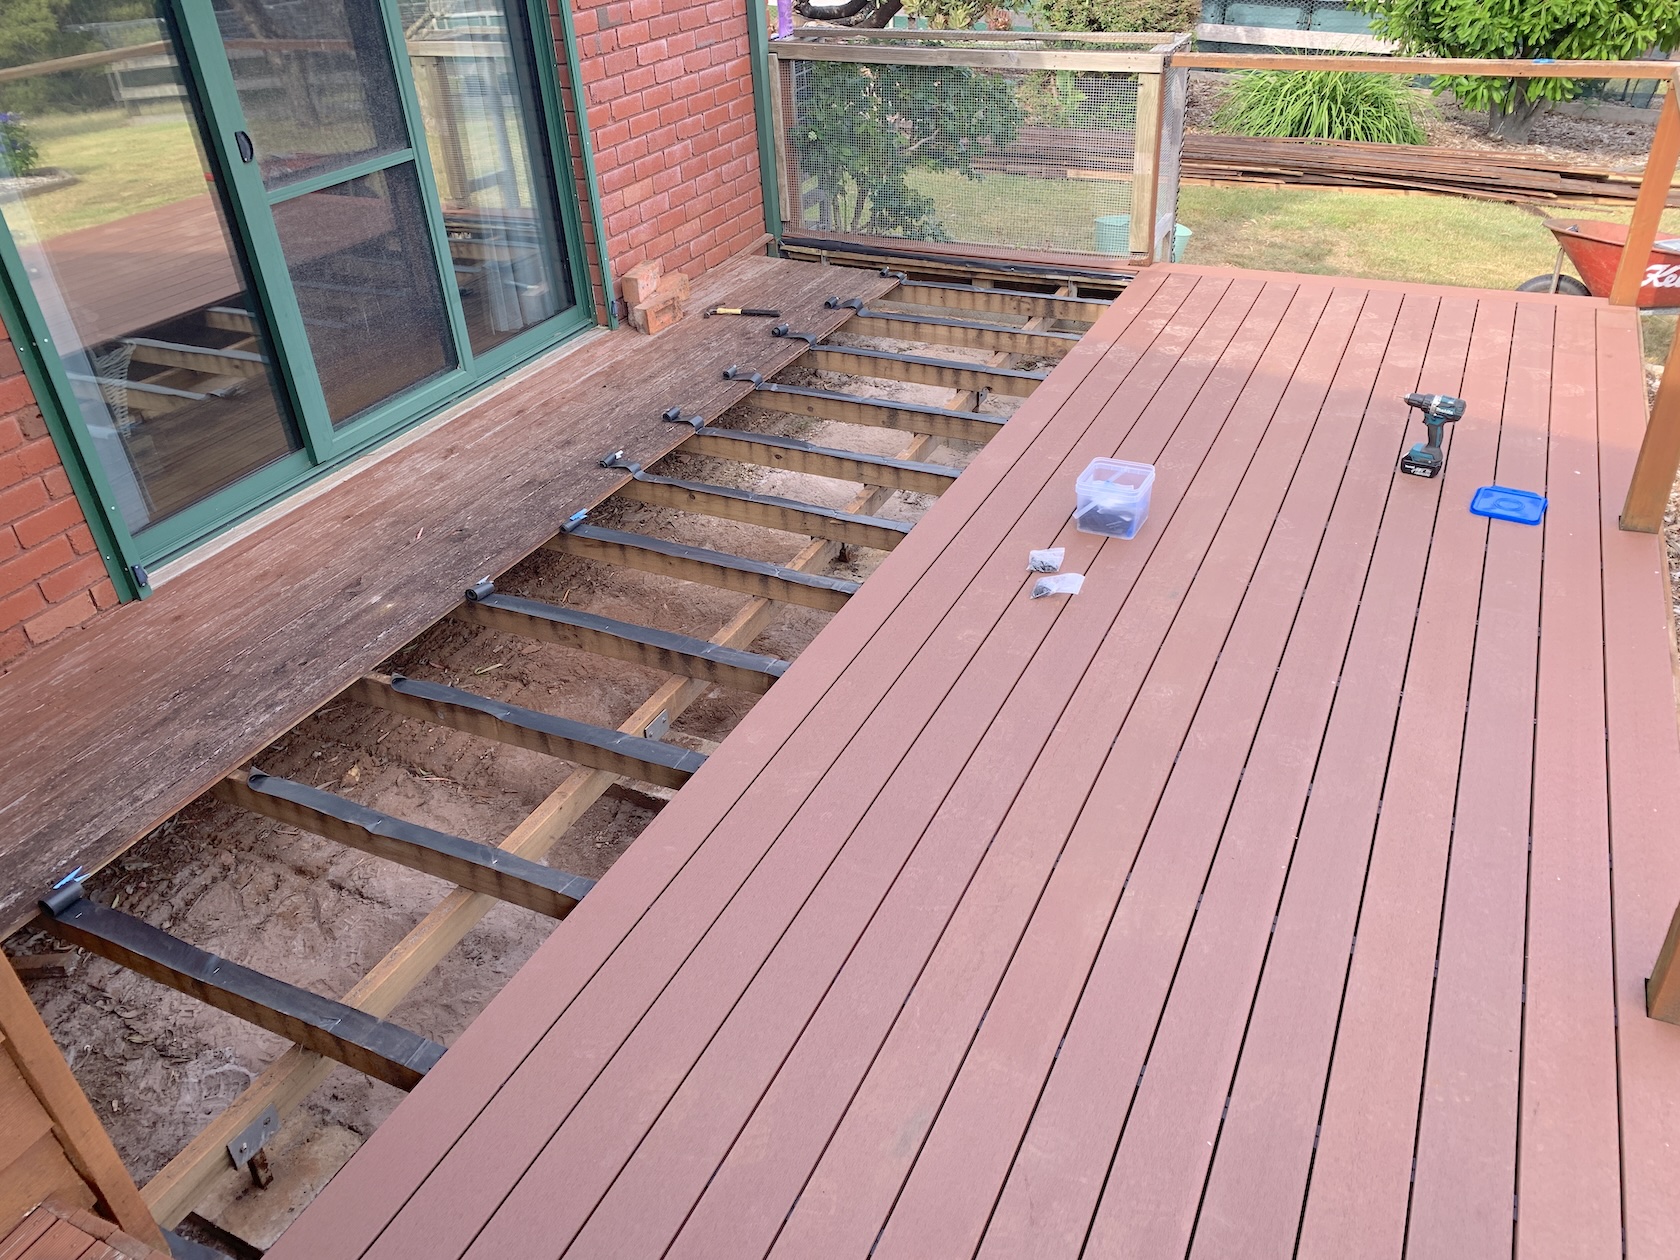
we started laying the new ones
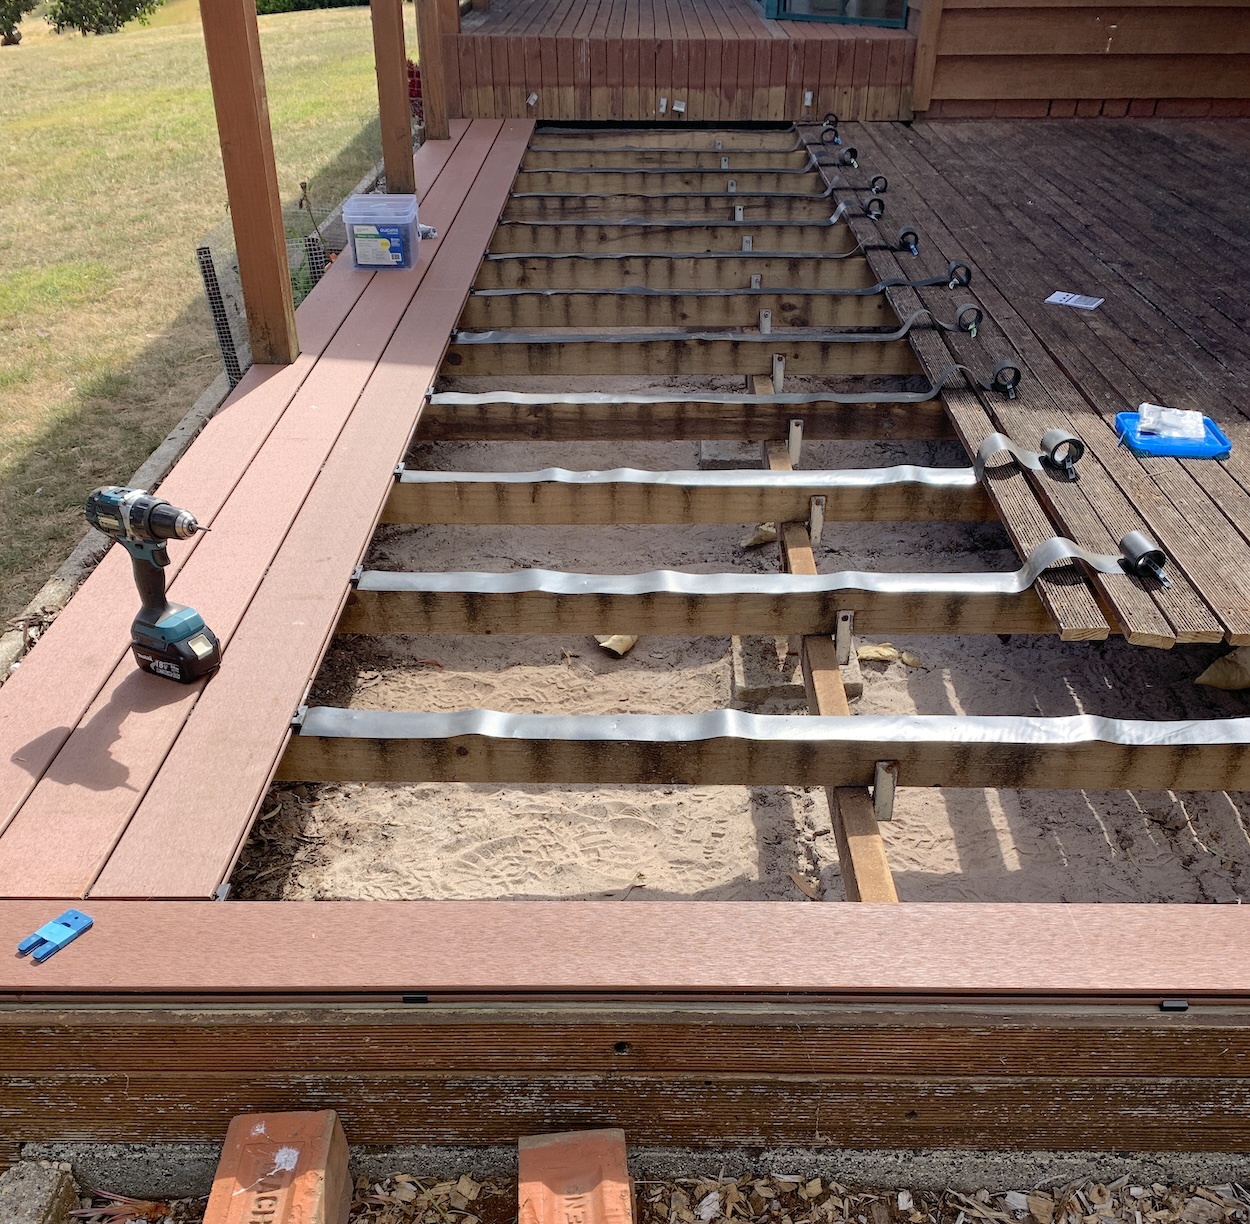
and over the course of two days (working in the mornings only as it was too hot by midday), we were halfway there.

We didn’t remove all the old ones at the beginning because we had to keep the area covered so our nocturnal furry visitors didn’t go under the house and get sealed in. We continued in the same vein until we came to the last piece.
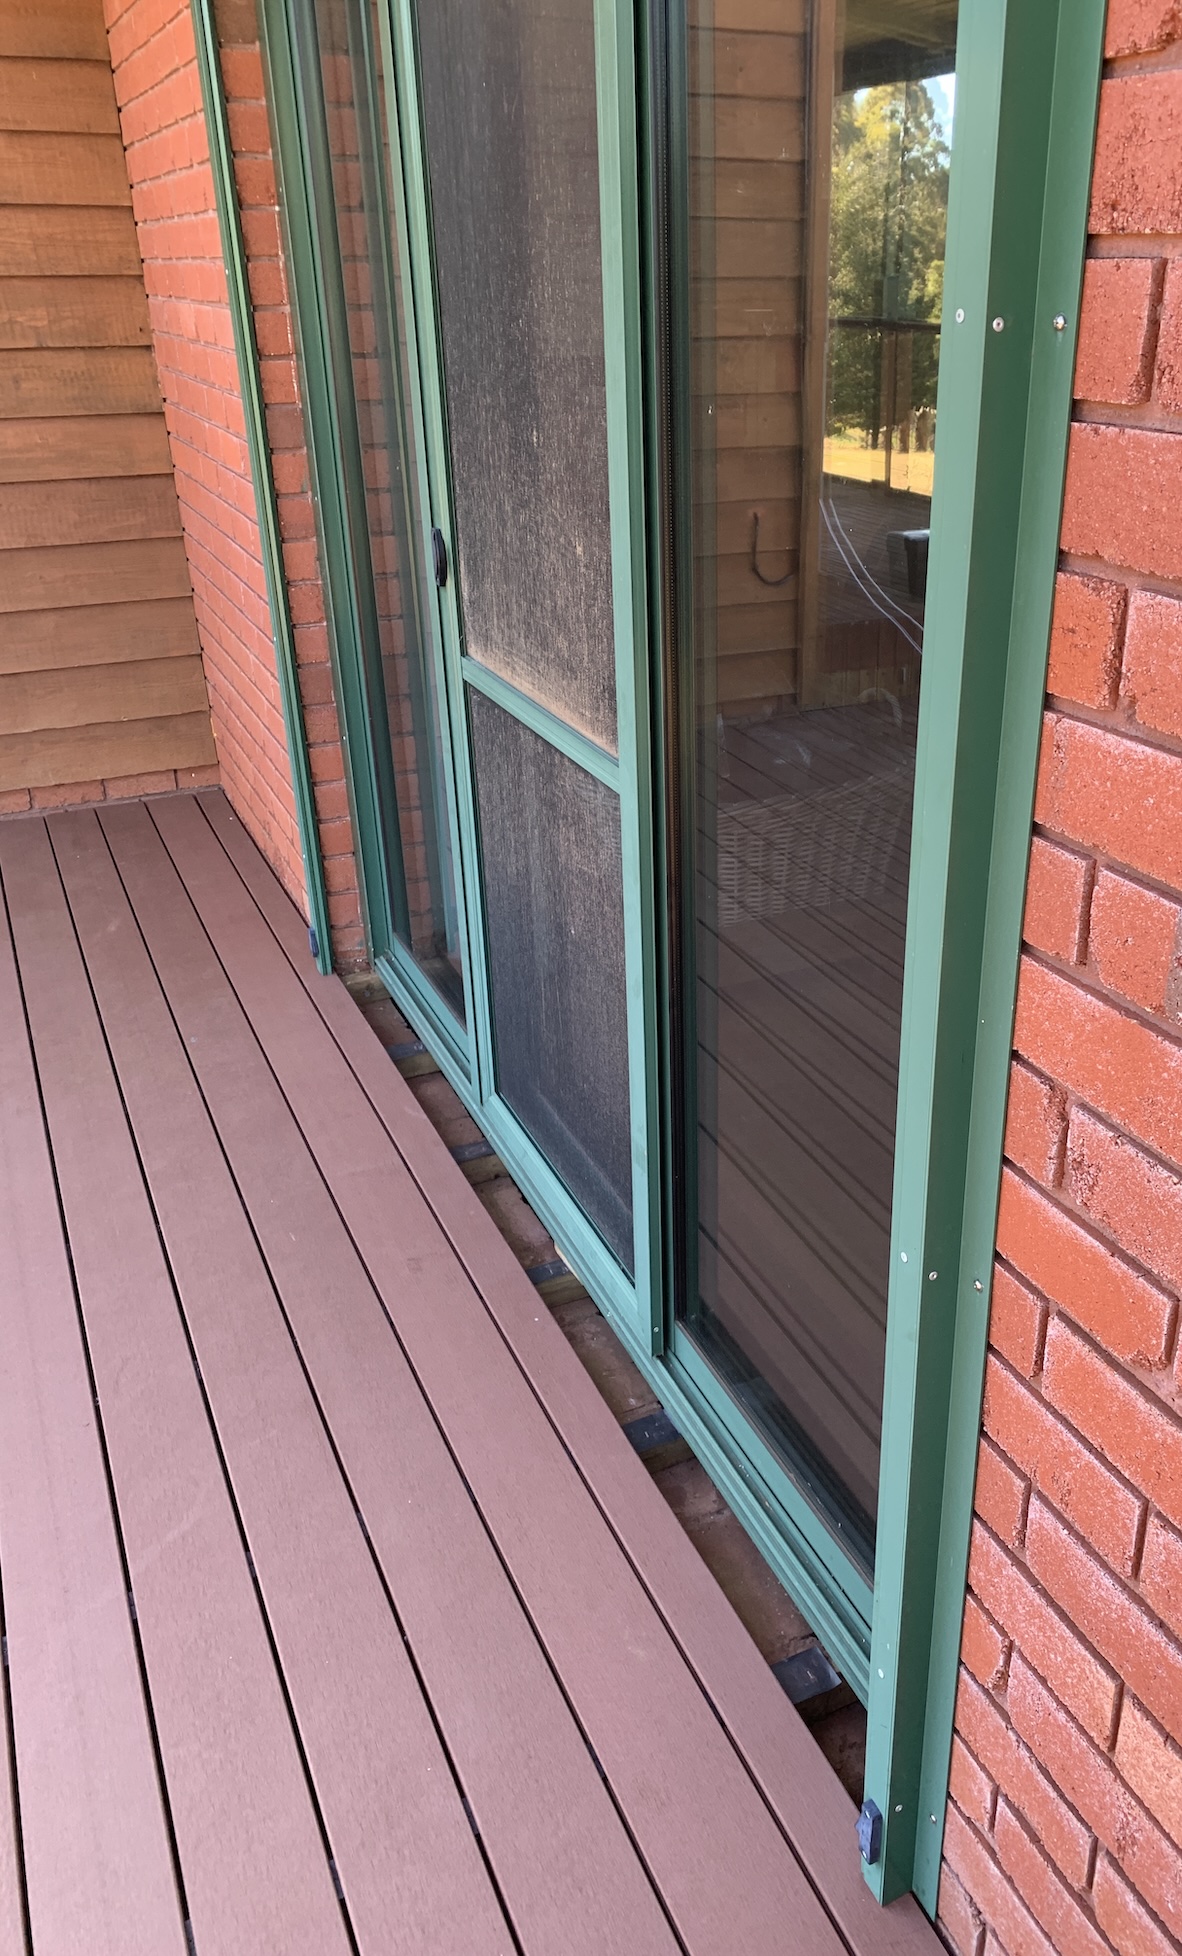
A bit of head scratching had preceded this point, going from Plan A to Plan D and finally settling on Plan A. More precision cutting

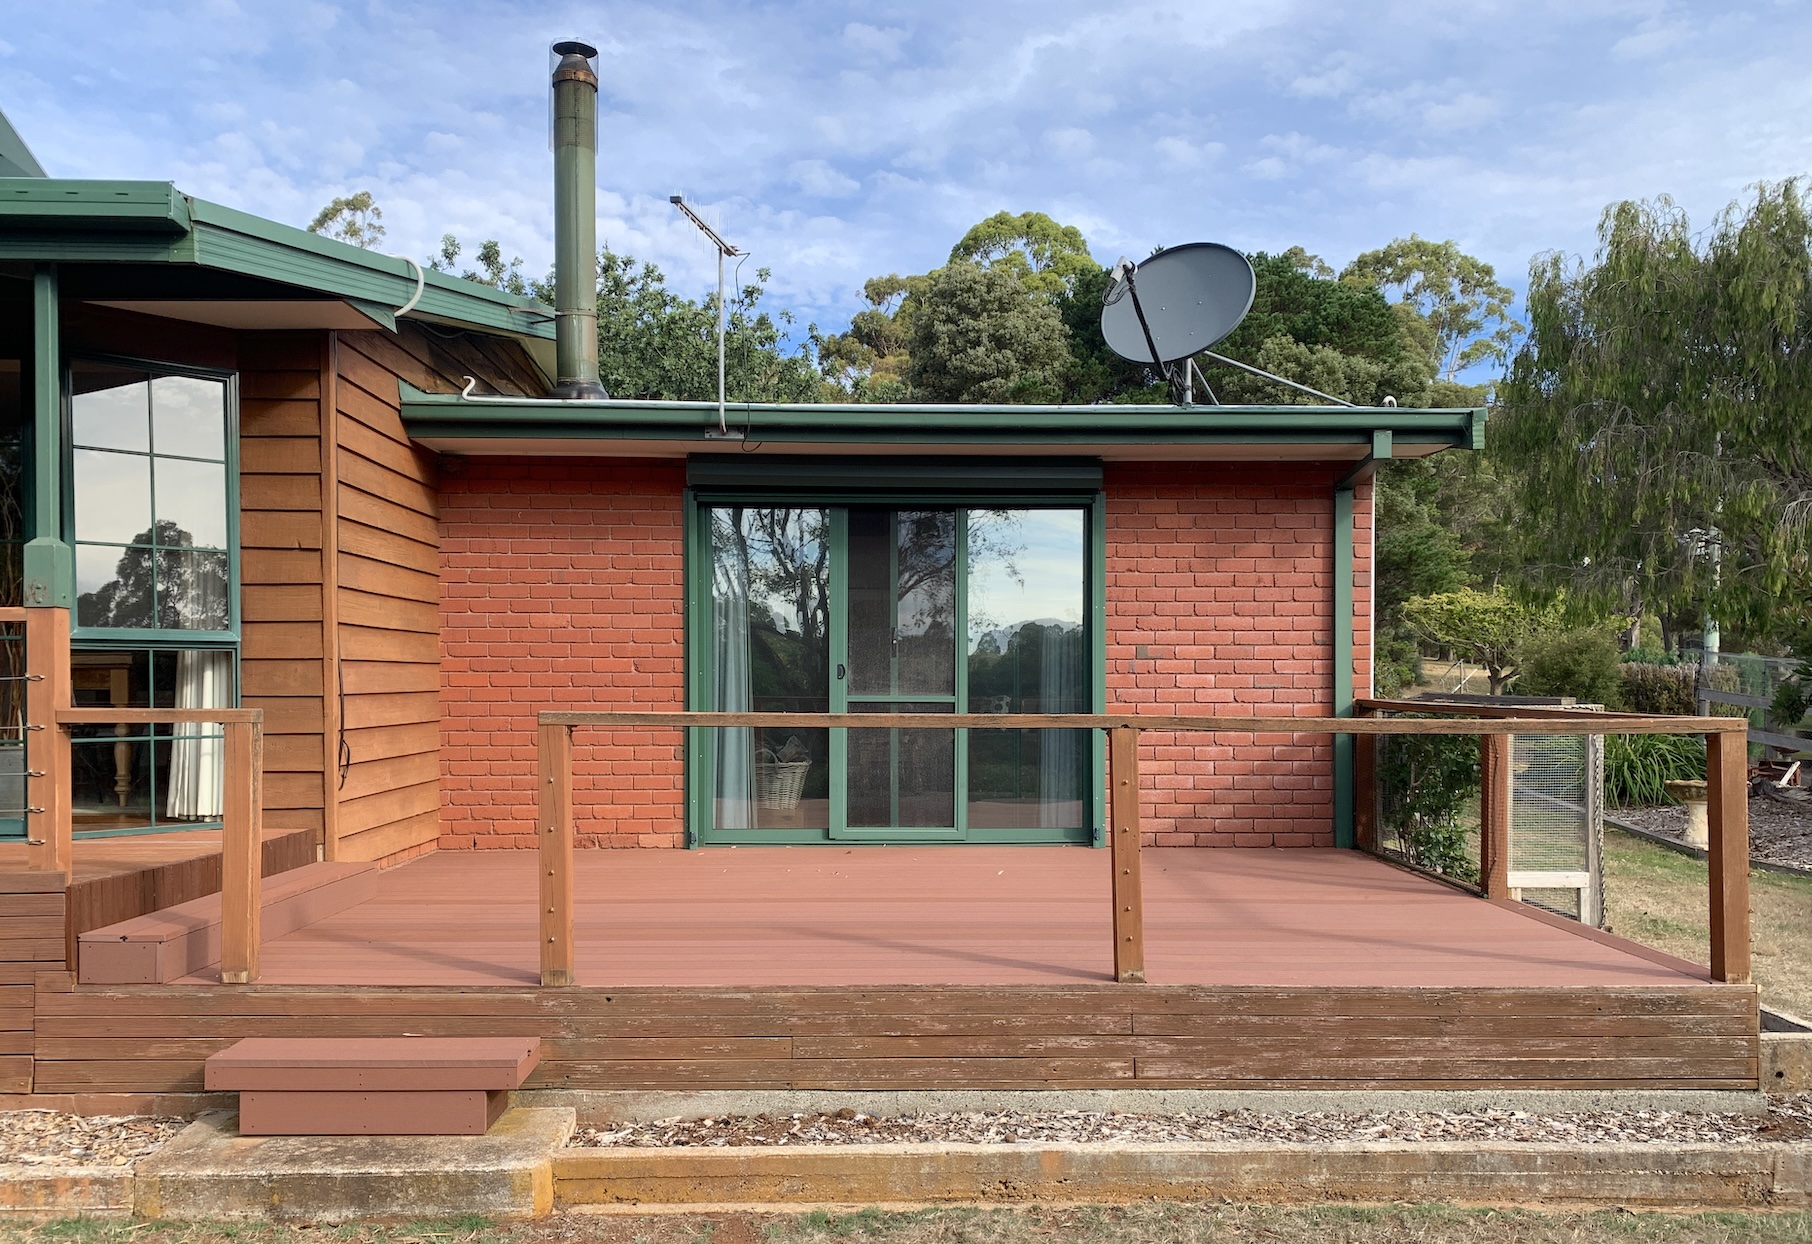
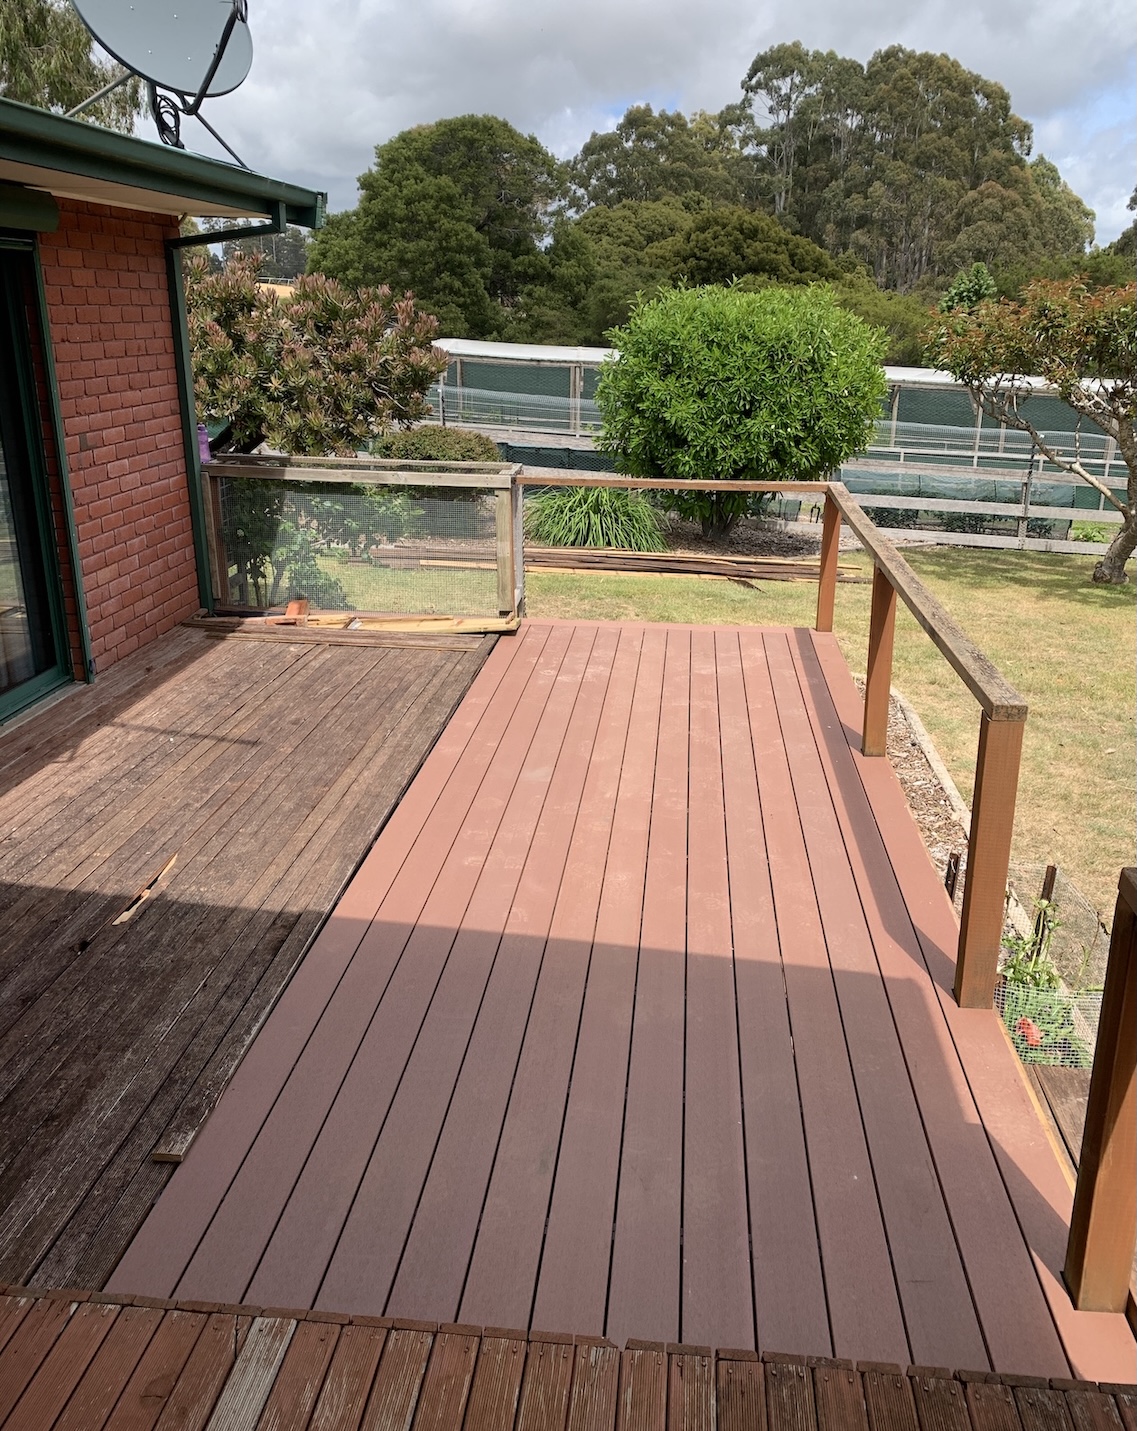
and a perfect result.
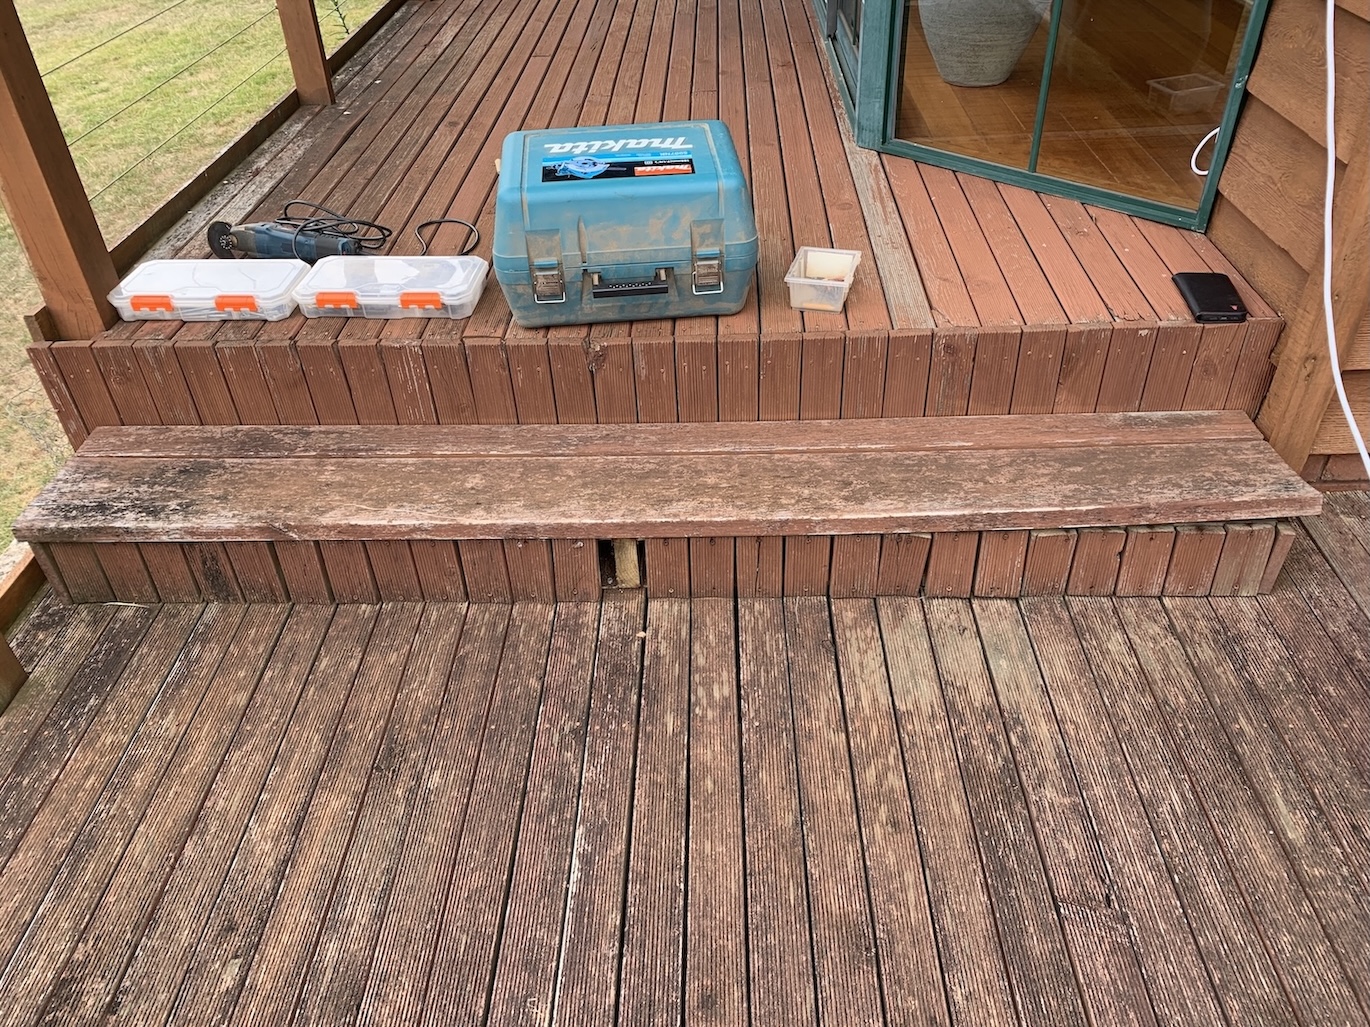
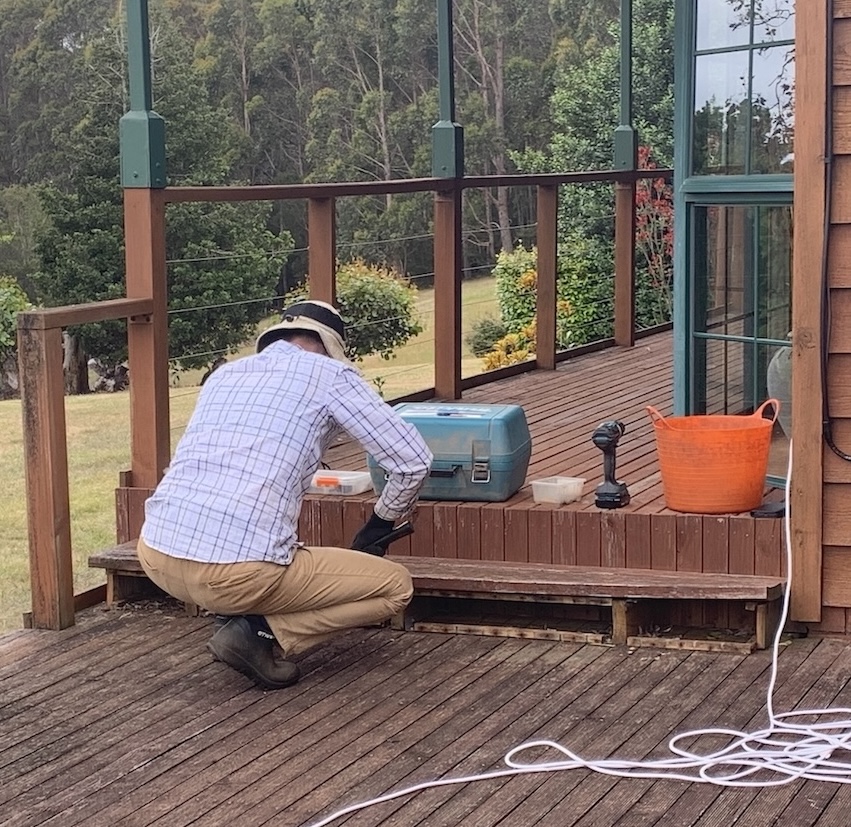
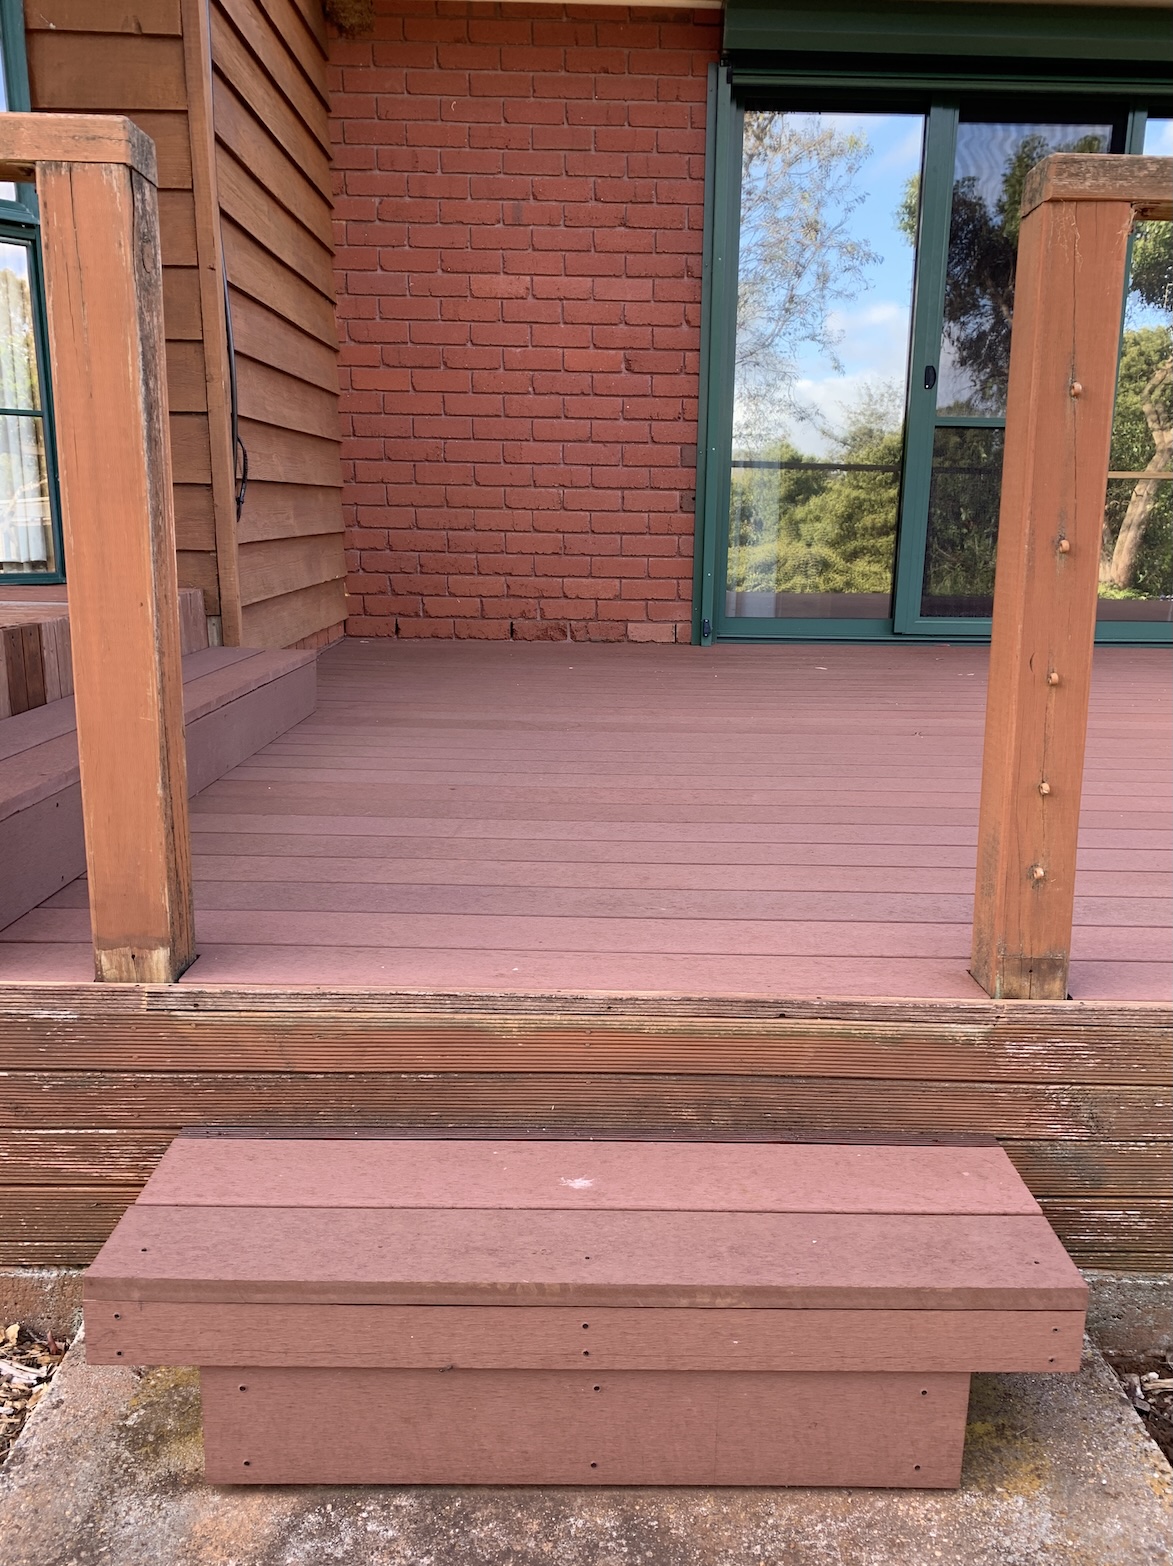
A new step up to the front decking was fashioned
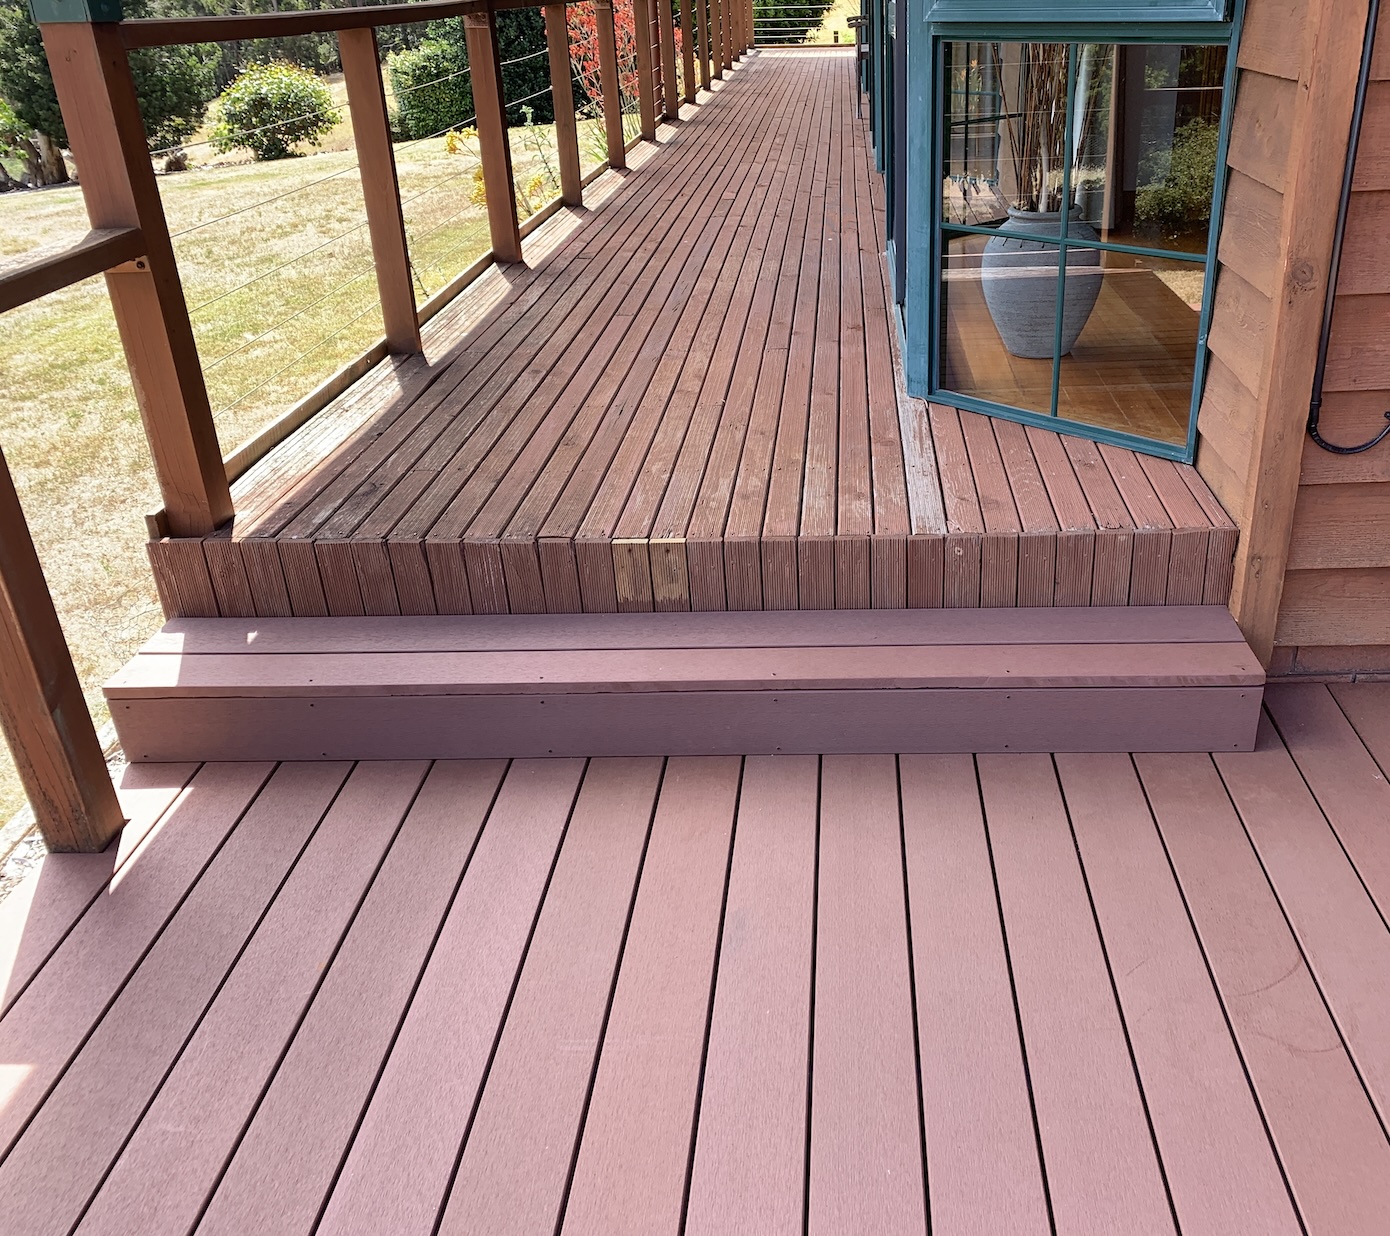
and a smaller step down to the garden.
Now we have a few hours (days/weeks/months) of sanding and staining the uprights and balustrade as well as the facing boards. Then, eventually, staining the rest of the old deck. Then…….