raising the bar

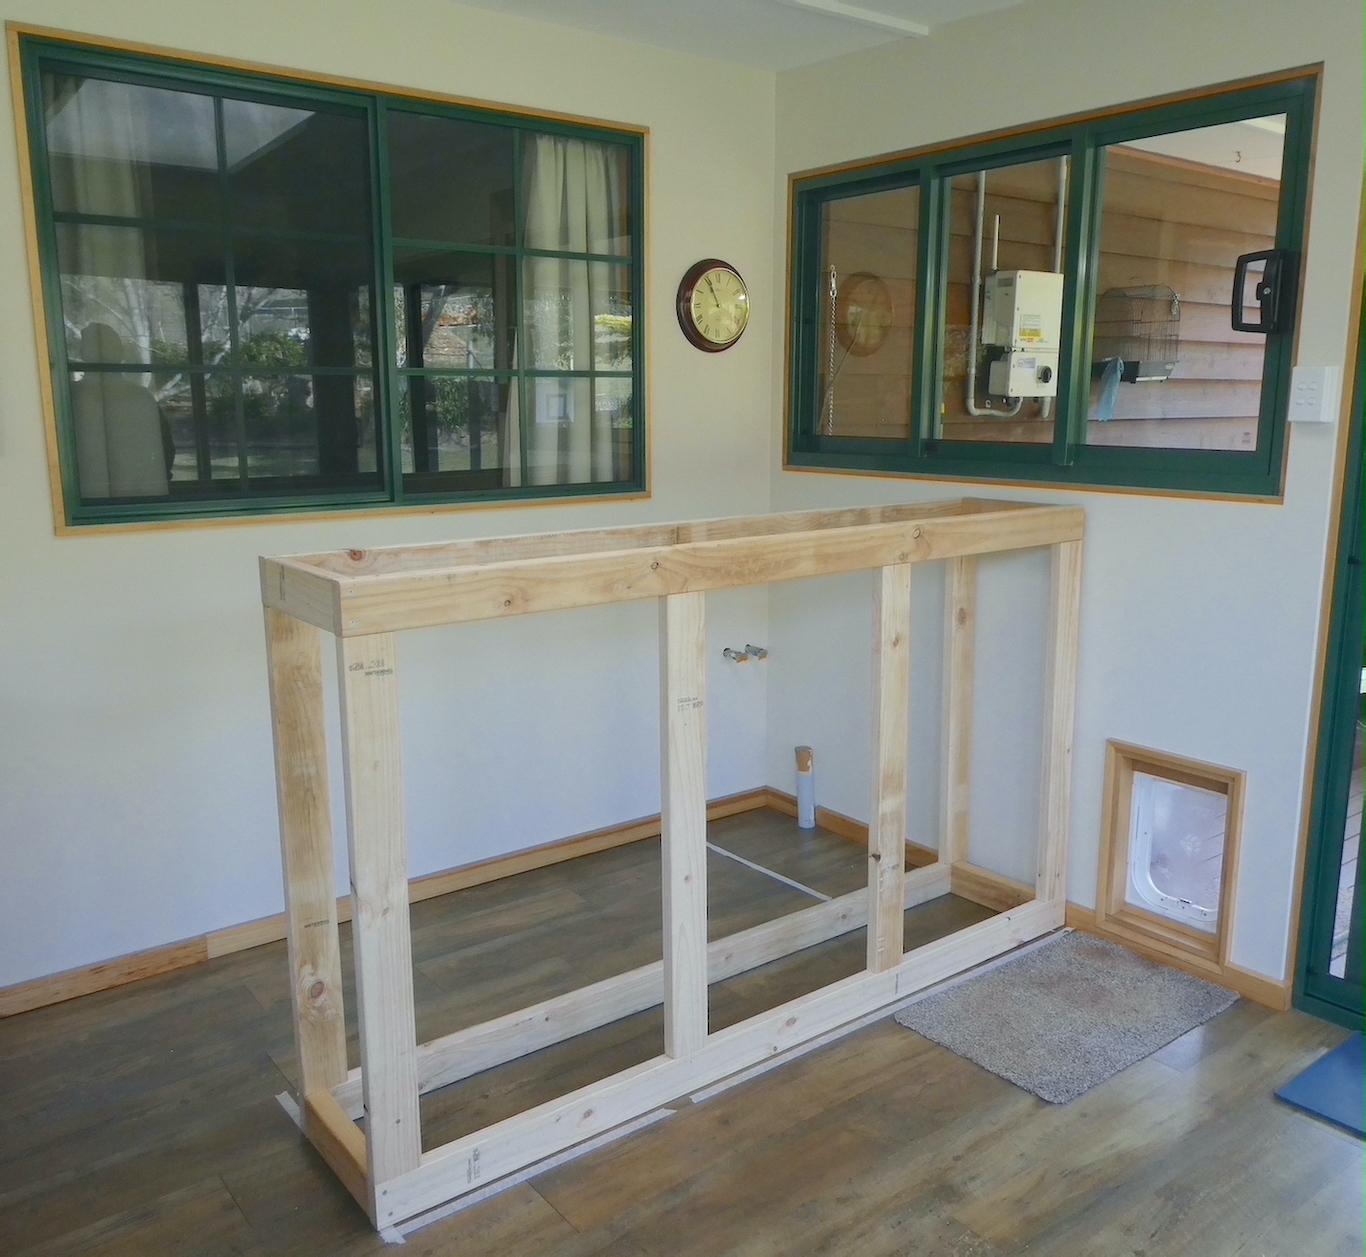
When we finished our renovation of the back verandah, our intention was to create a bespoke bar, the plumbing for which was installed at the time. Seven years on, we had a window of opportunity around our other projects. We started with a vague idea

and a basic frame.

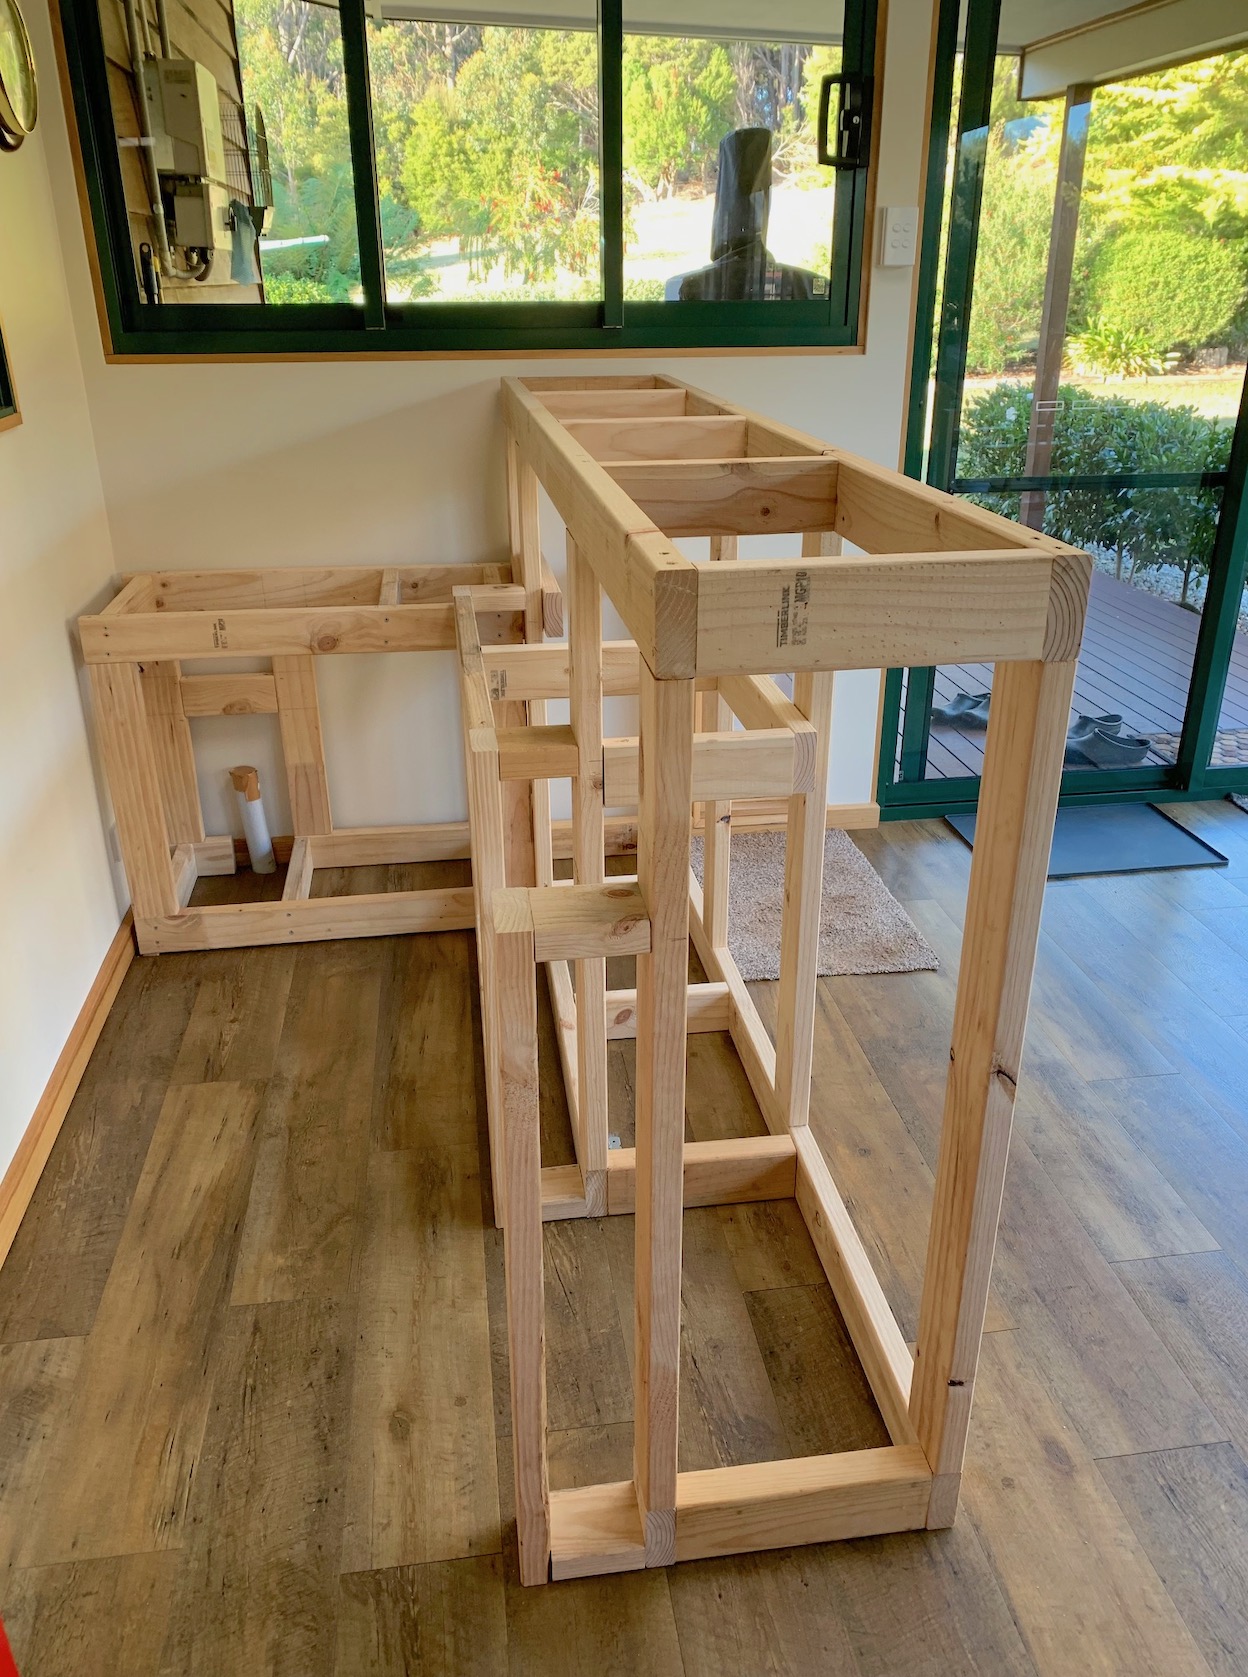
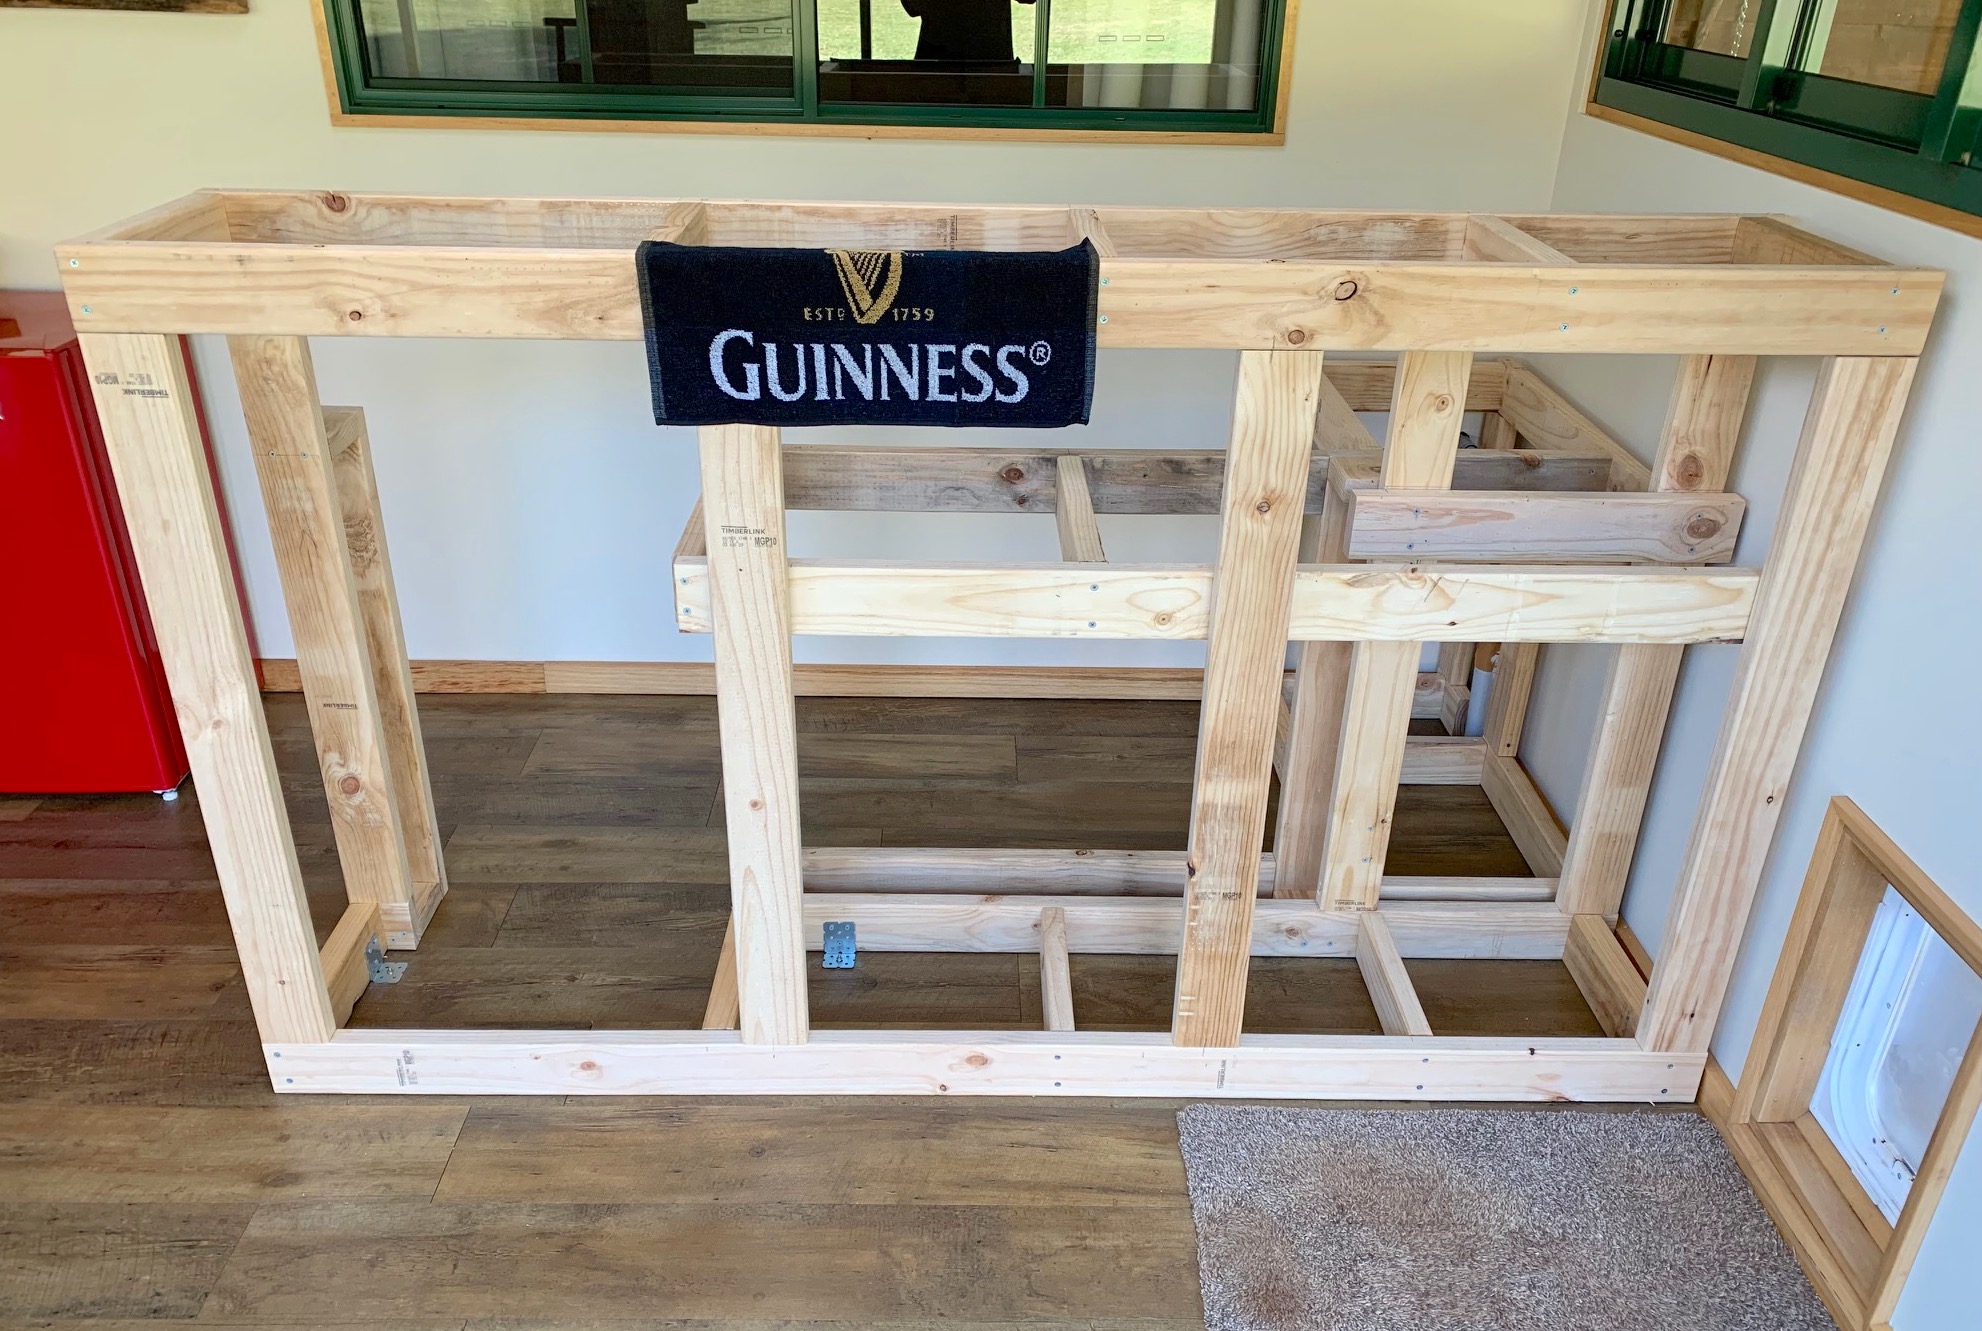
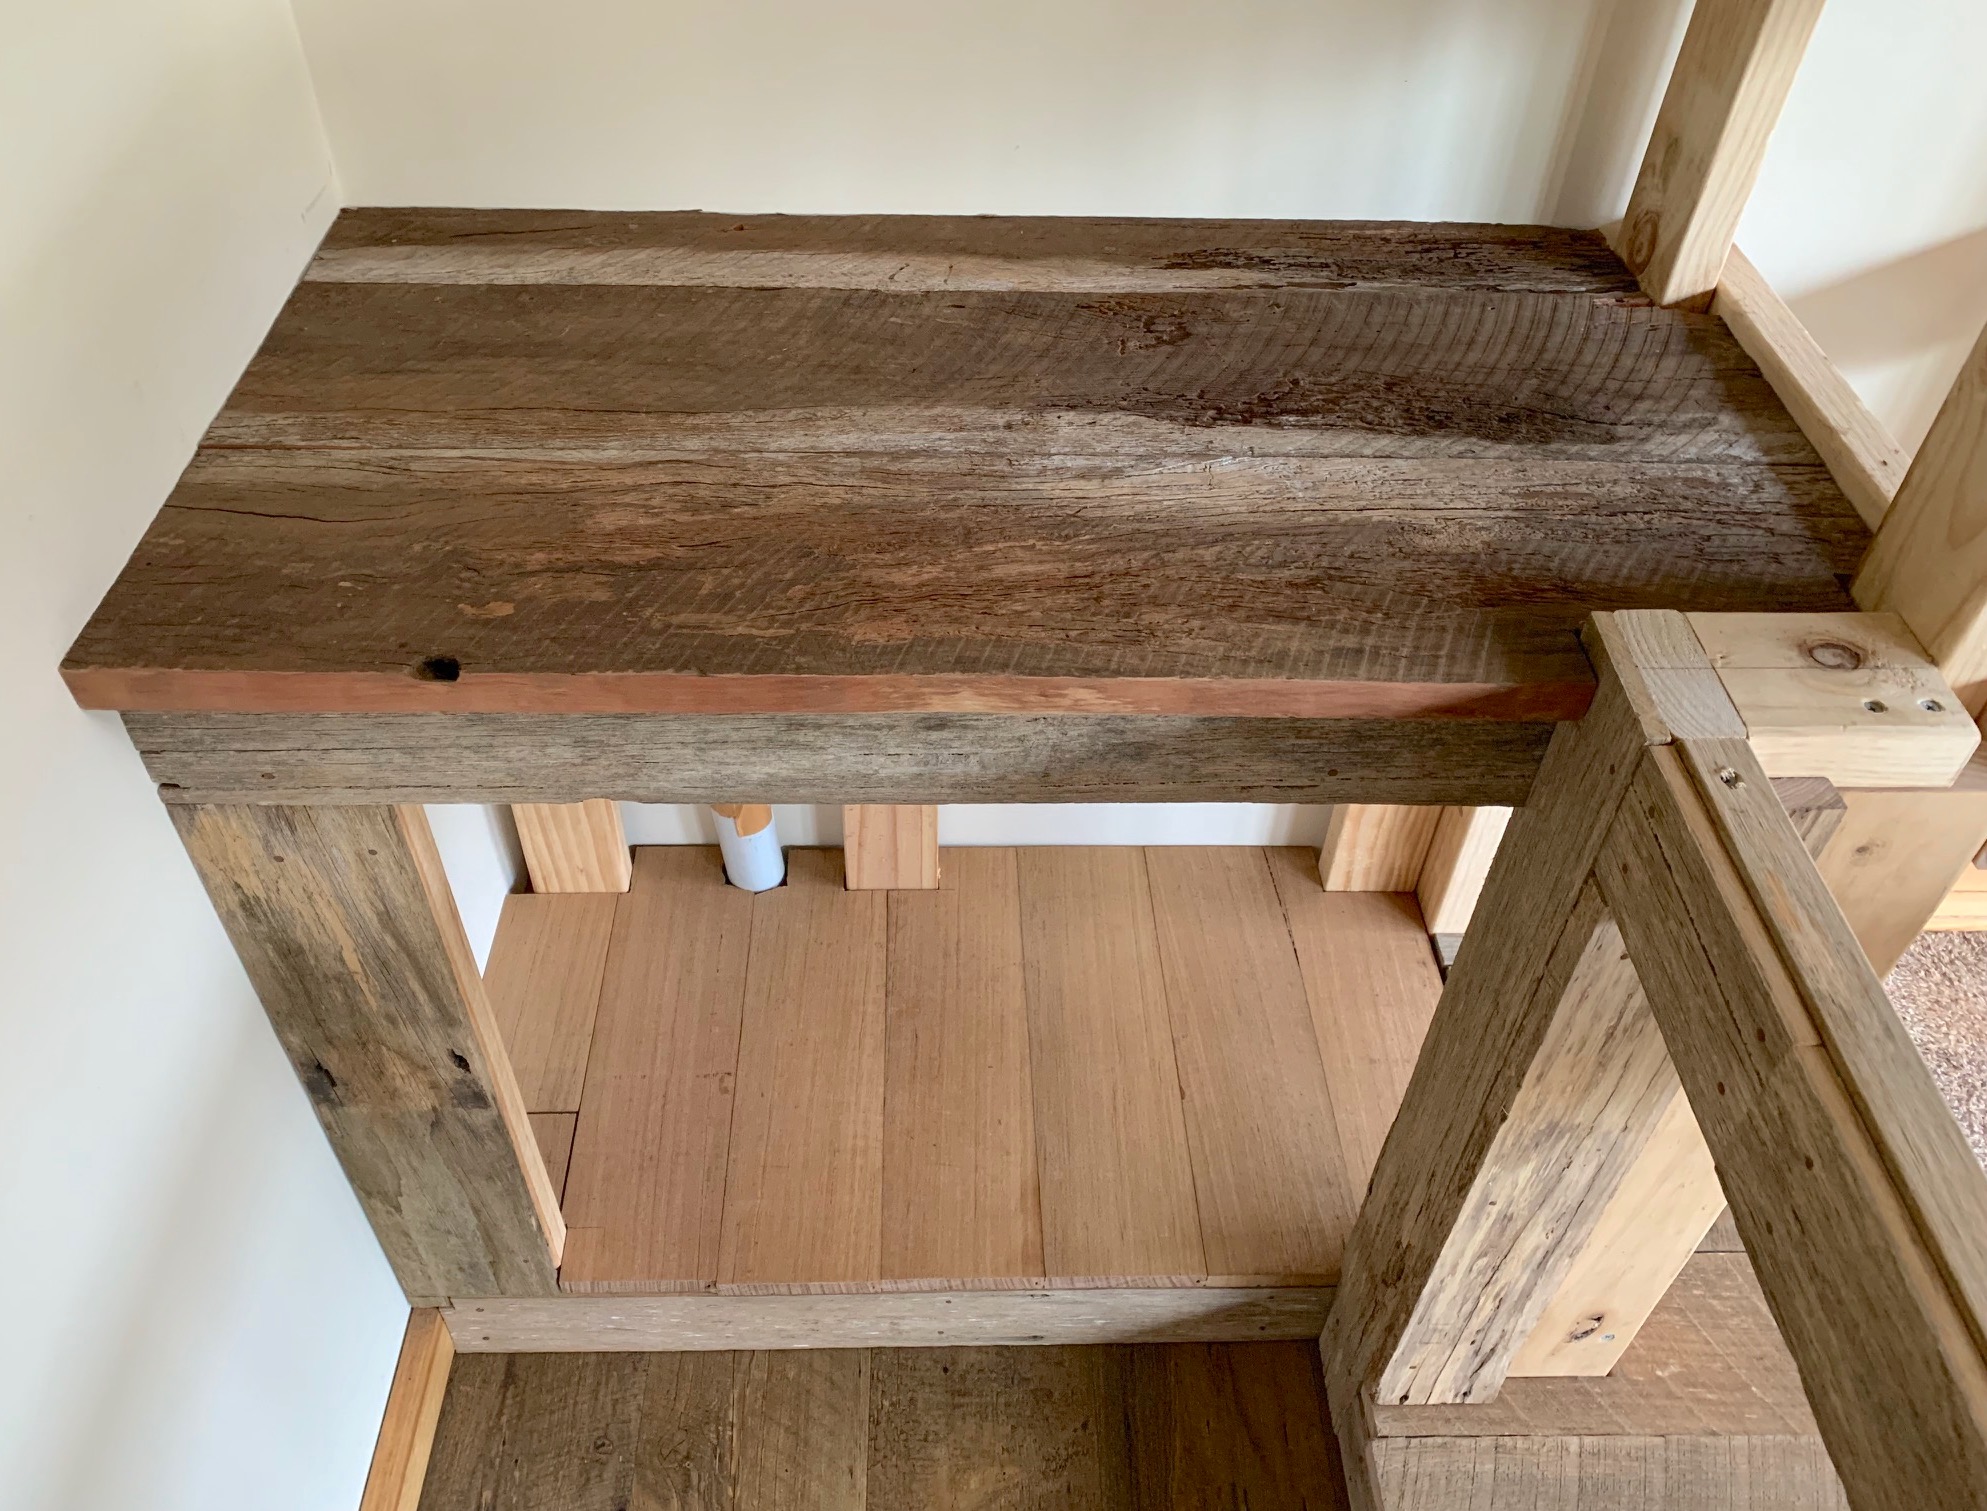
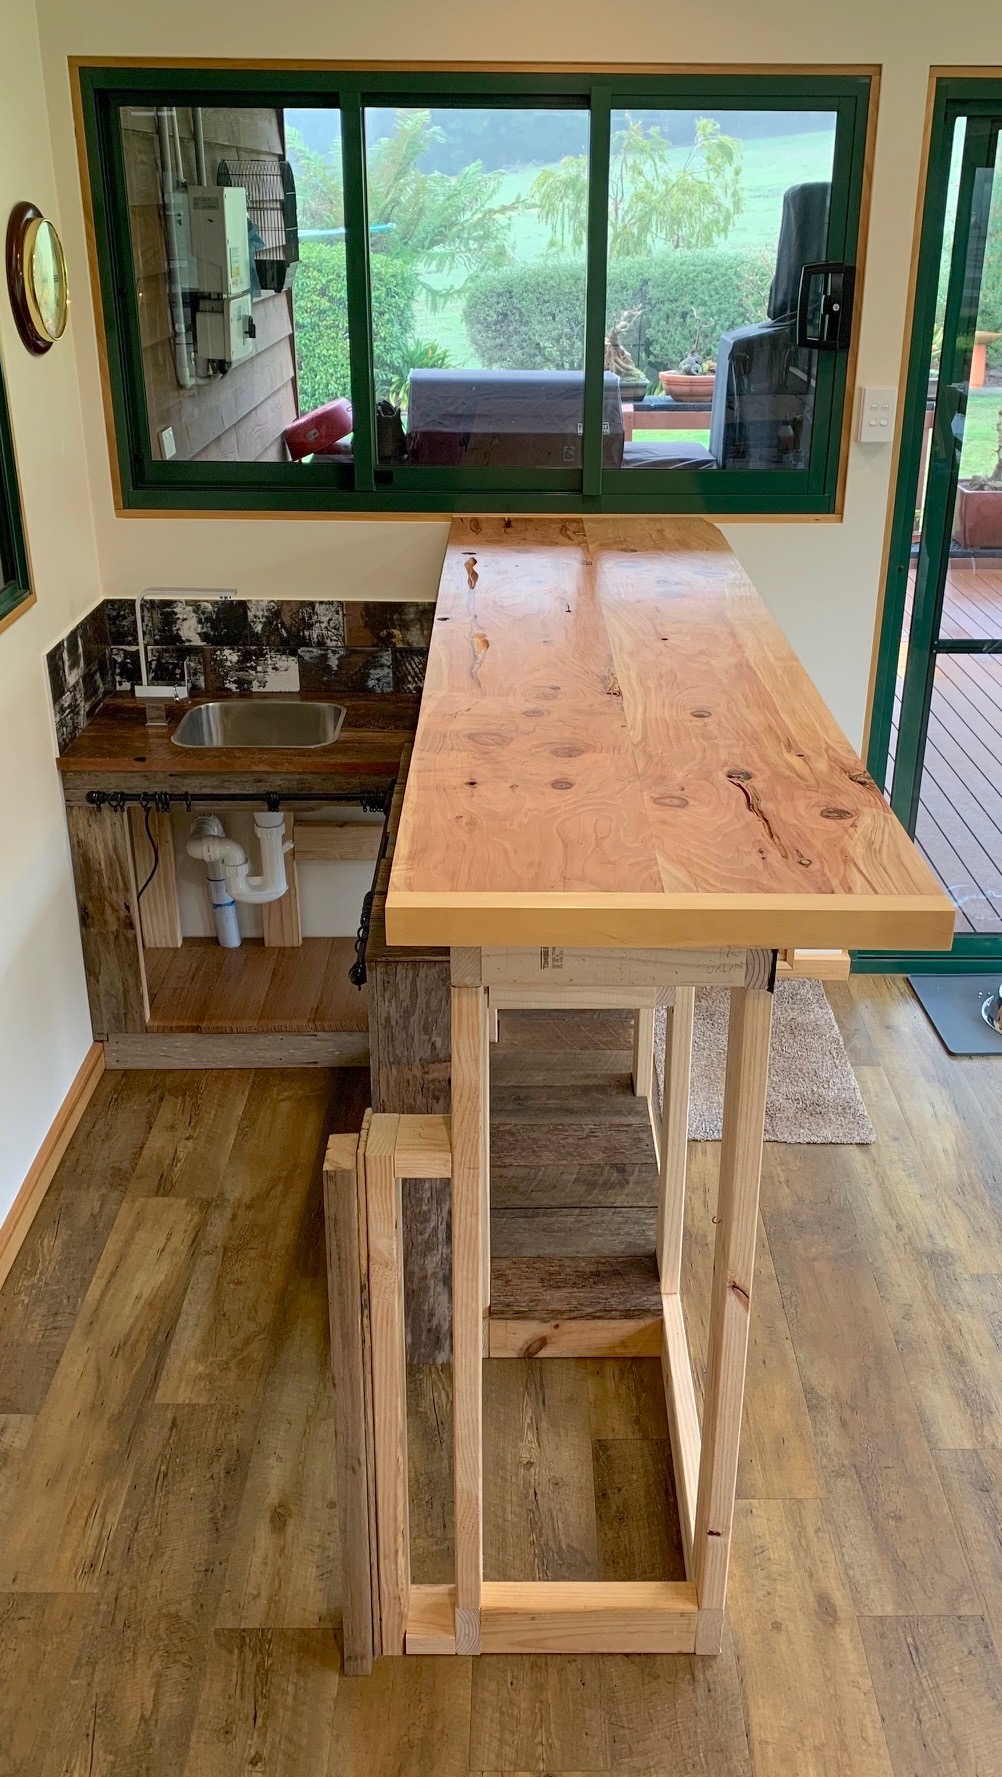
The framework for the sink section came next and before long, the skeleton was complete.

With a bit of inspiration,

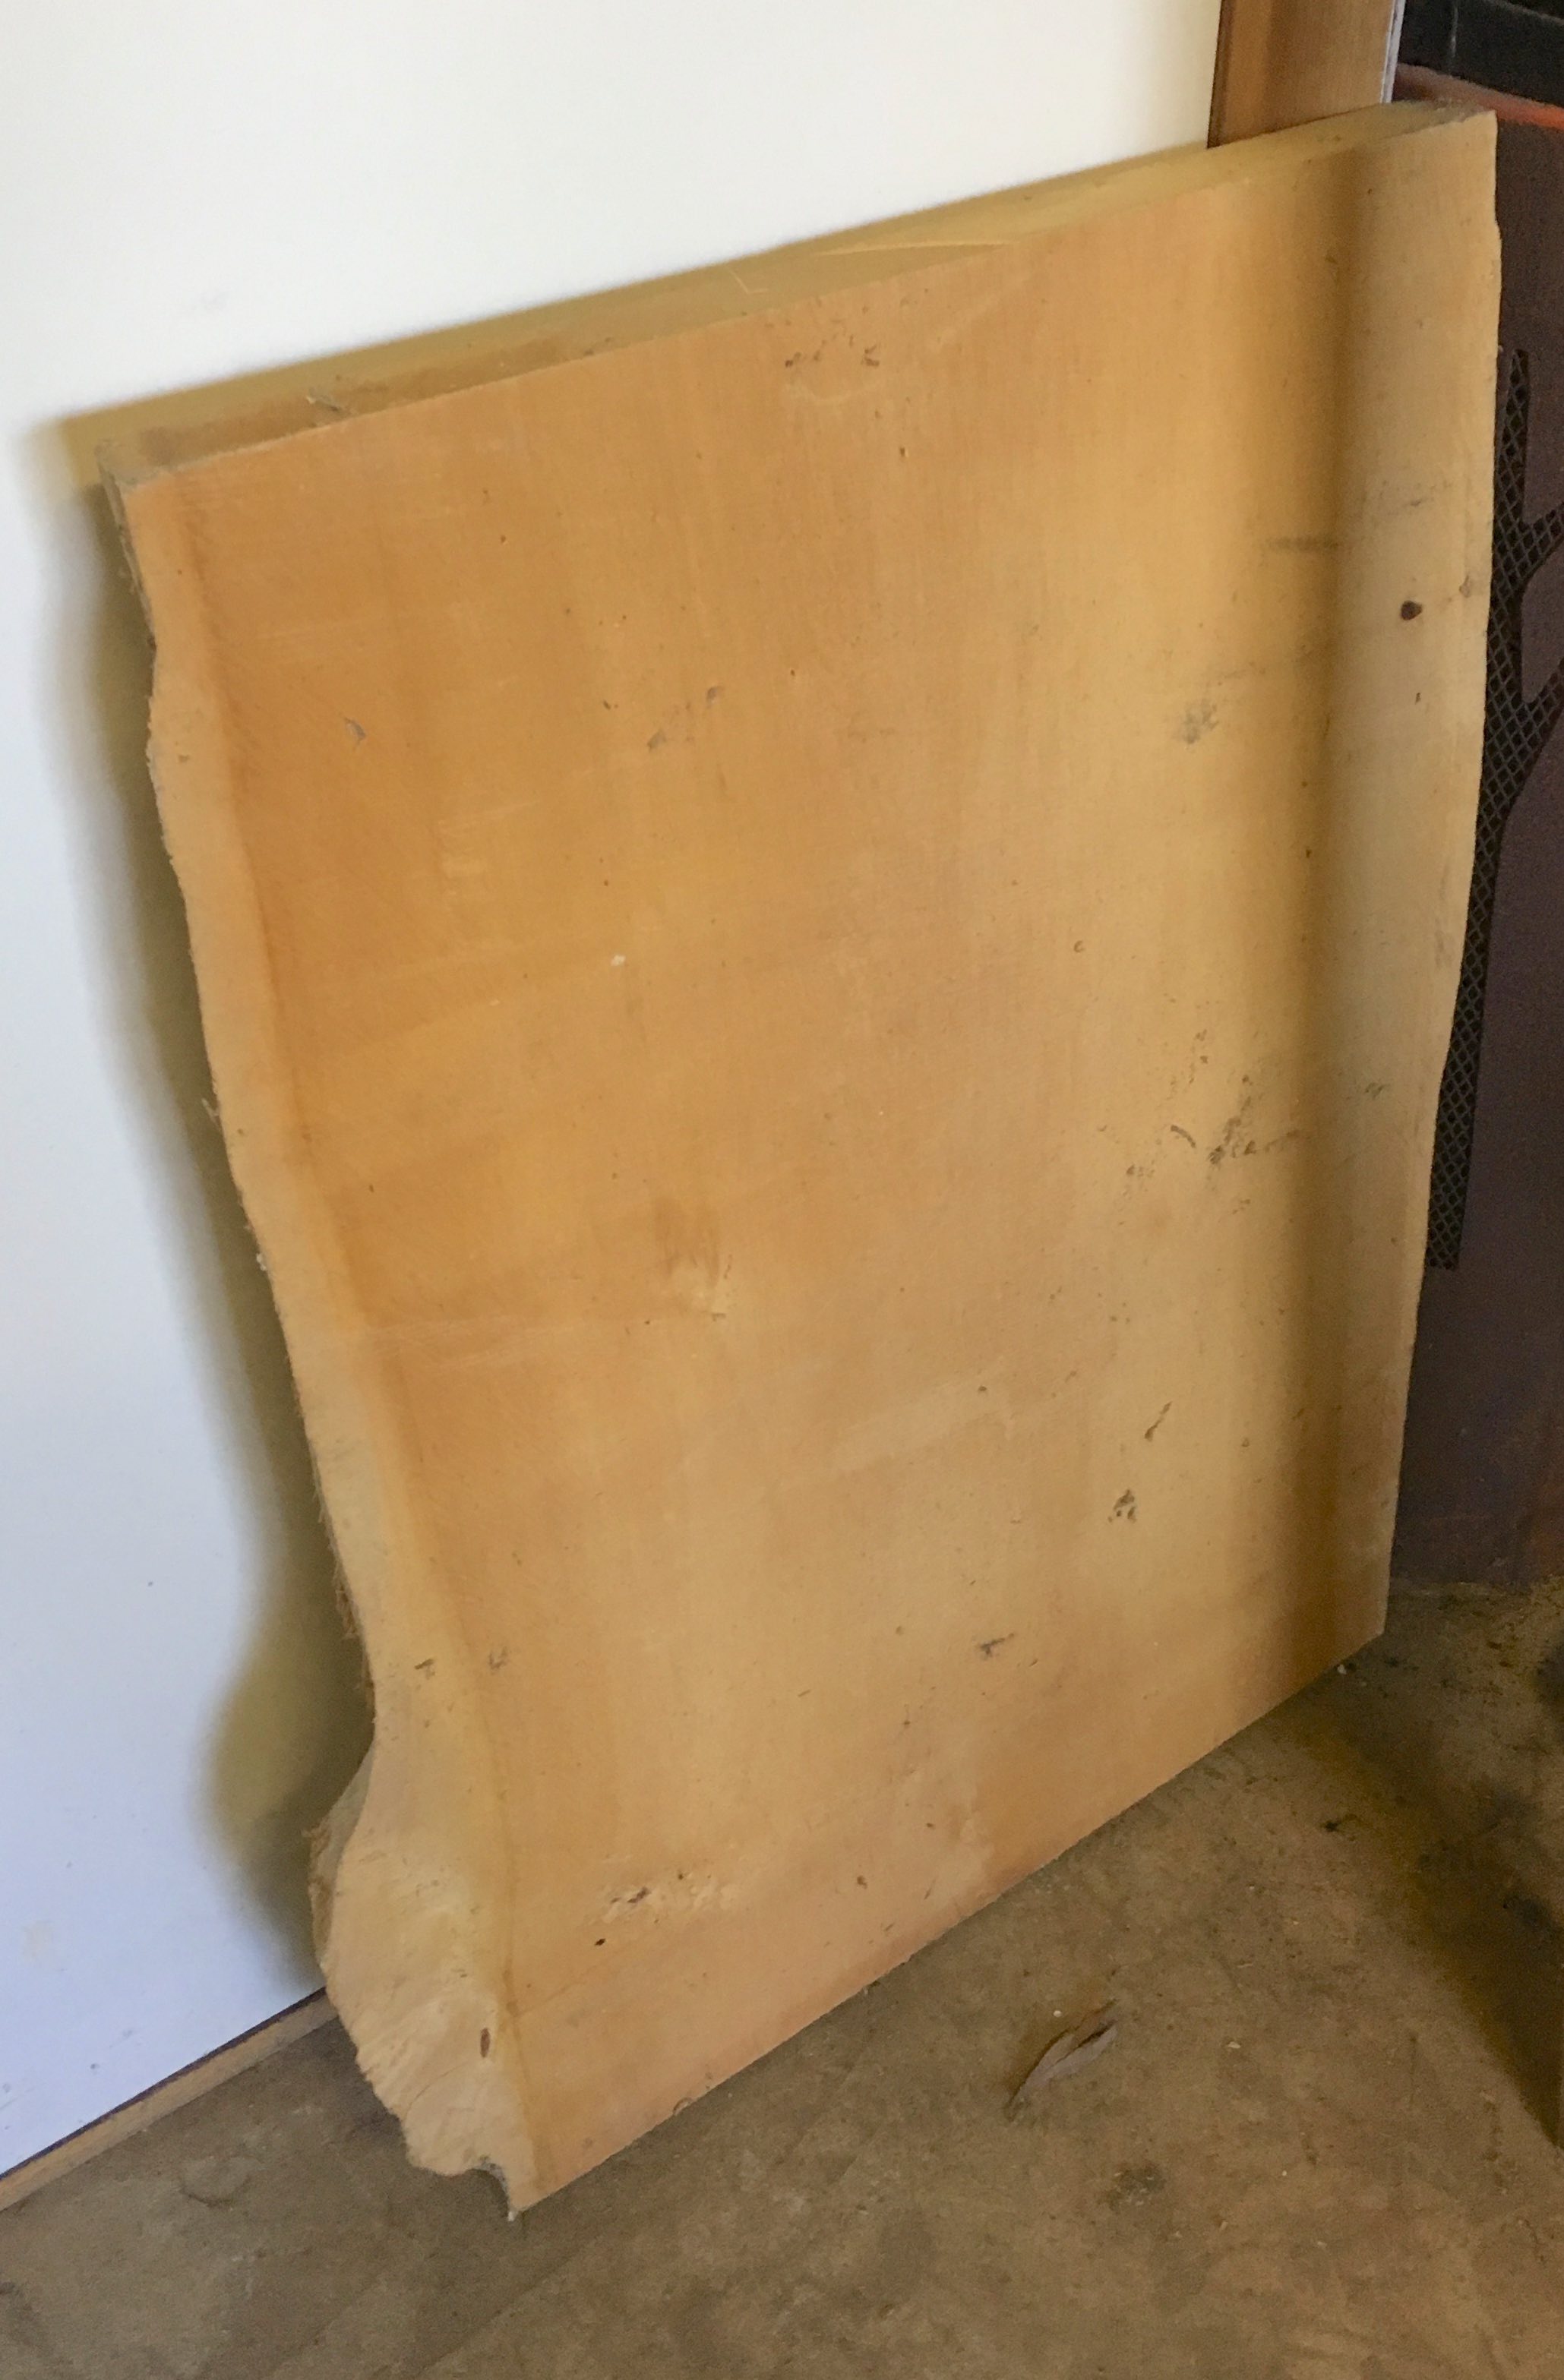
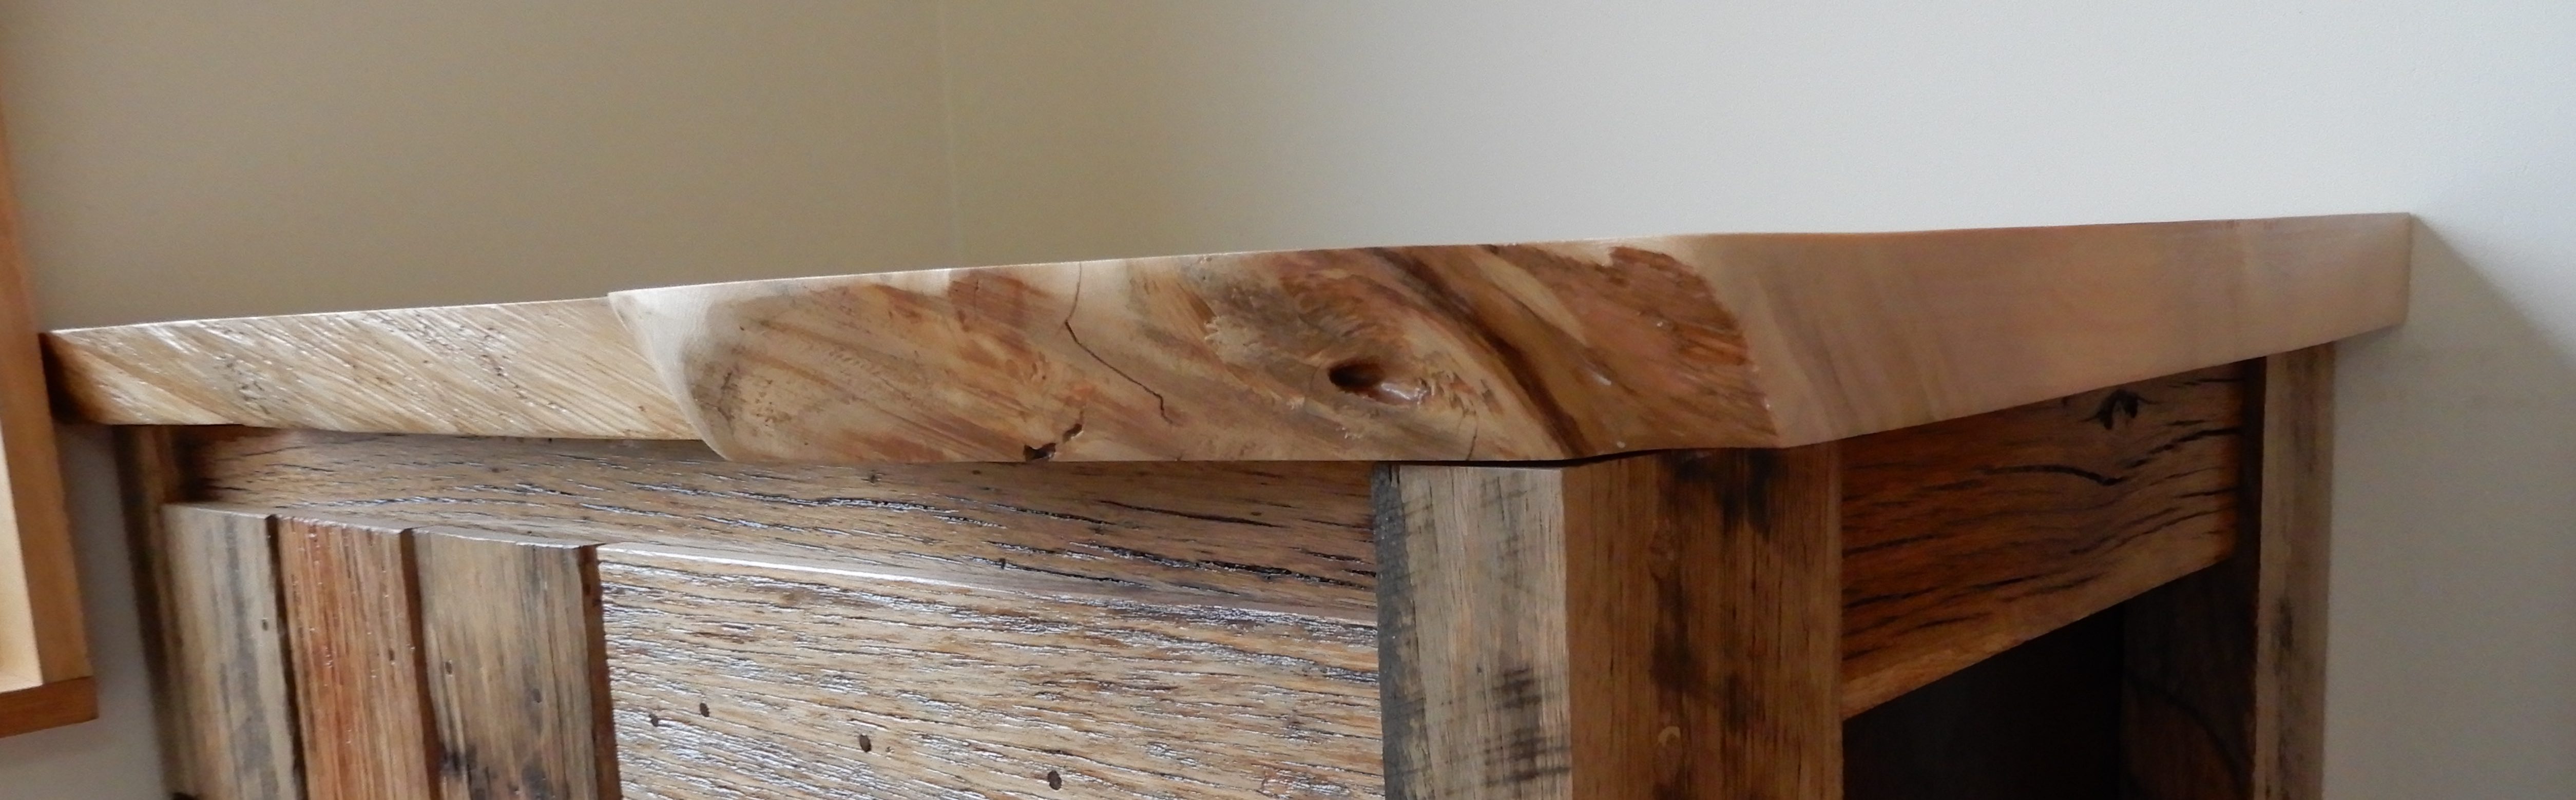
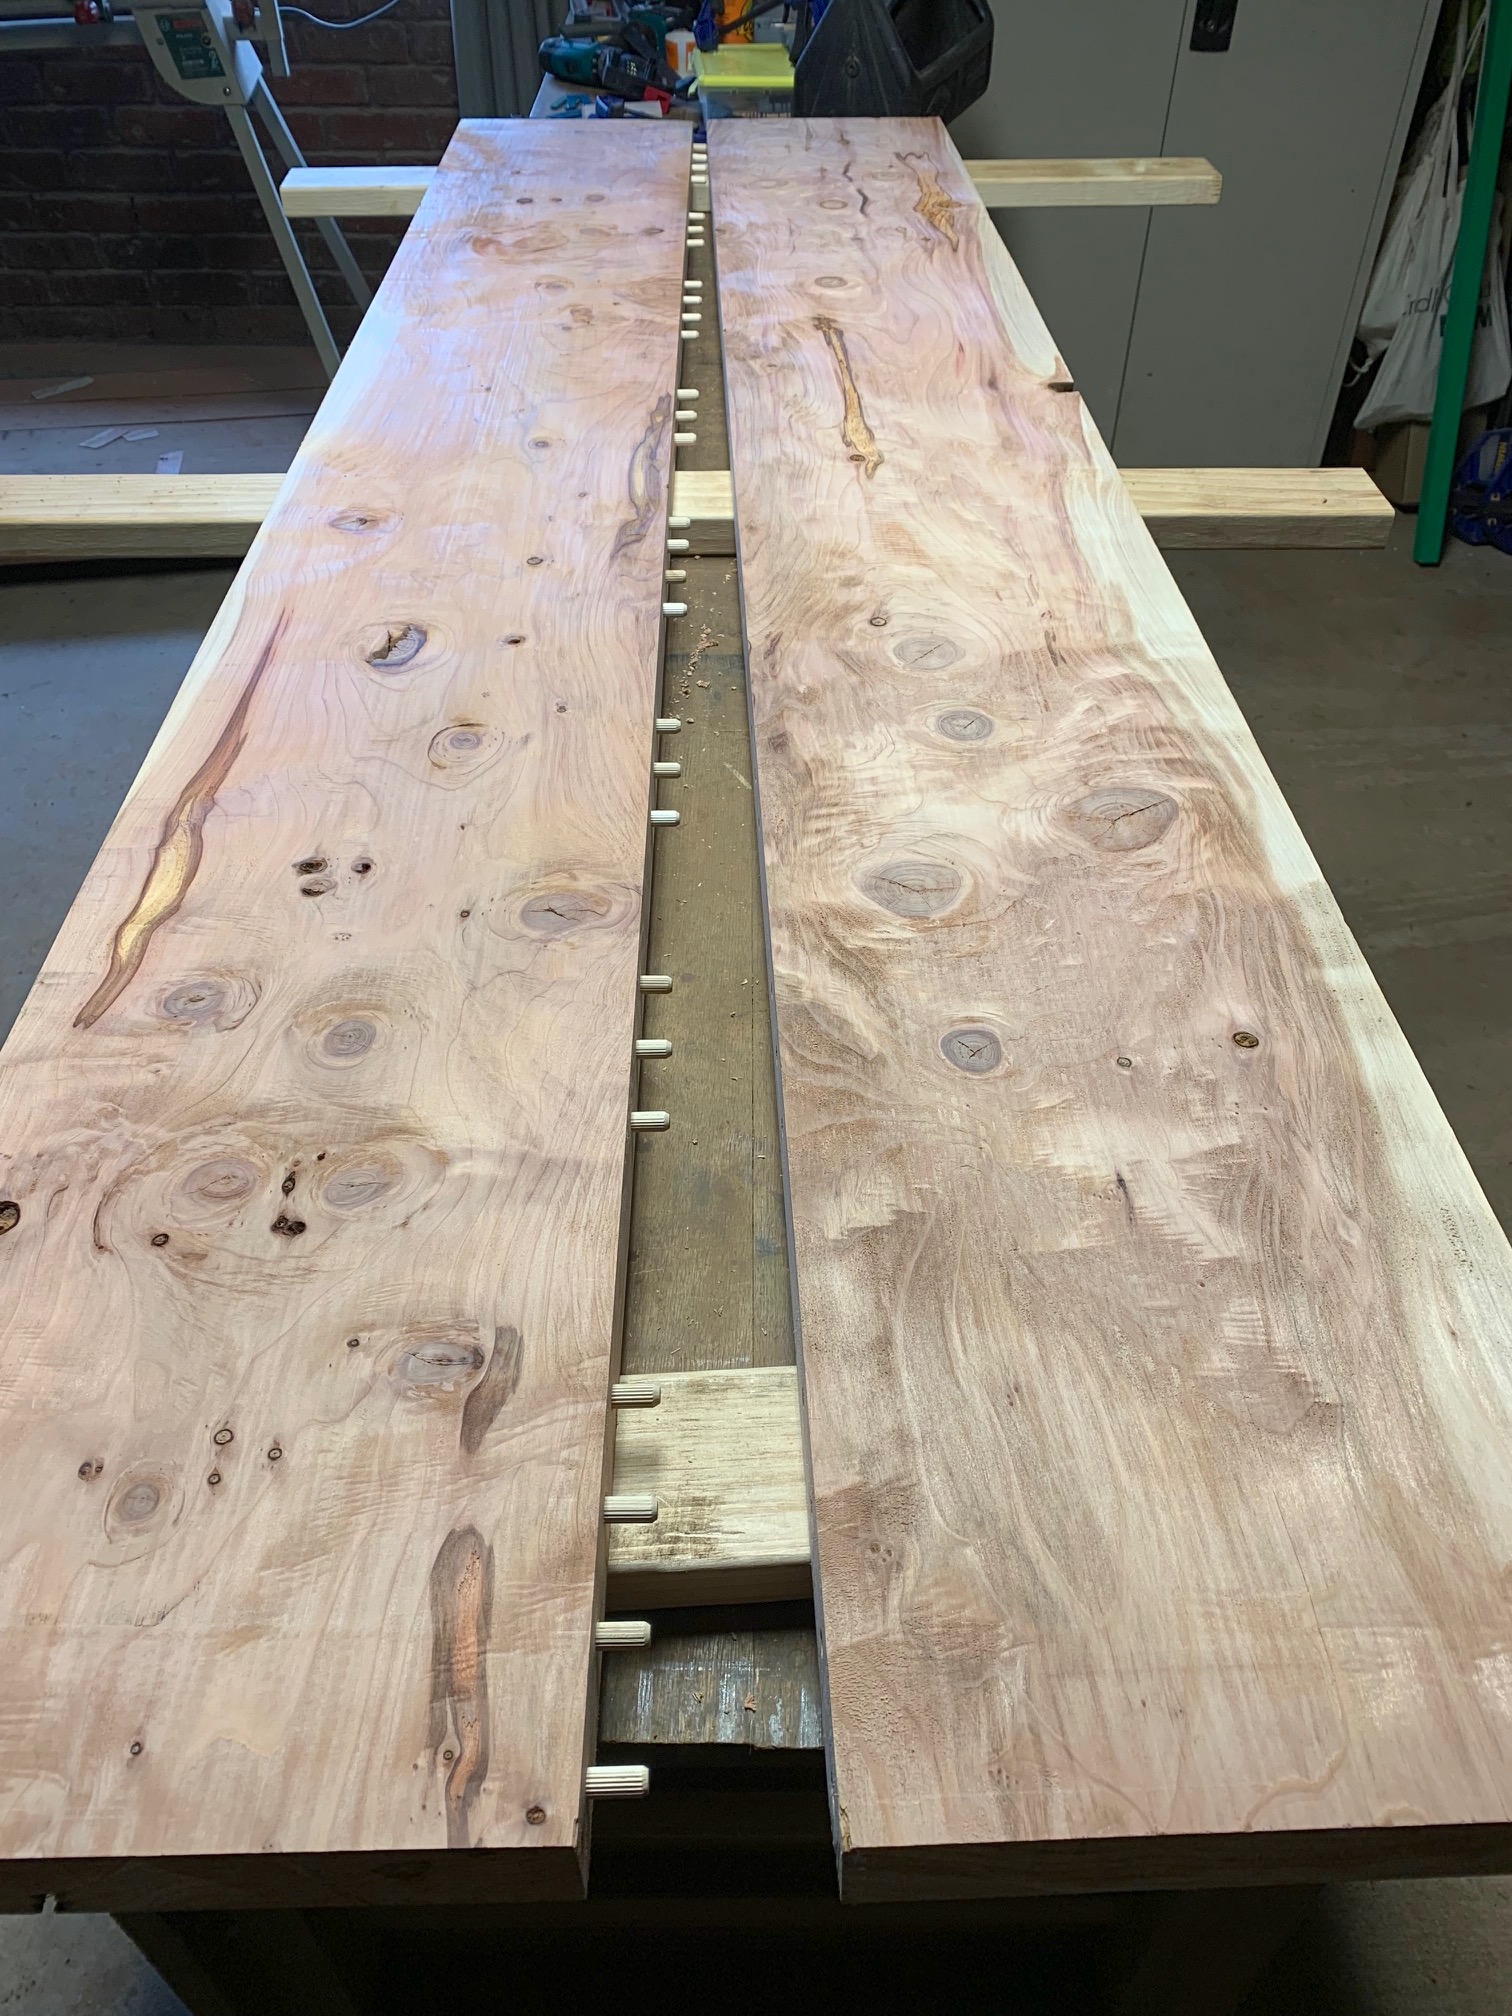
the next step was the bar top. Michael had acquired a couple of magnificent slabs of California redwood and spent many hours sanding them to perfection. We needed to join the two sides and embarked on the nerve-racking task with a newly purchased dowel jig kit.

The timber was too thick to use the jig as designed so we modified our approach with great success.

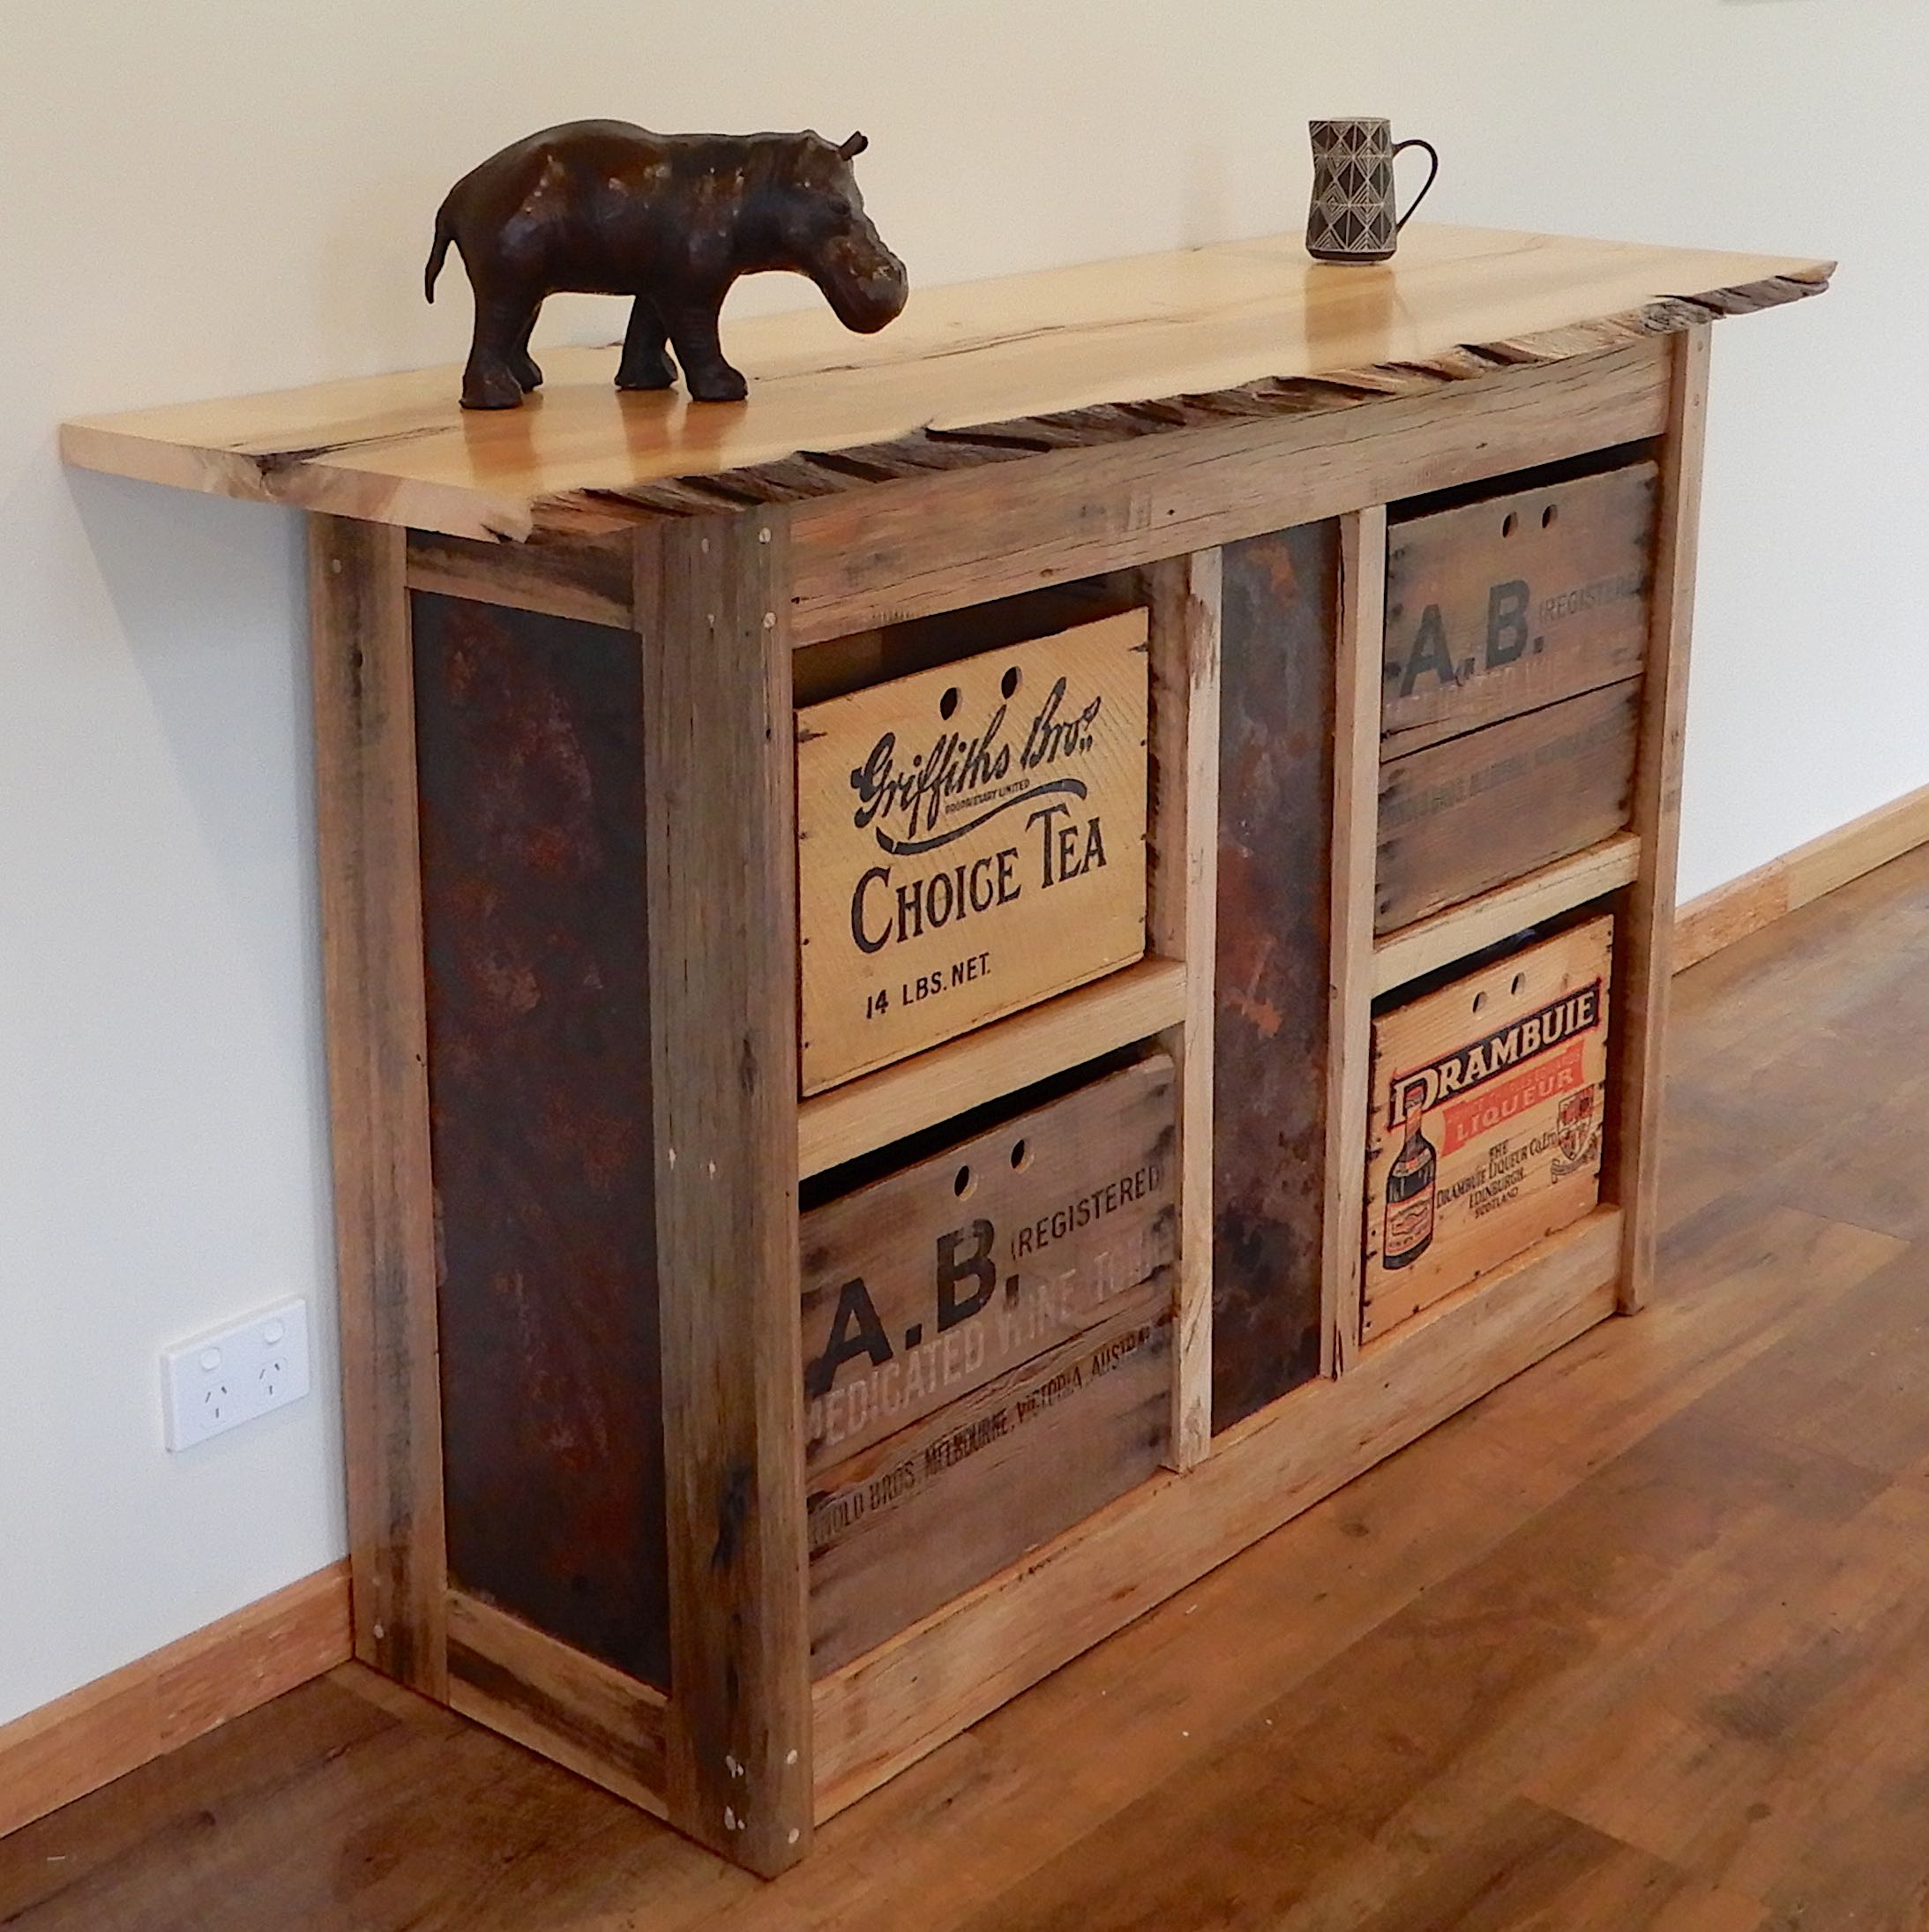
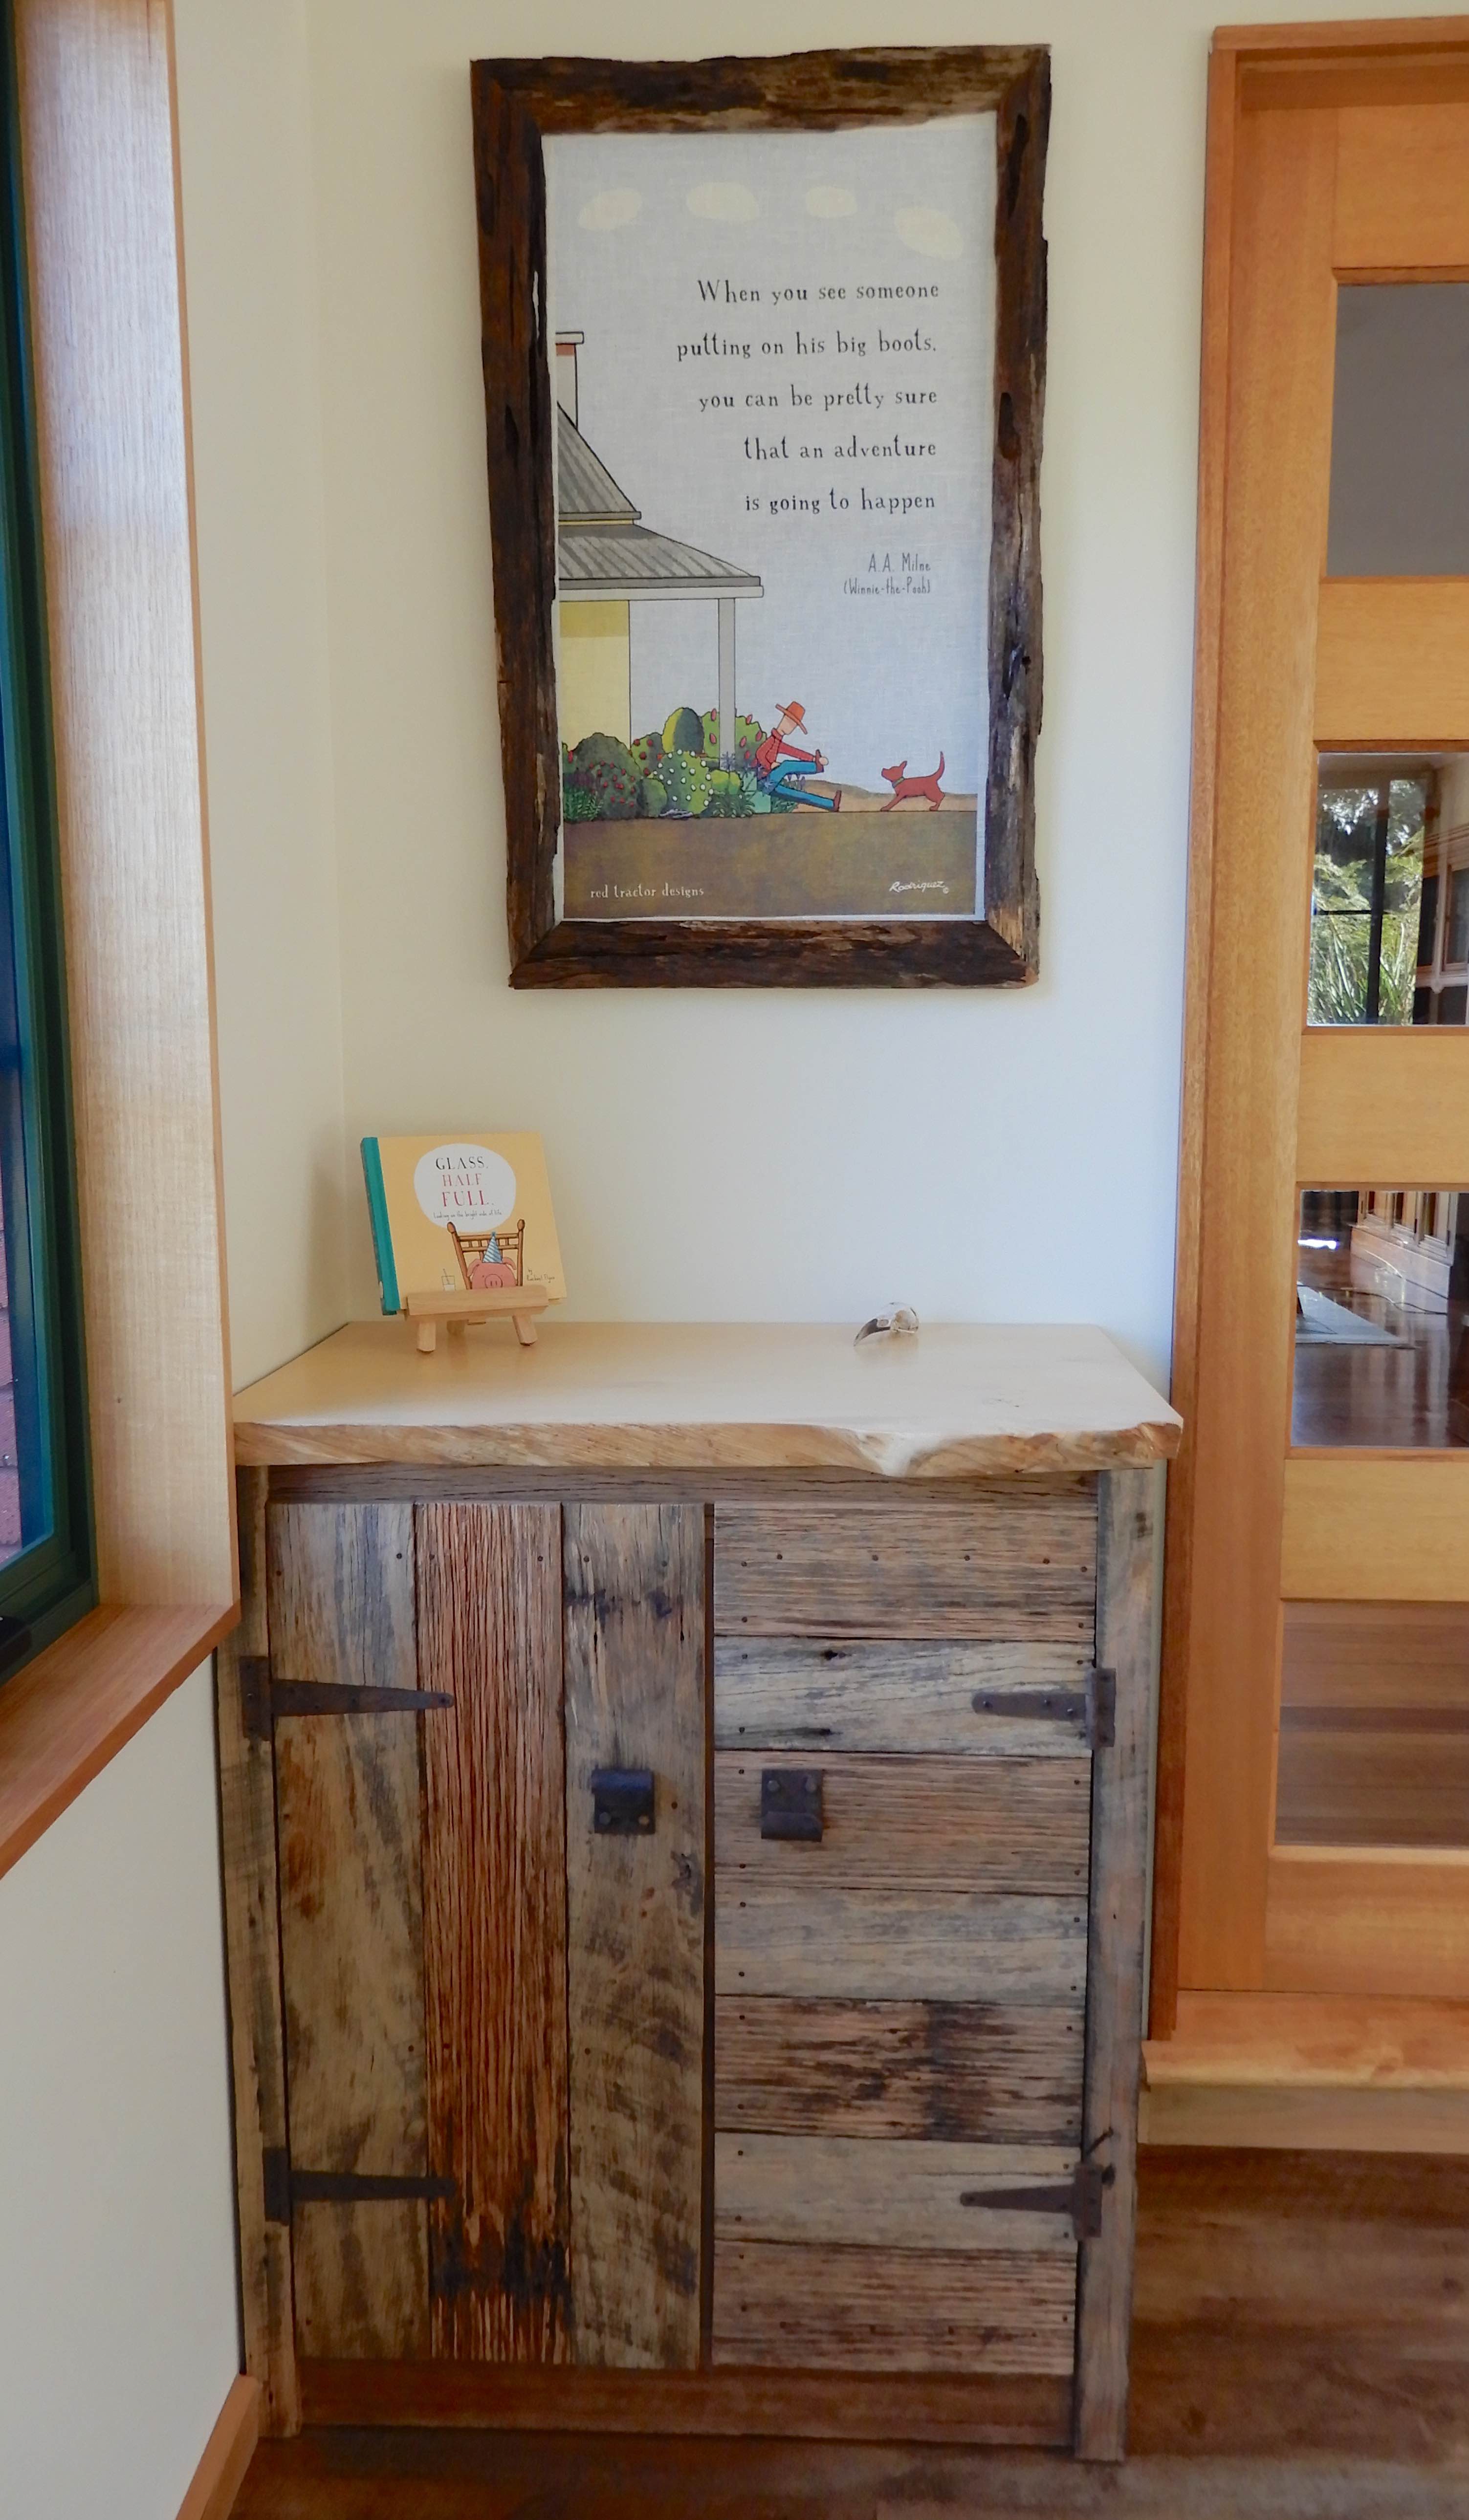
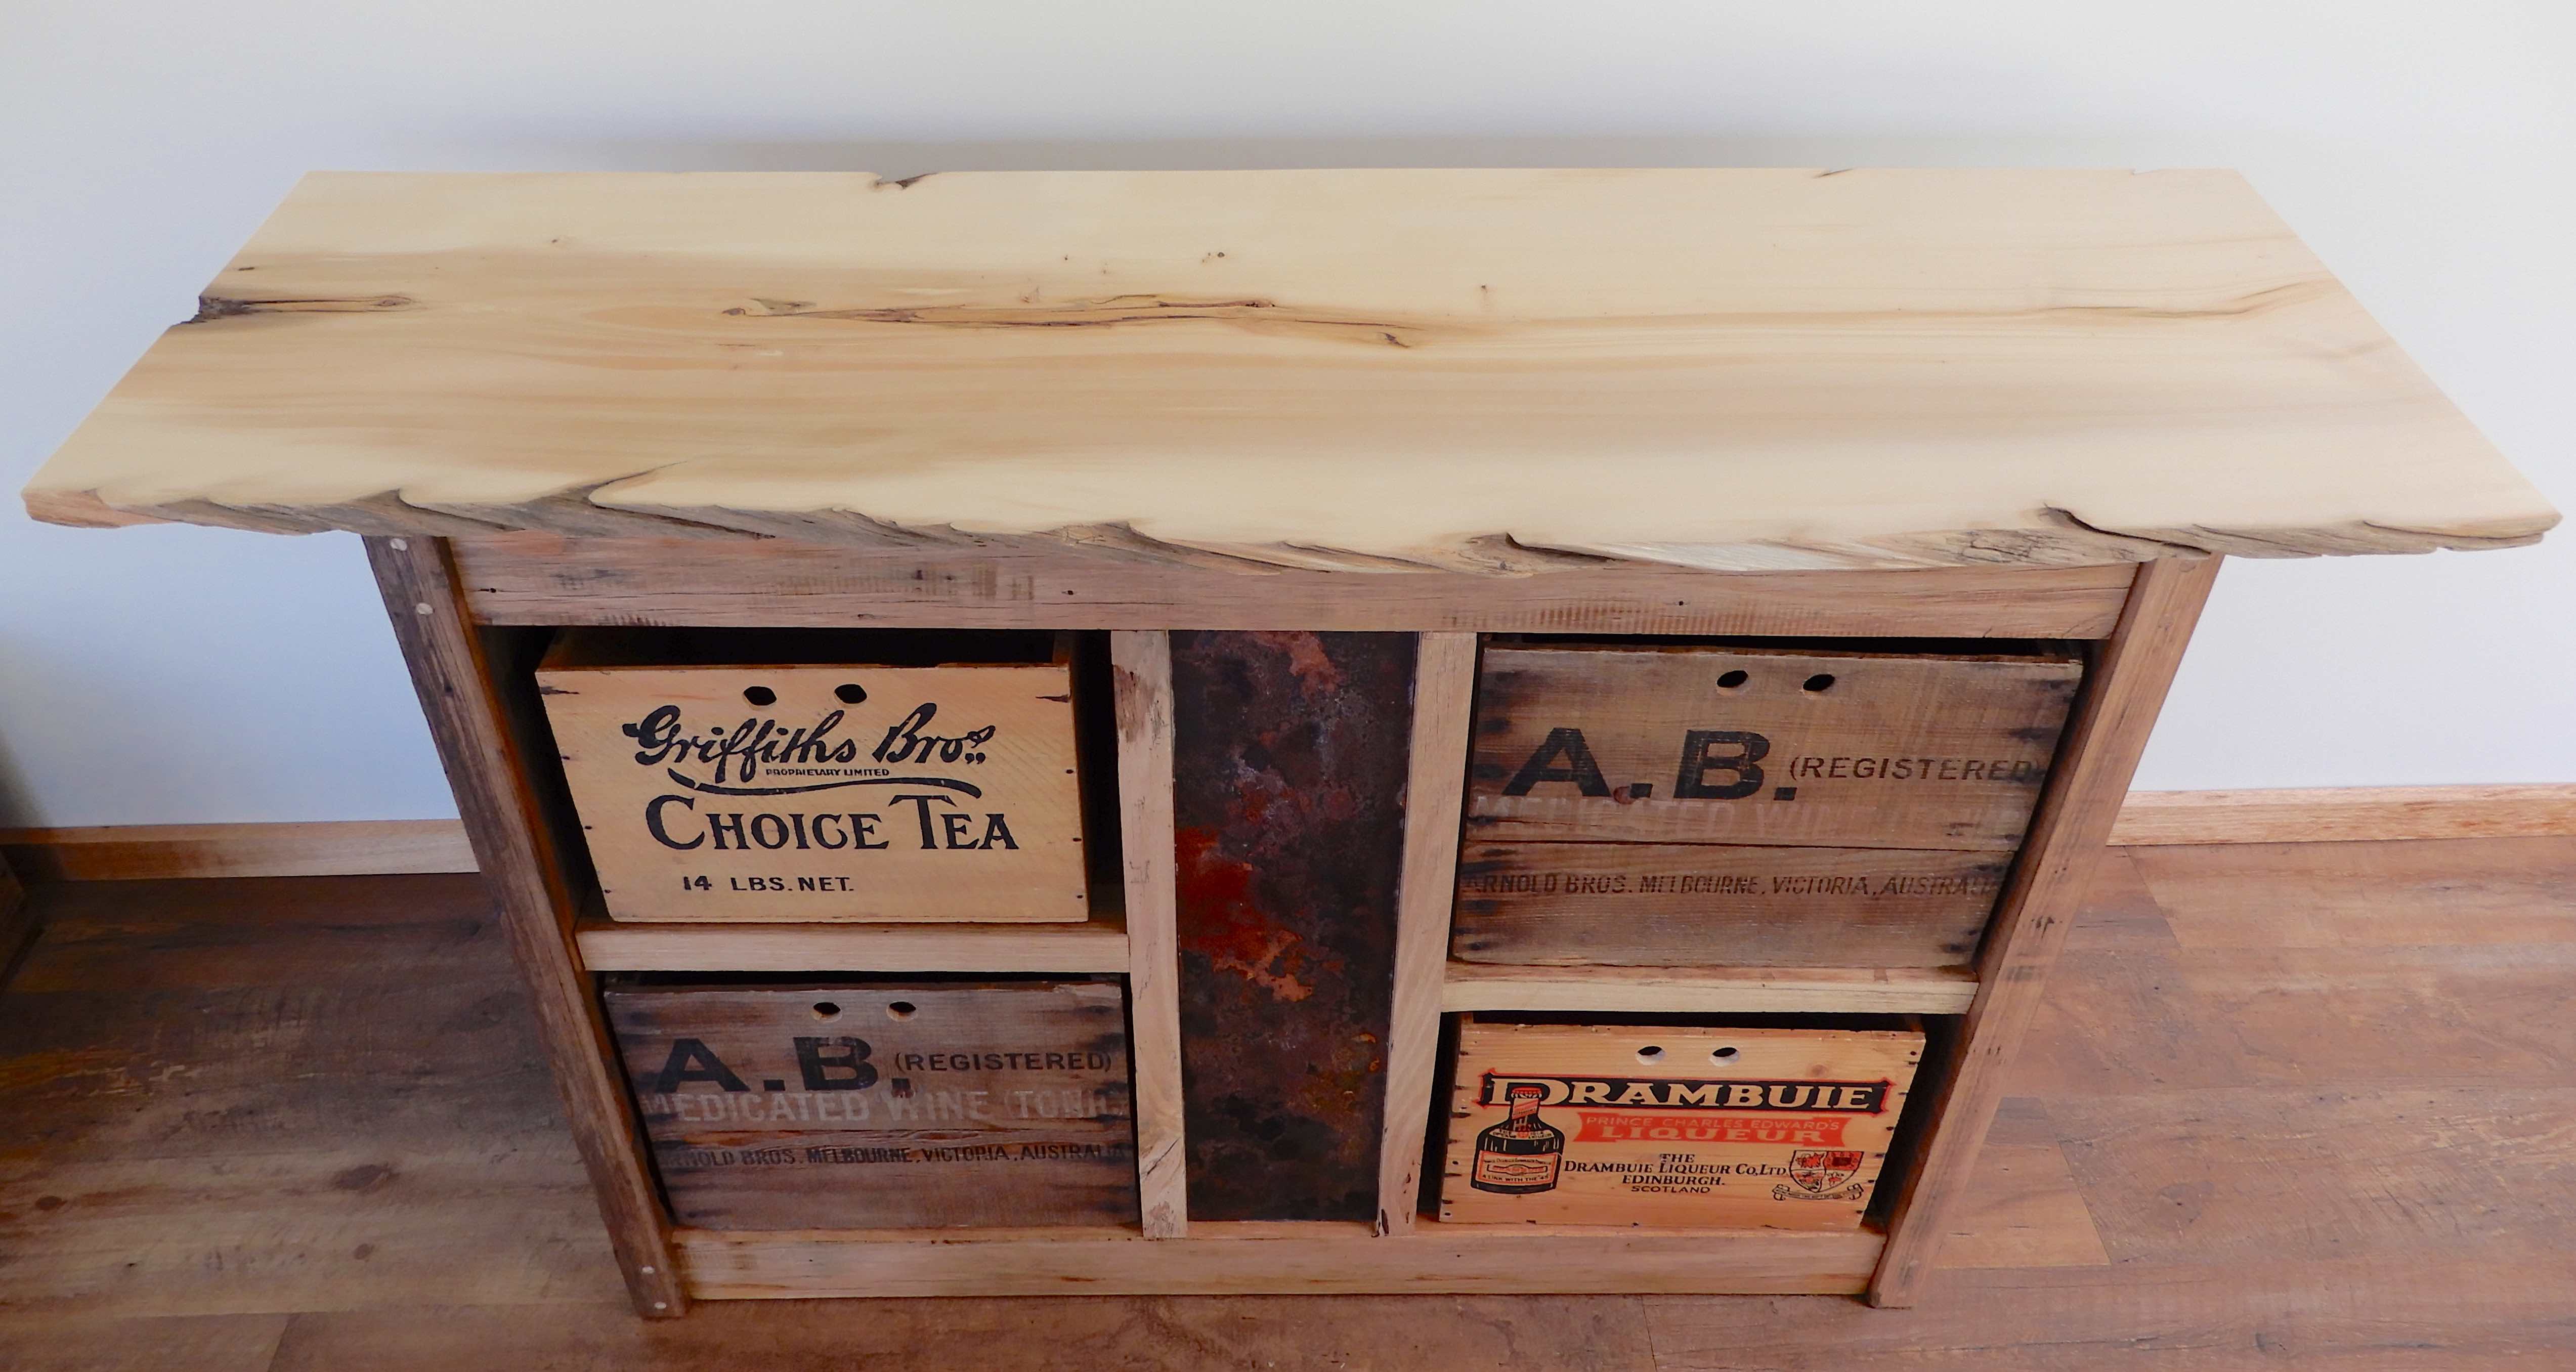
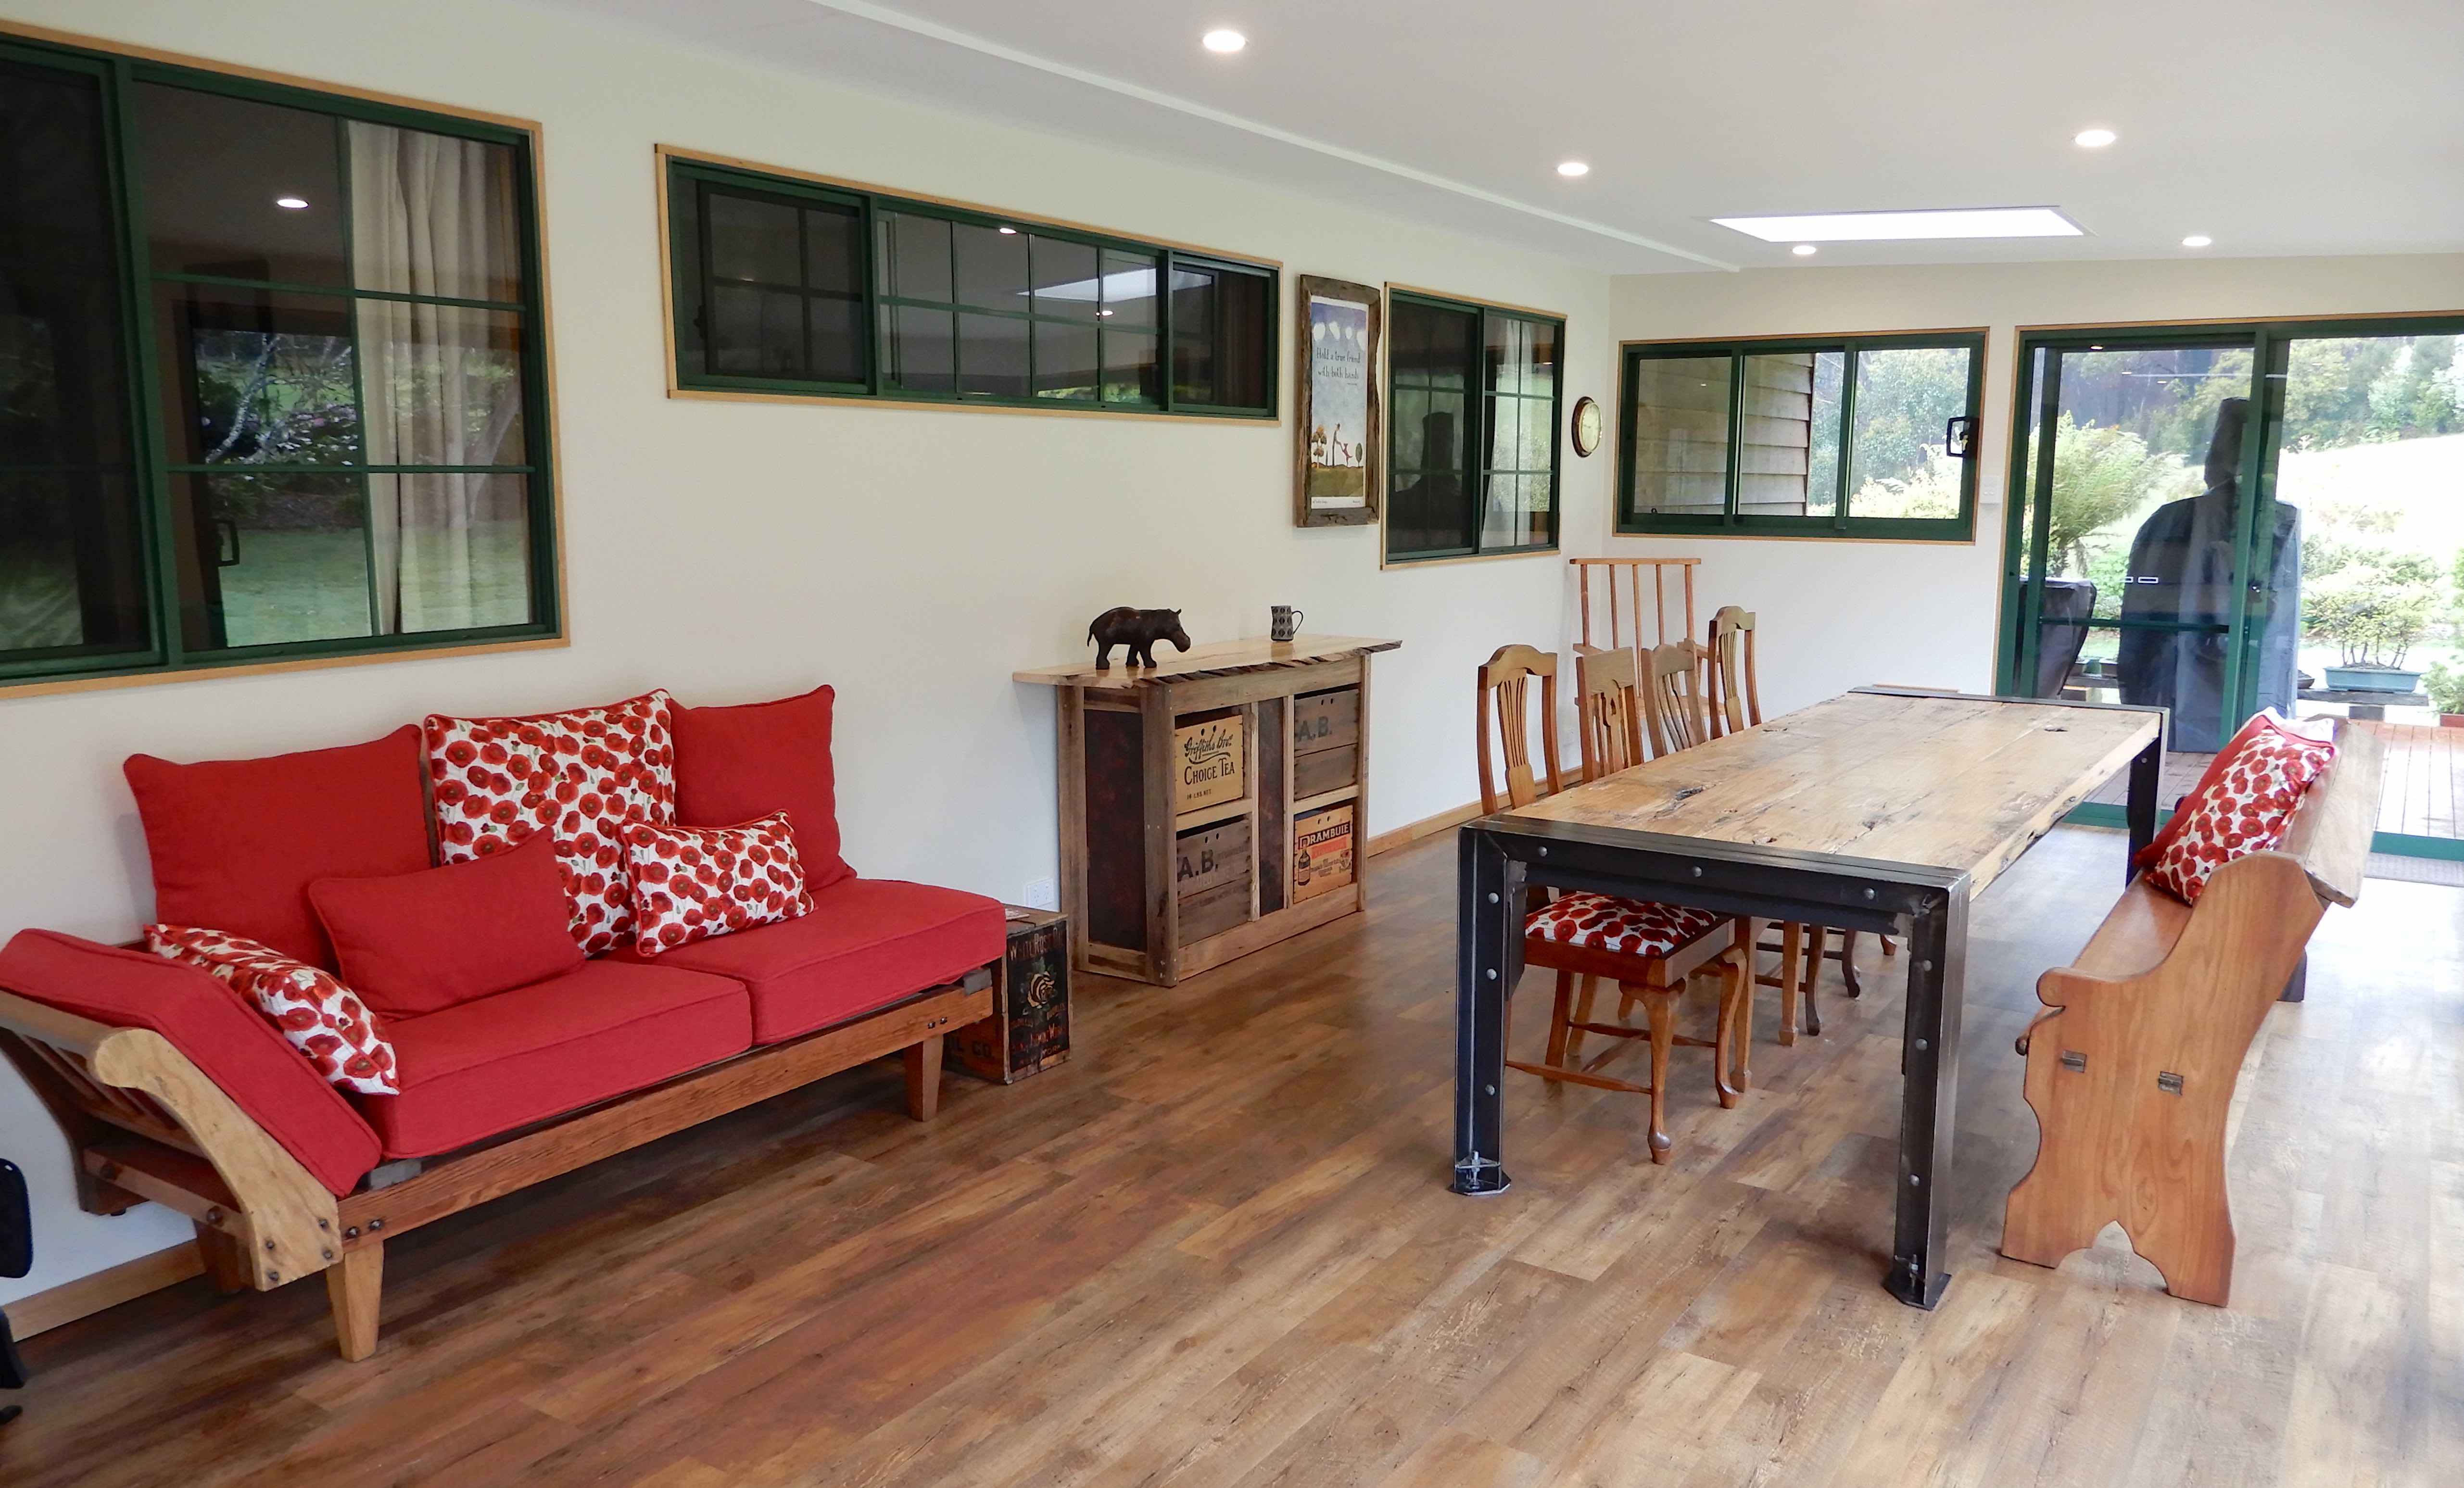
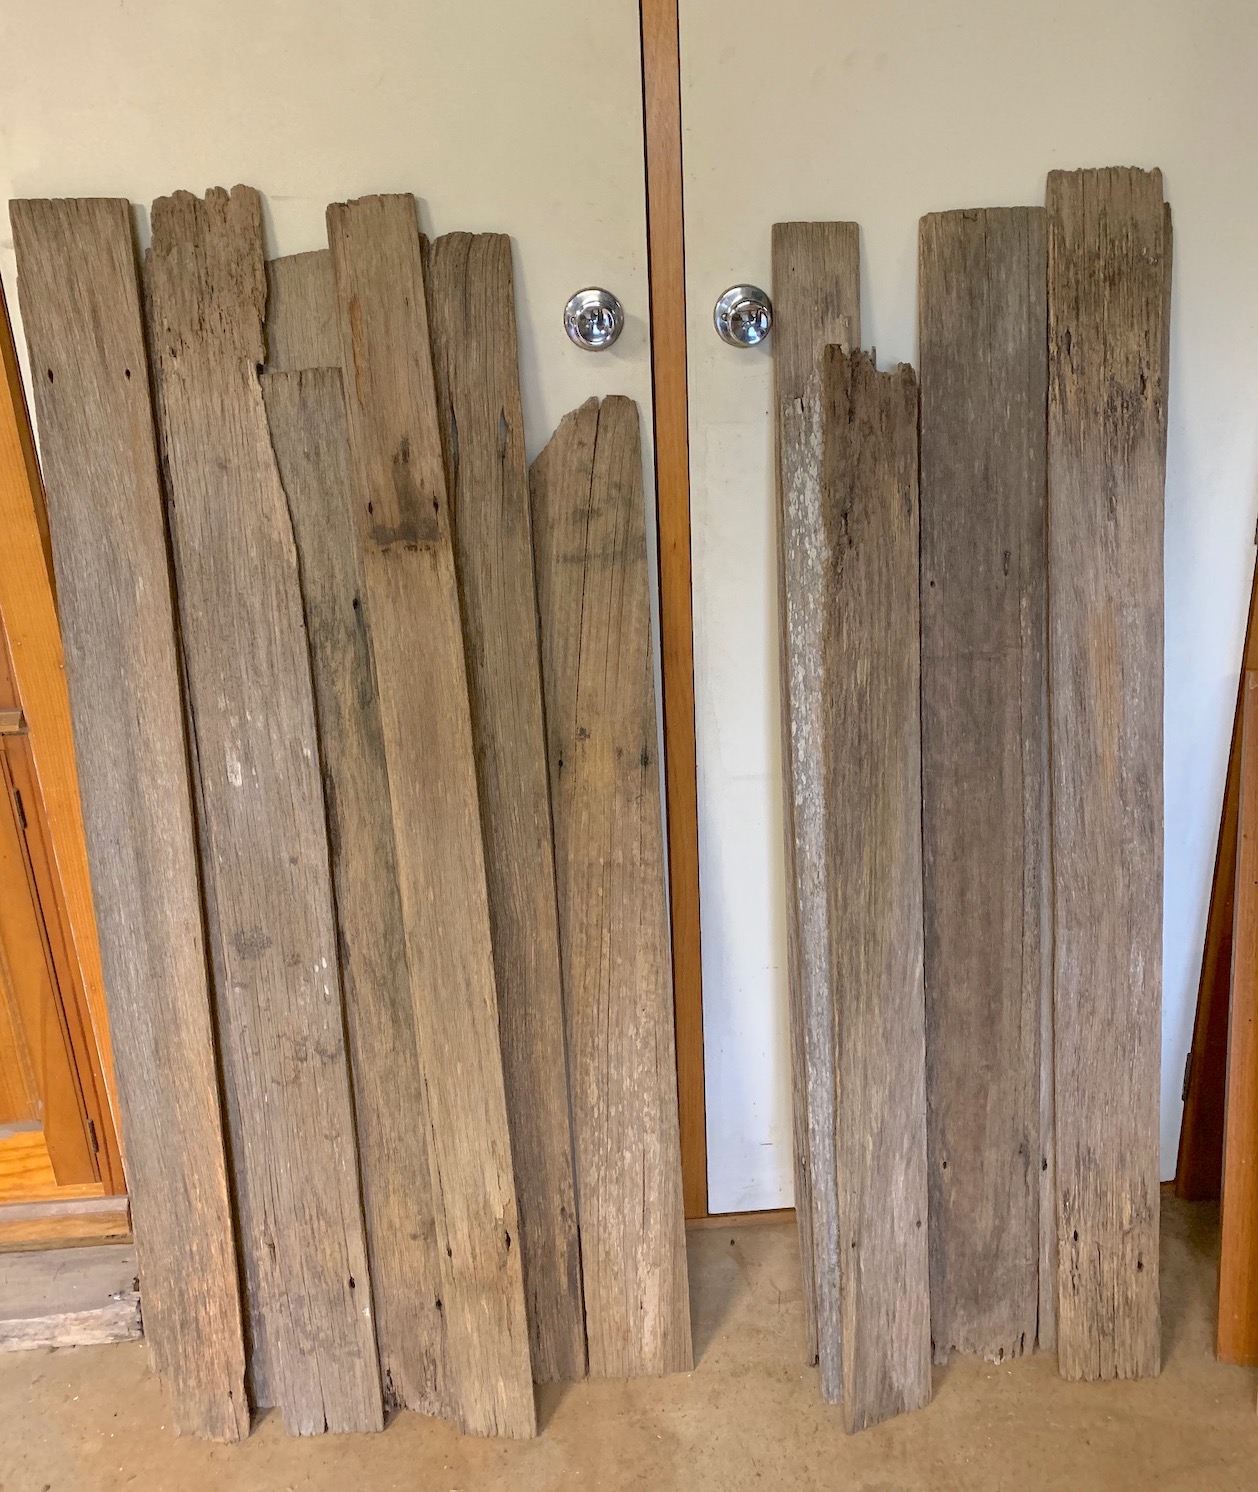
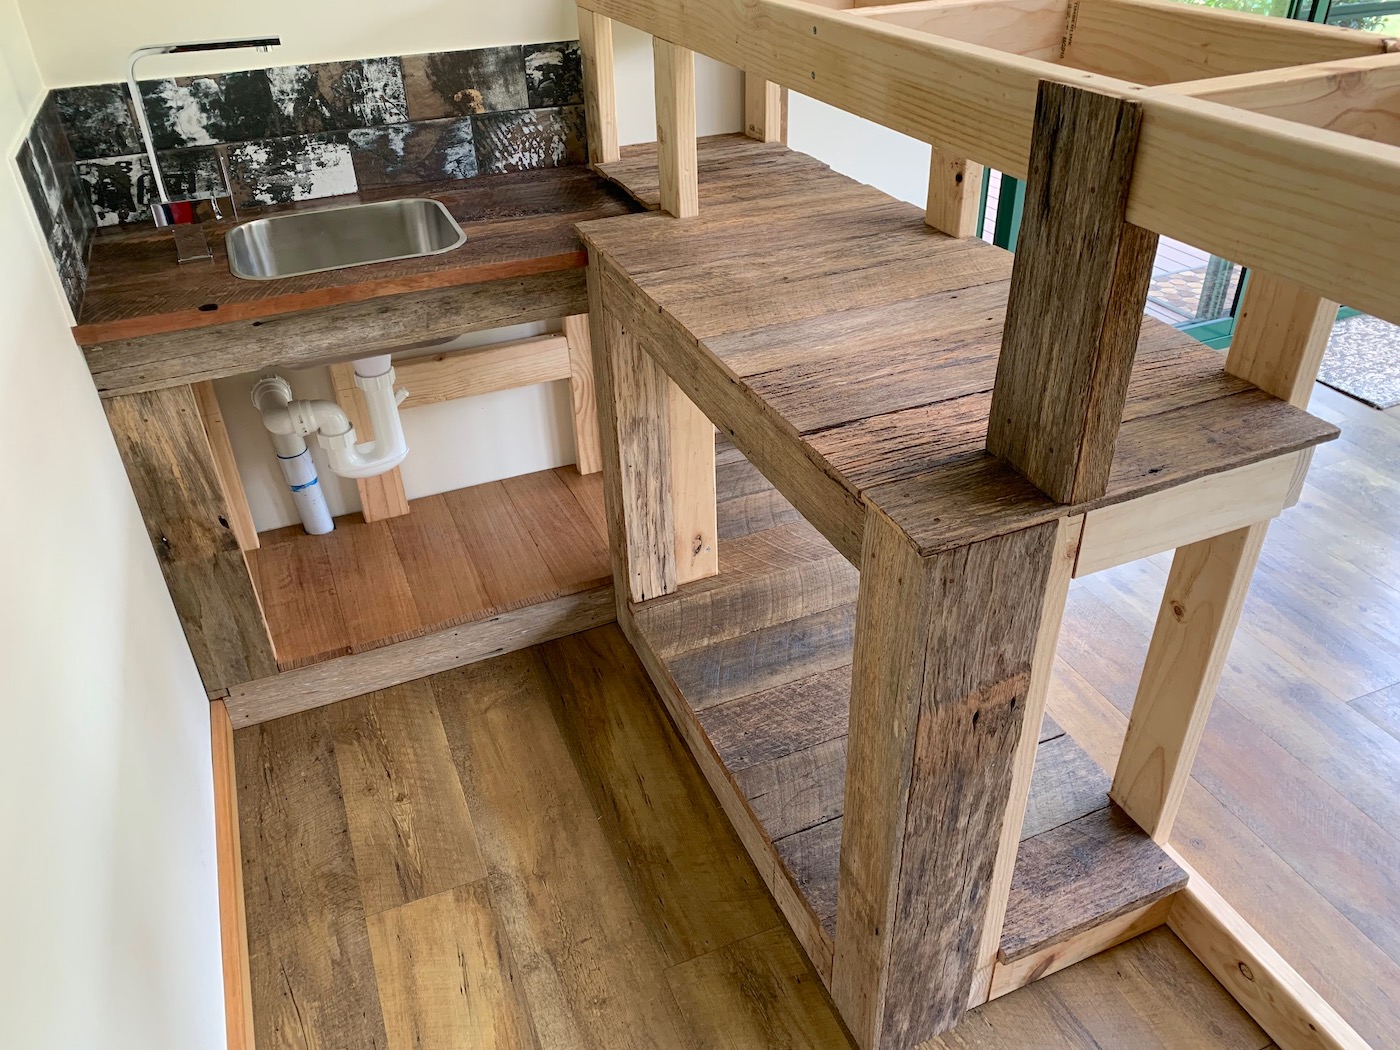
Our collection of reclaimed fence palings were finally put to use for shelving.

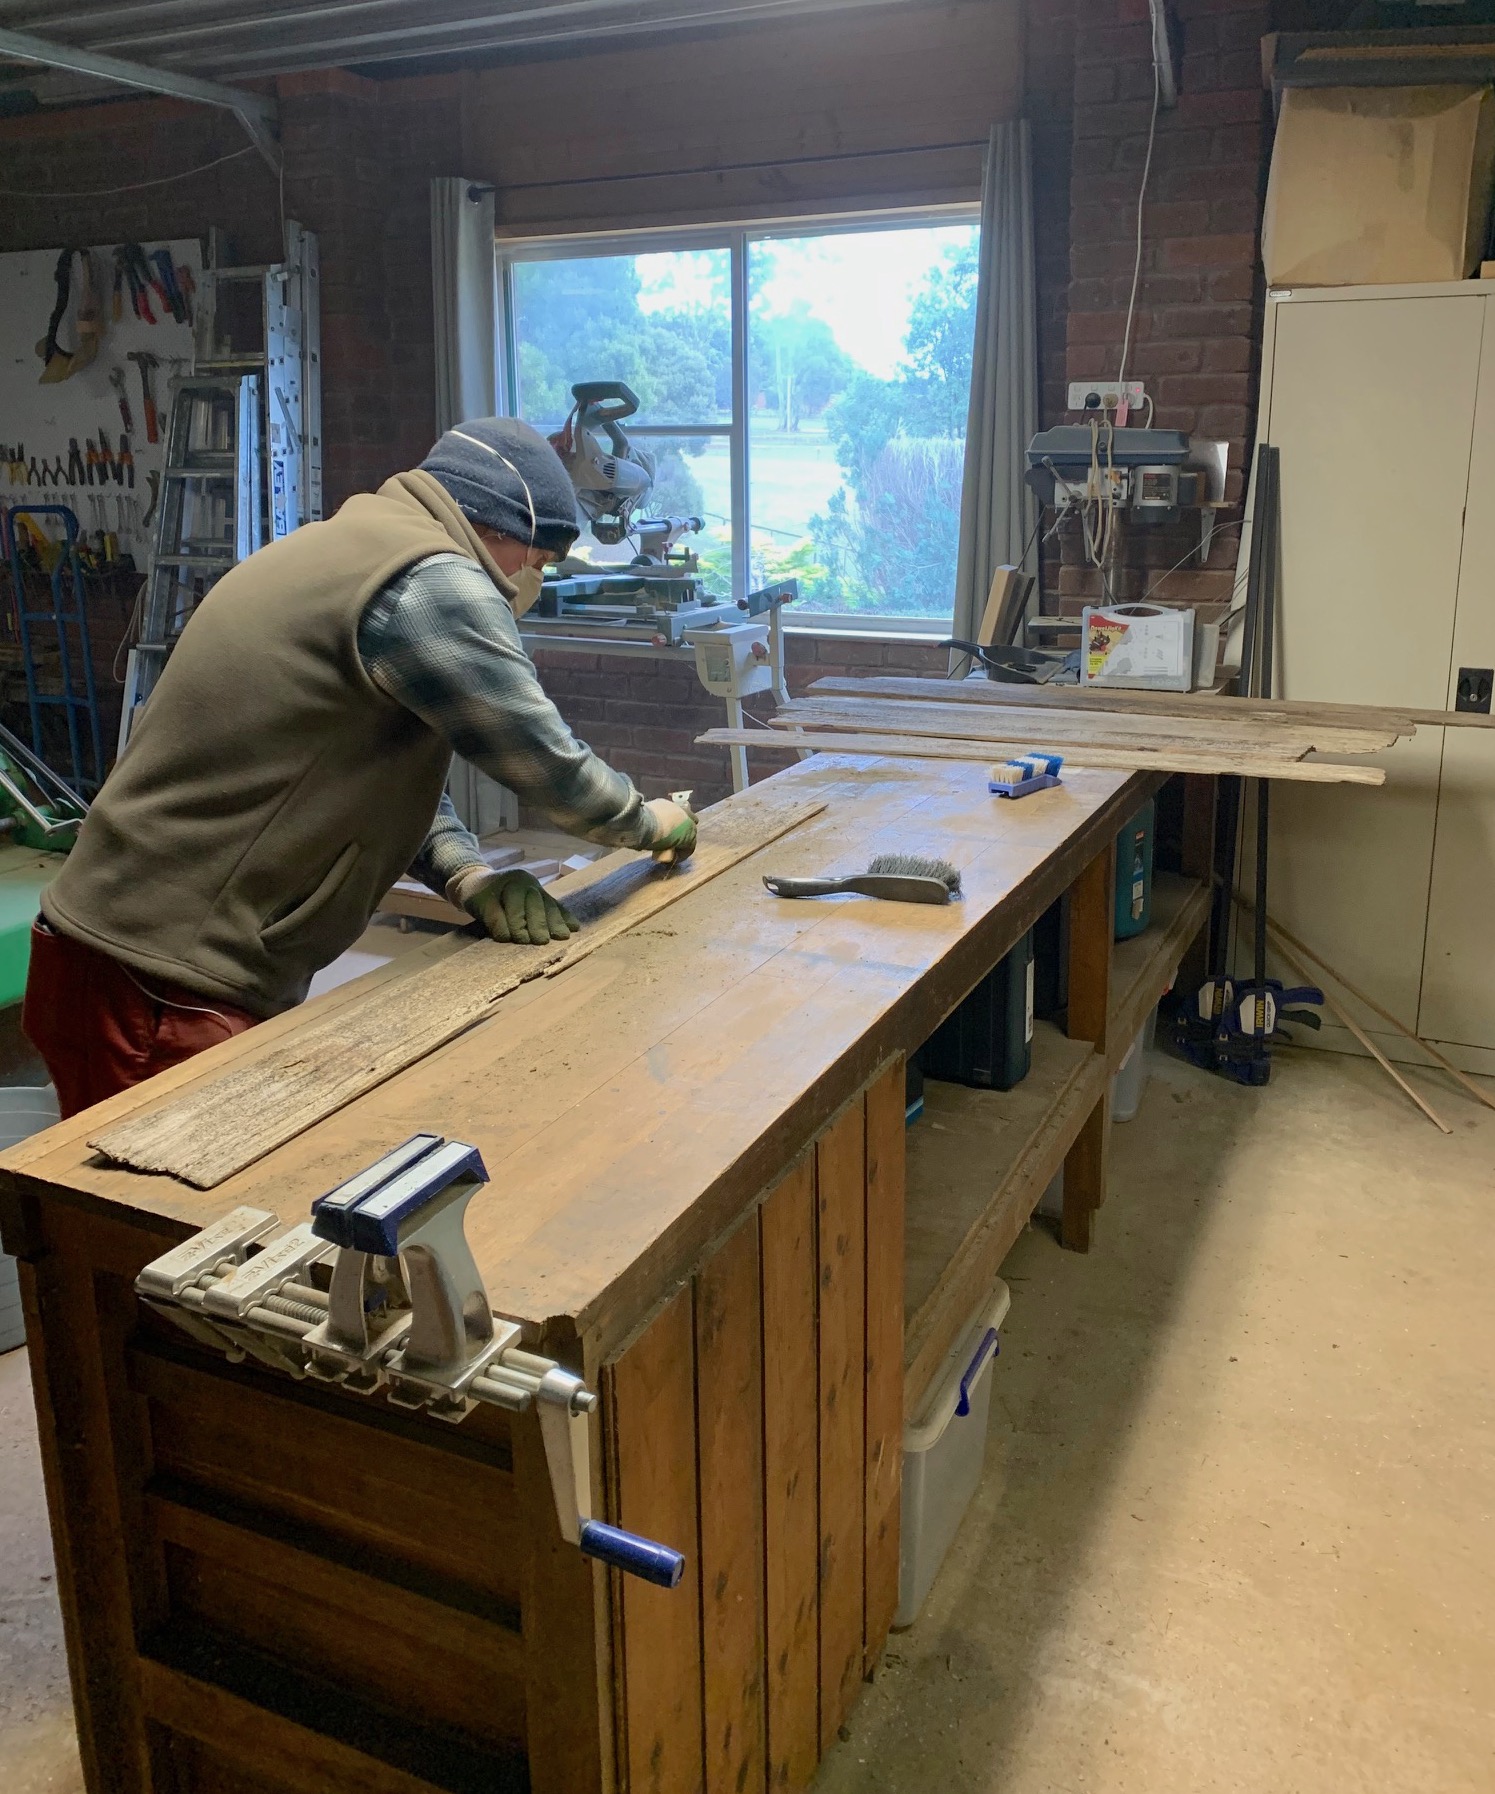
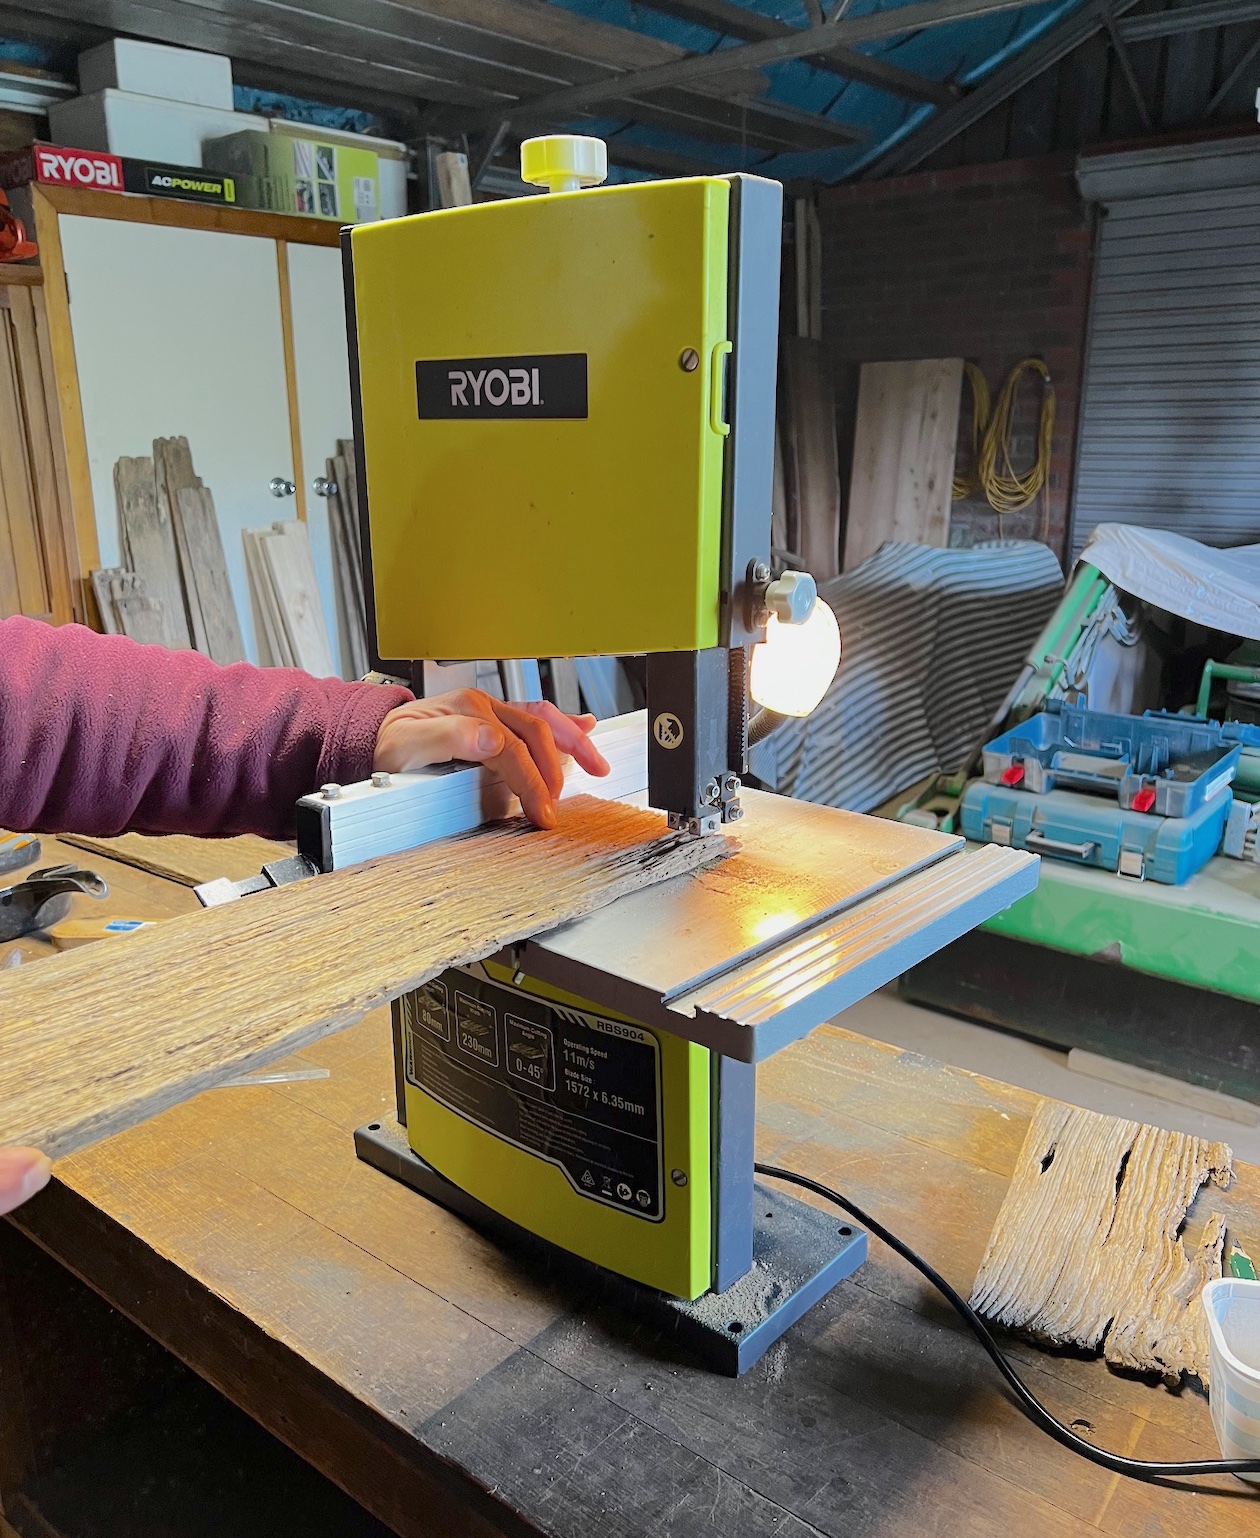
More hours of preparation with the invaluable help of Michael’s new toy.

At this point, our trusty old drop saw gave up the ghost so we added another new toy to the ever growing arsenal.

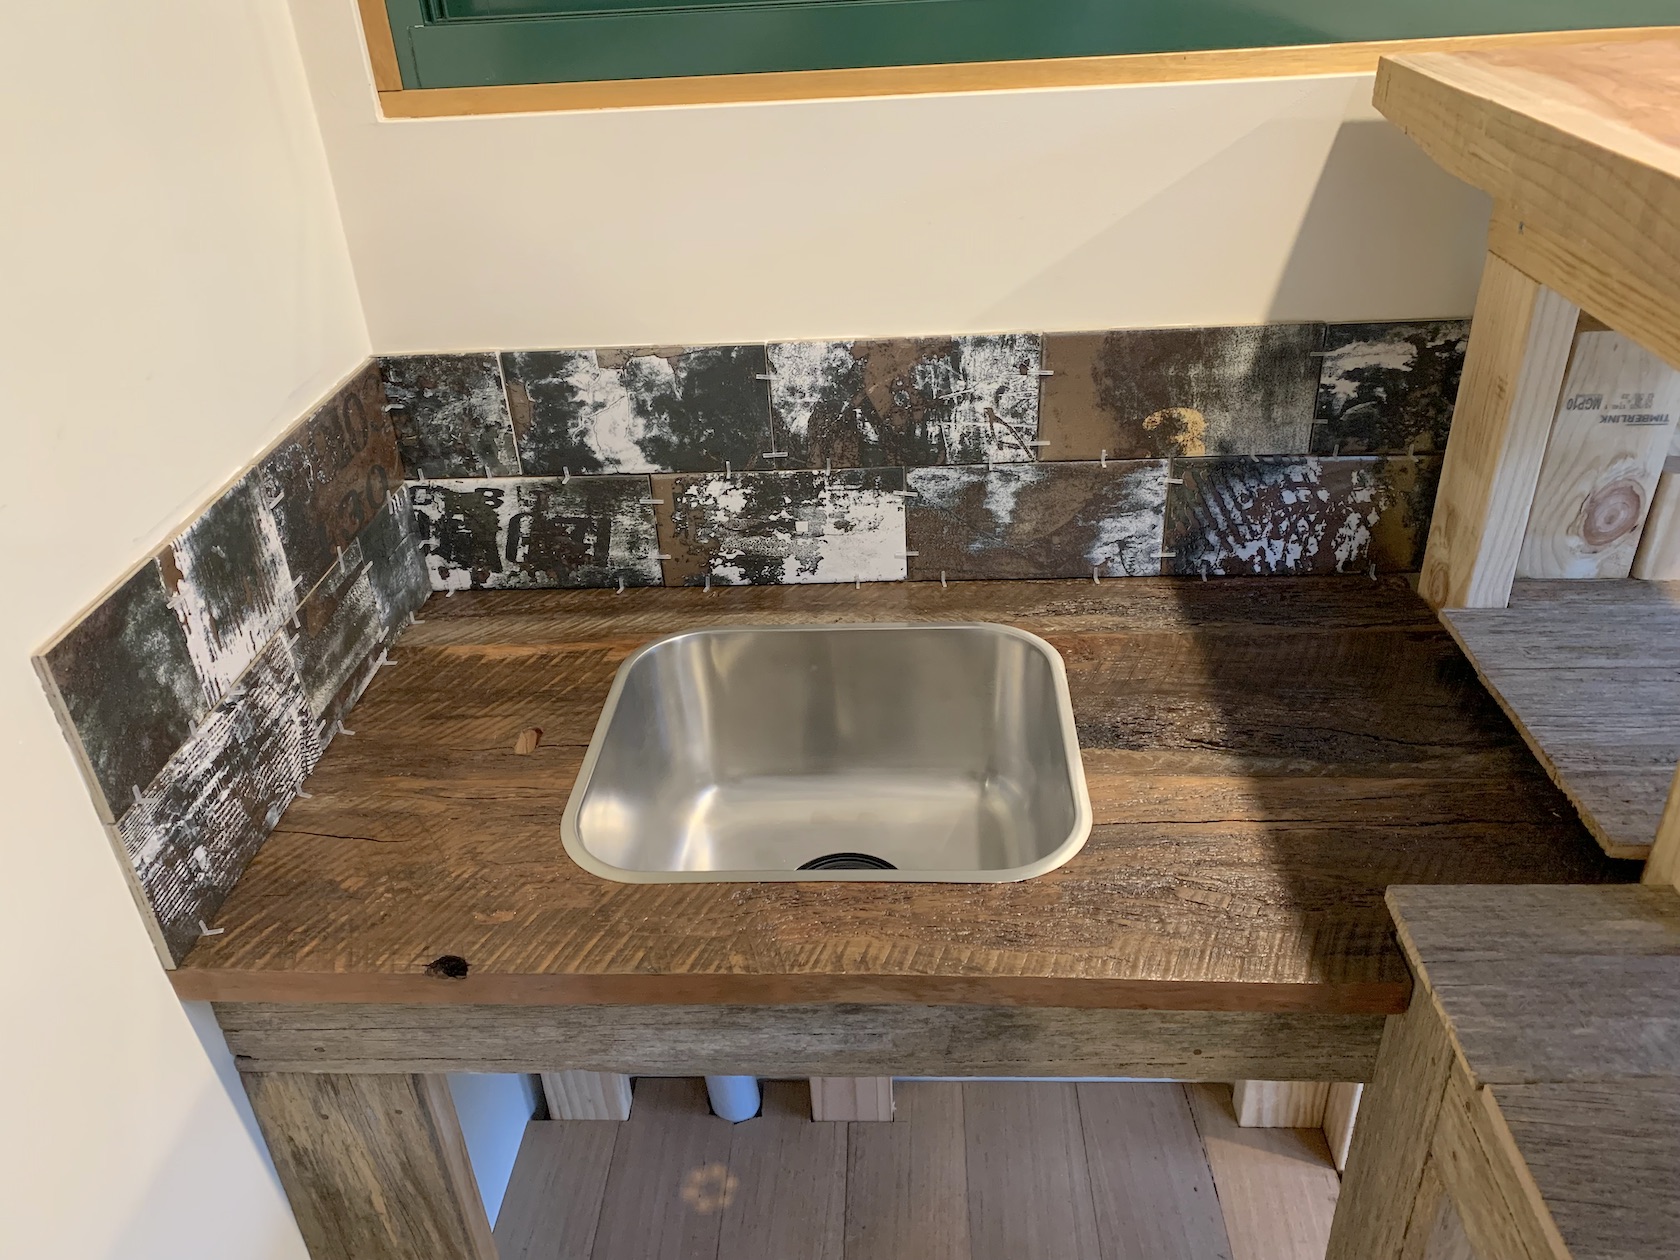
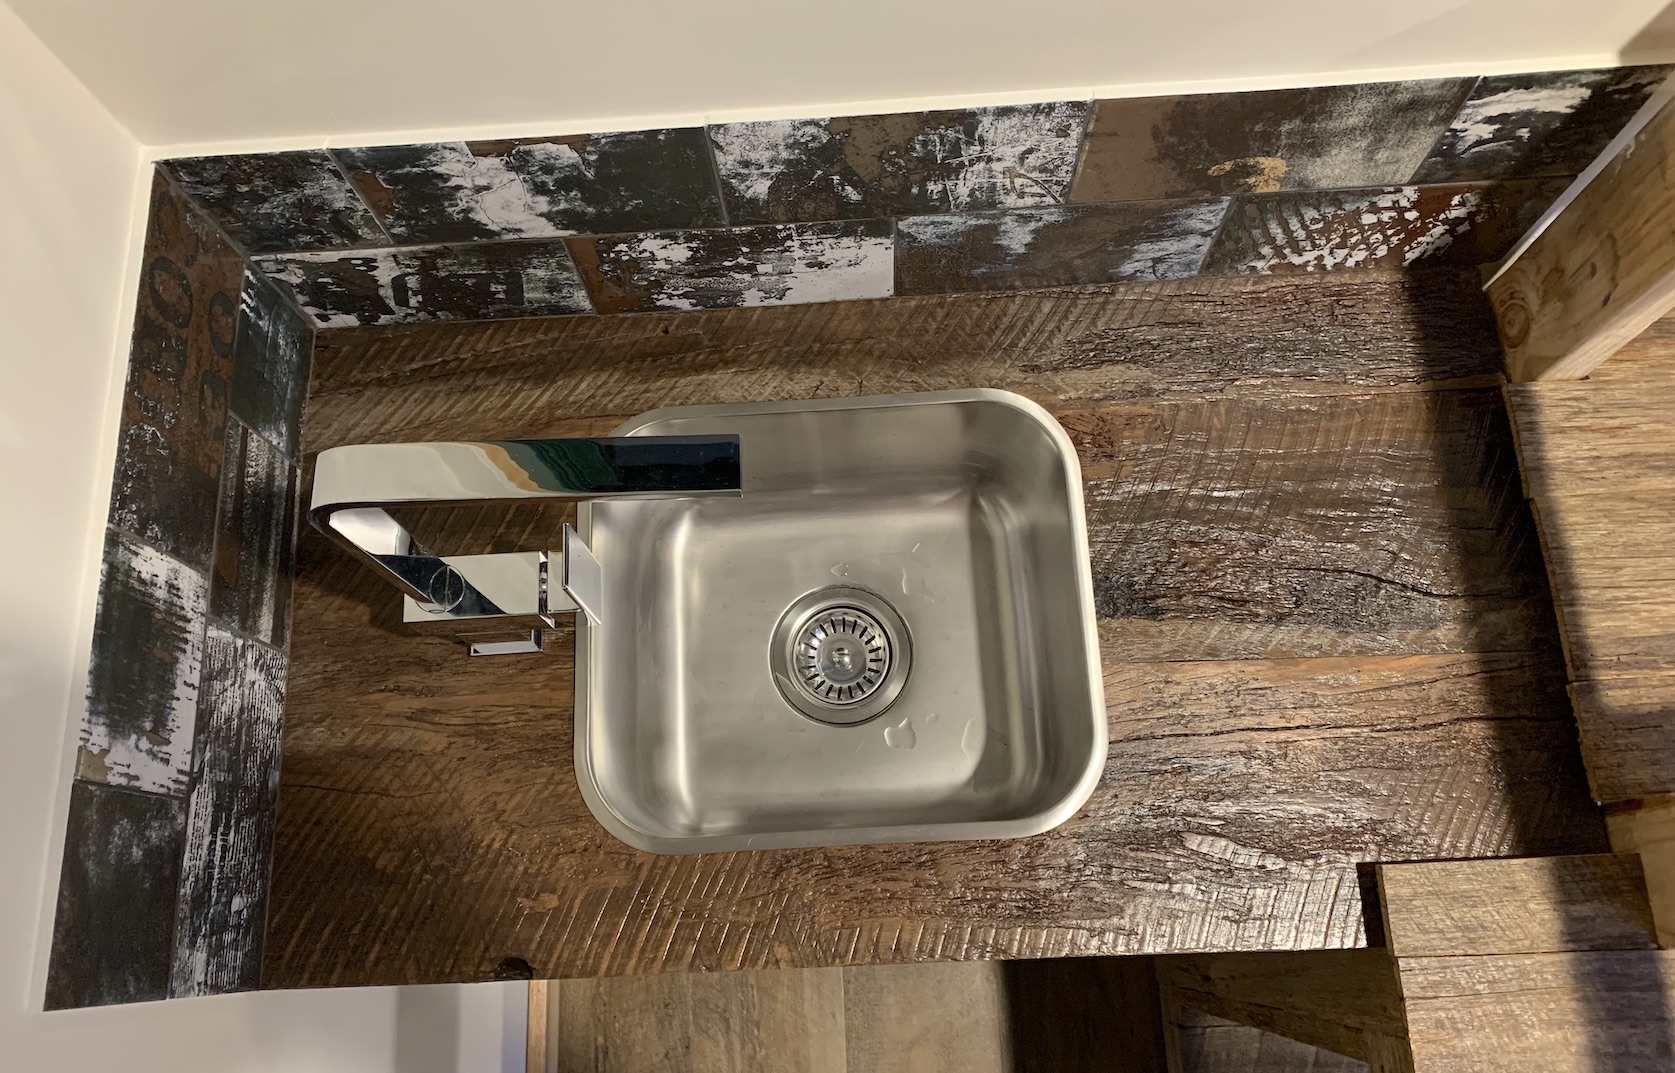
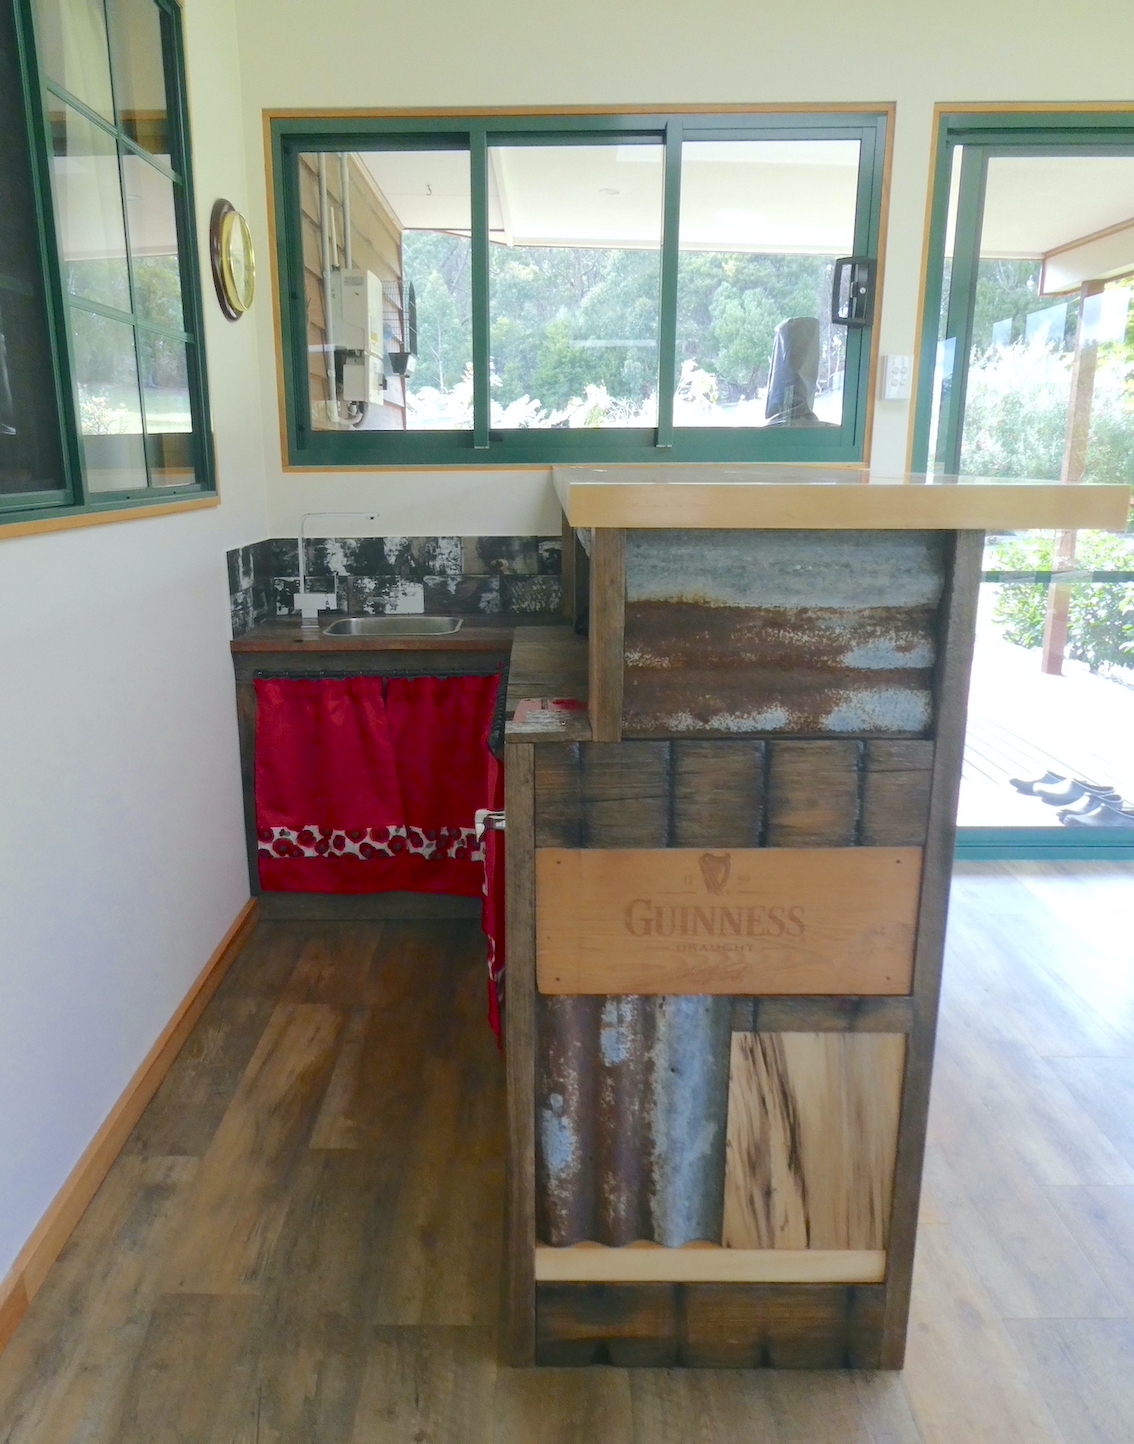
With shelving installed on the base of the bar, we moved on to the sink fitting.

Some unidentified reclaimed timber we had lying around in the workshop made for the perfect sink bench.

With tiled splash back and plumbing complete, the worktop shelving was added.

A strip of Huon pine to edge the bar top and a few coats of Cabothane later, it was fixed in place without drama.

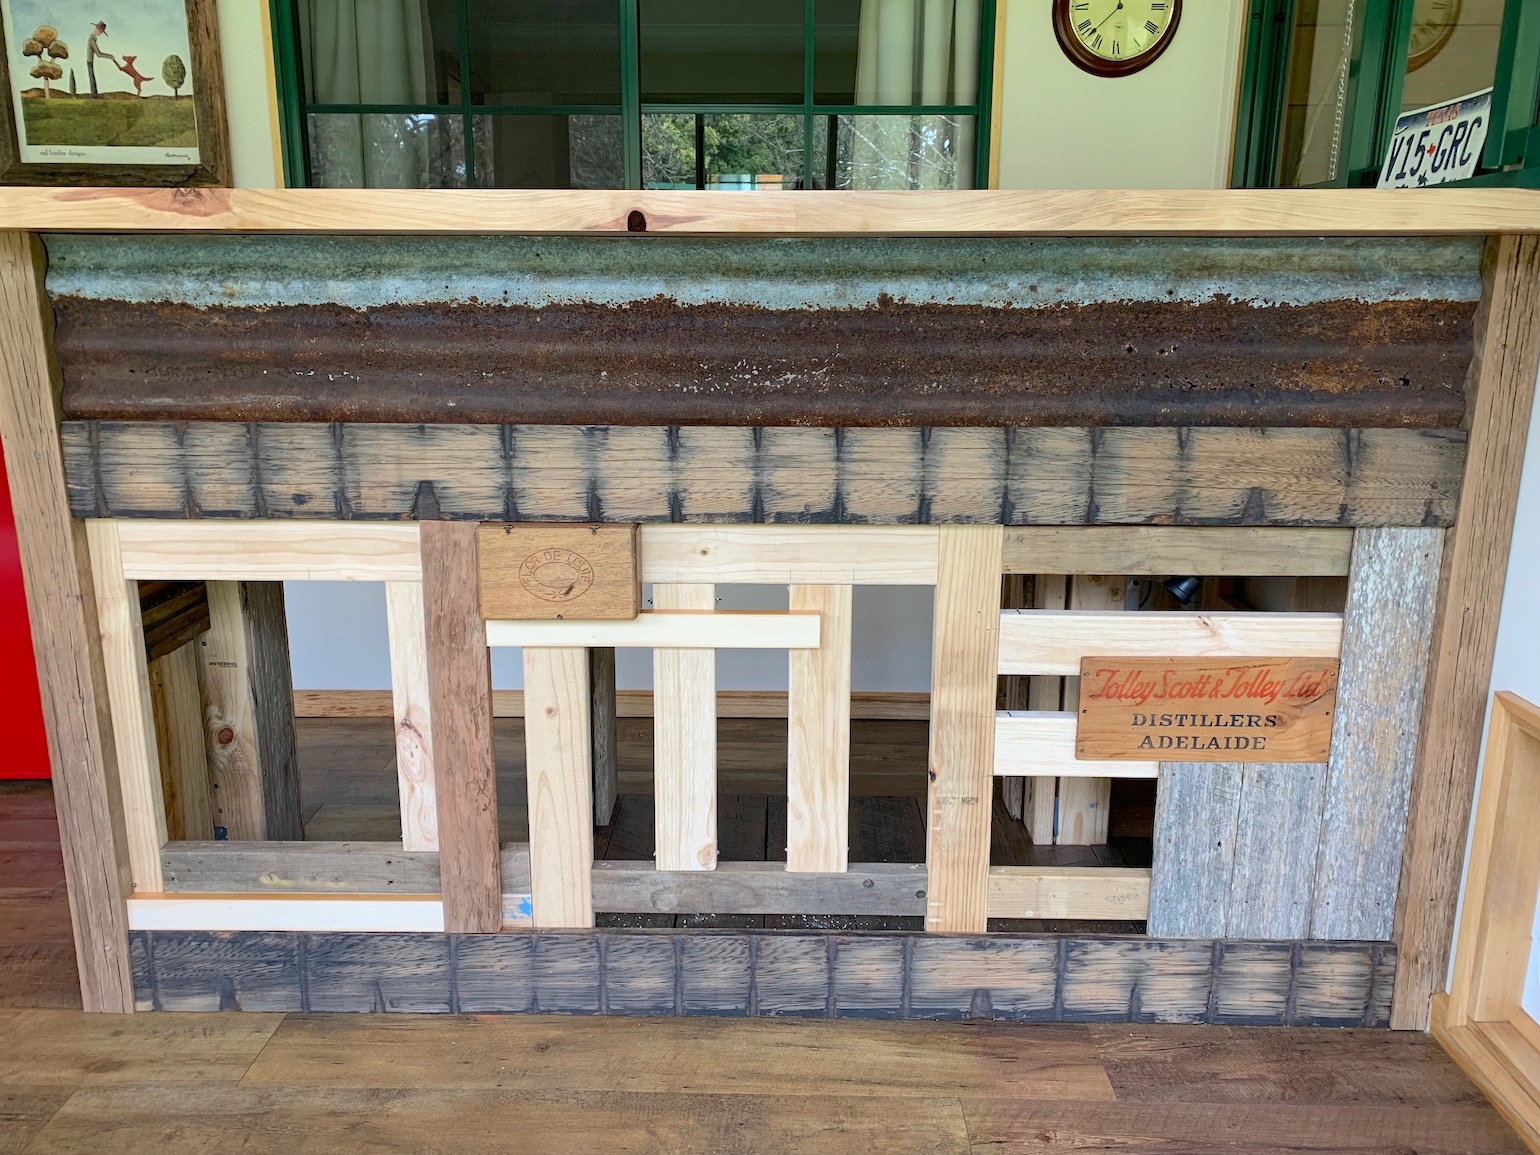
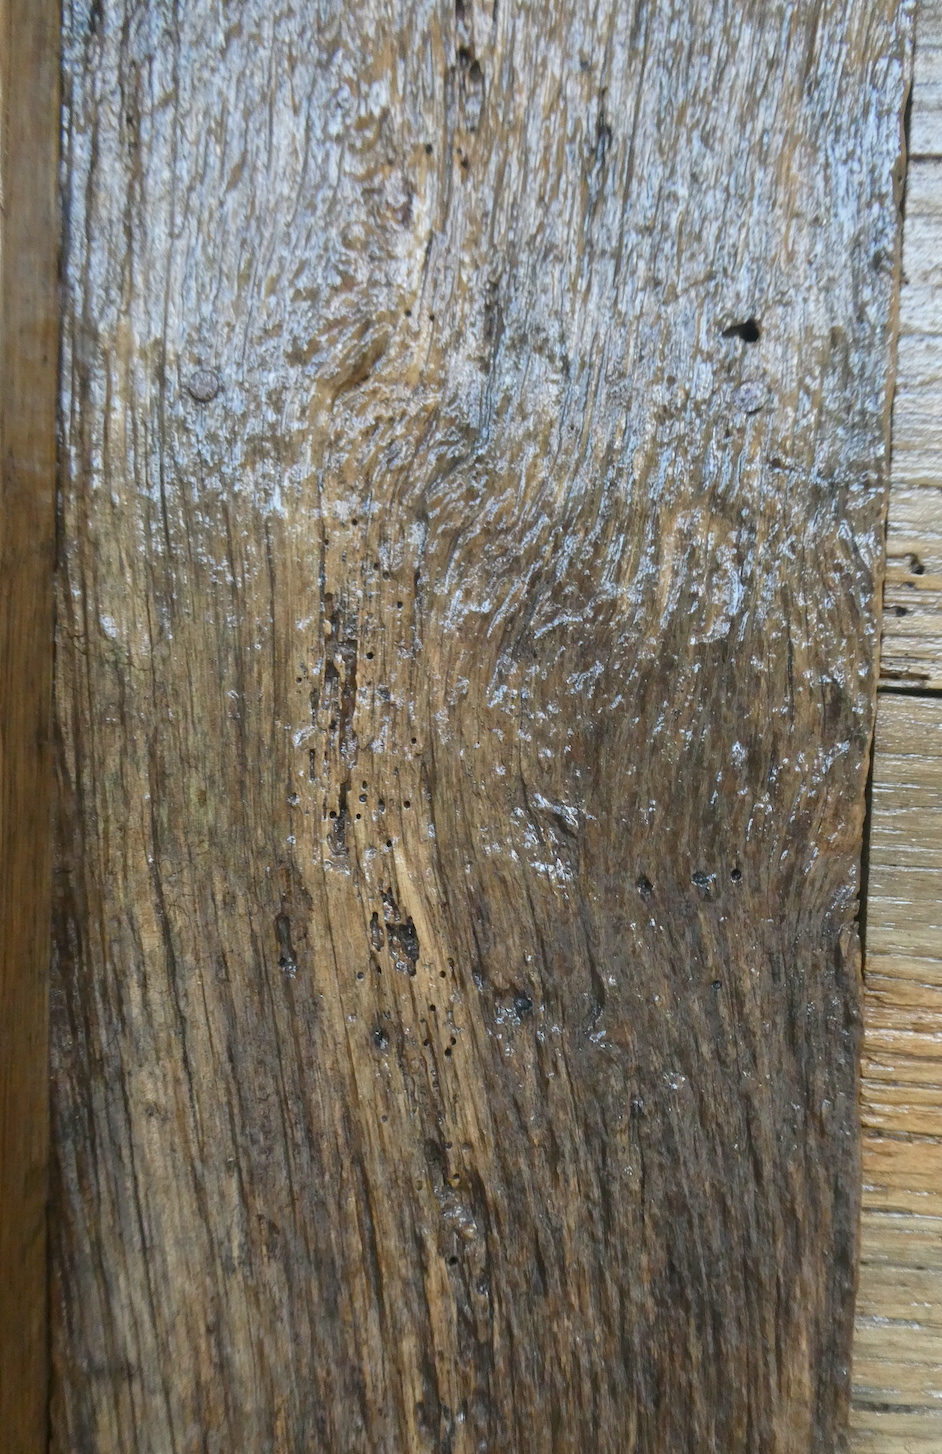
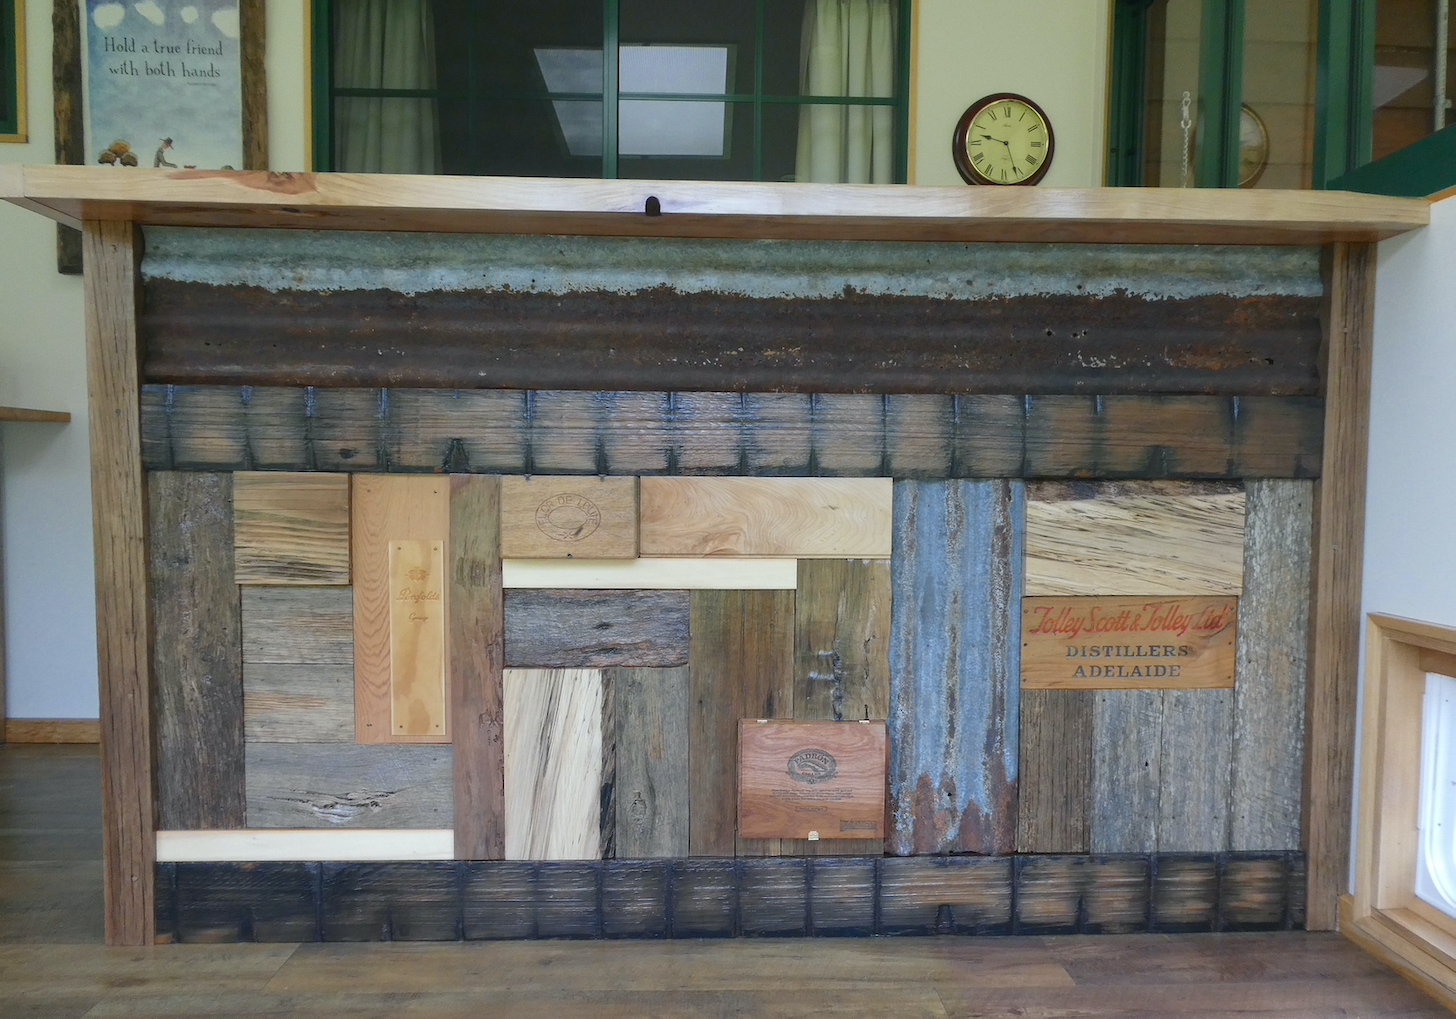
Now for the cladding. We had collected a few random pieces of timber over the years, starting with the King Billy planks from the old hydro water pipes, complete with marks from the strapping. We always intended them to be a feature on the bar.

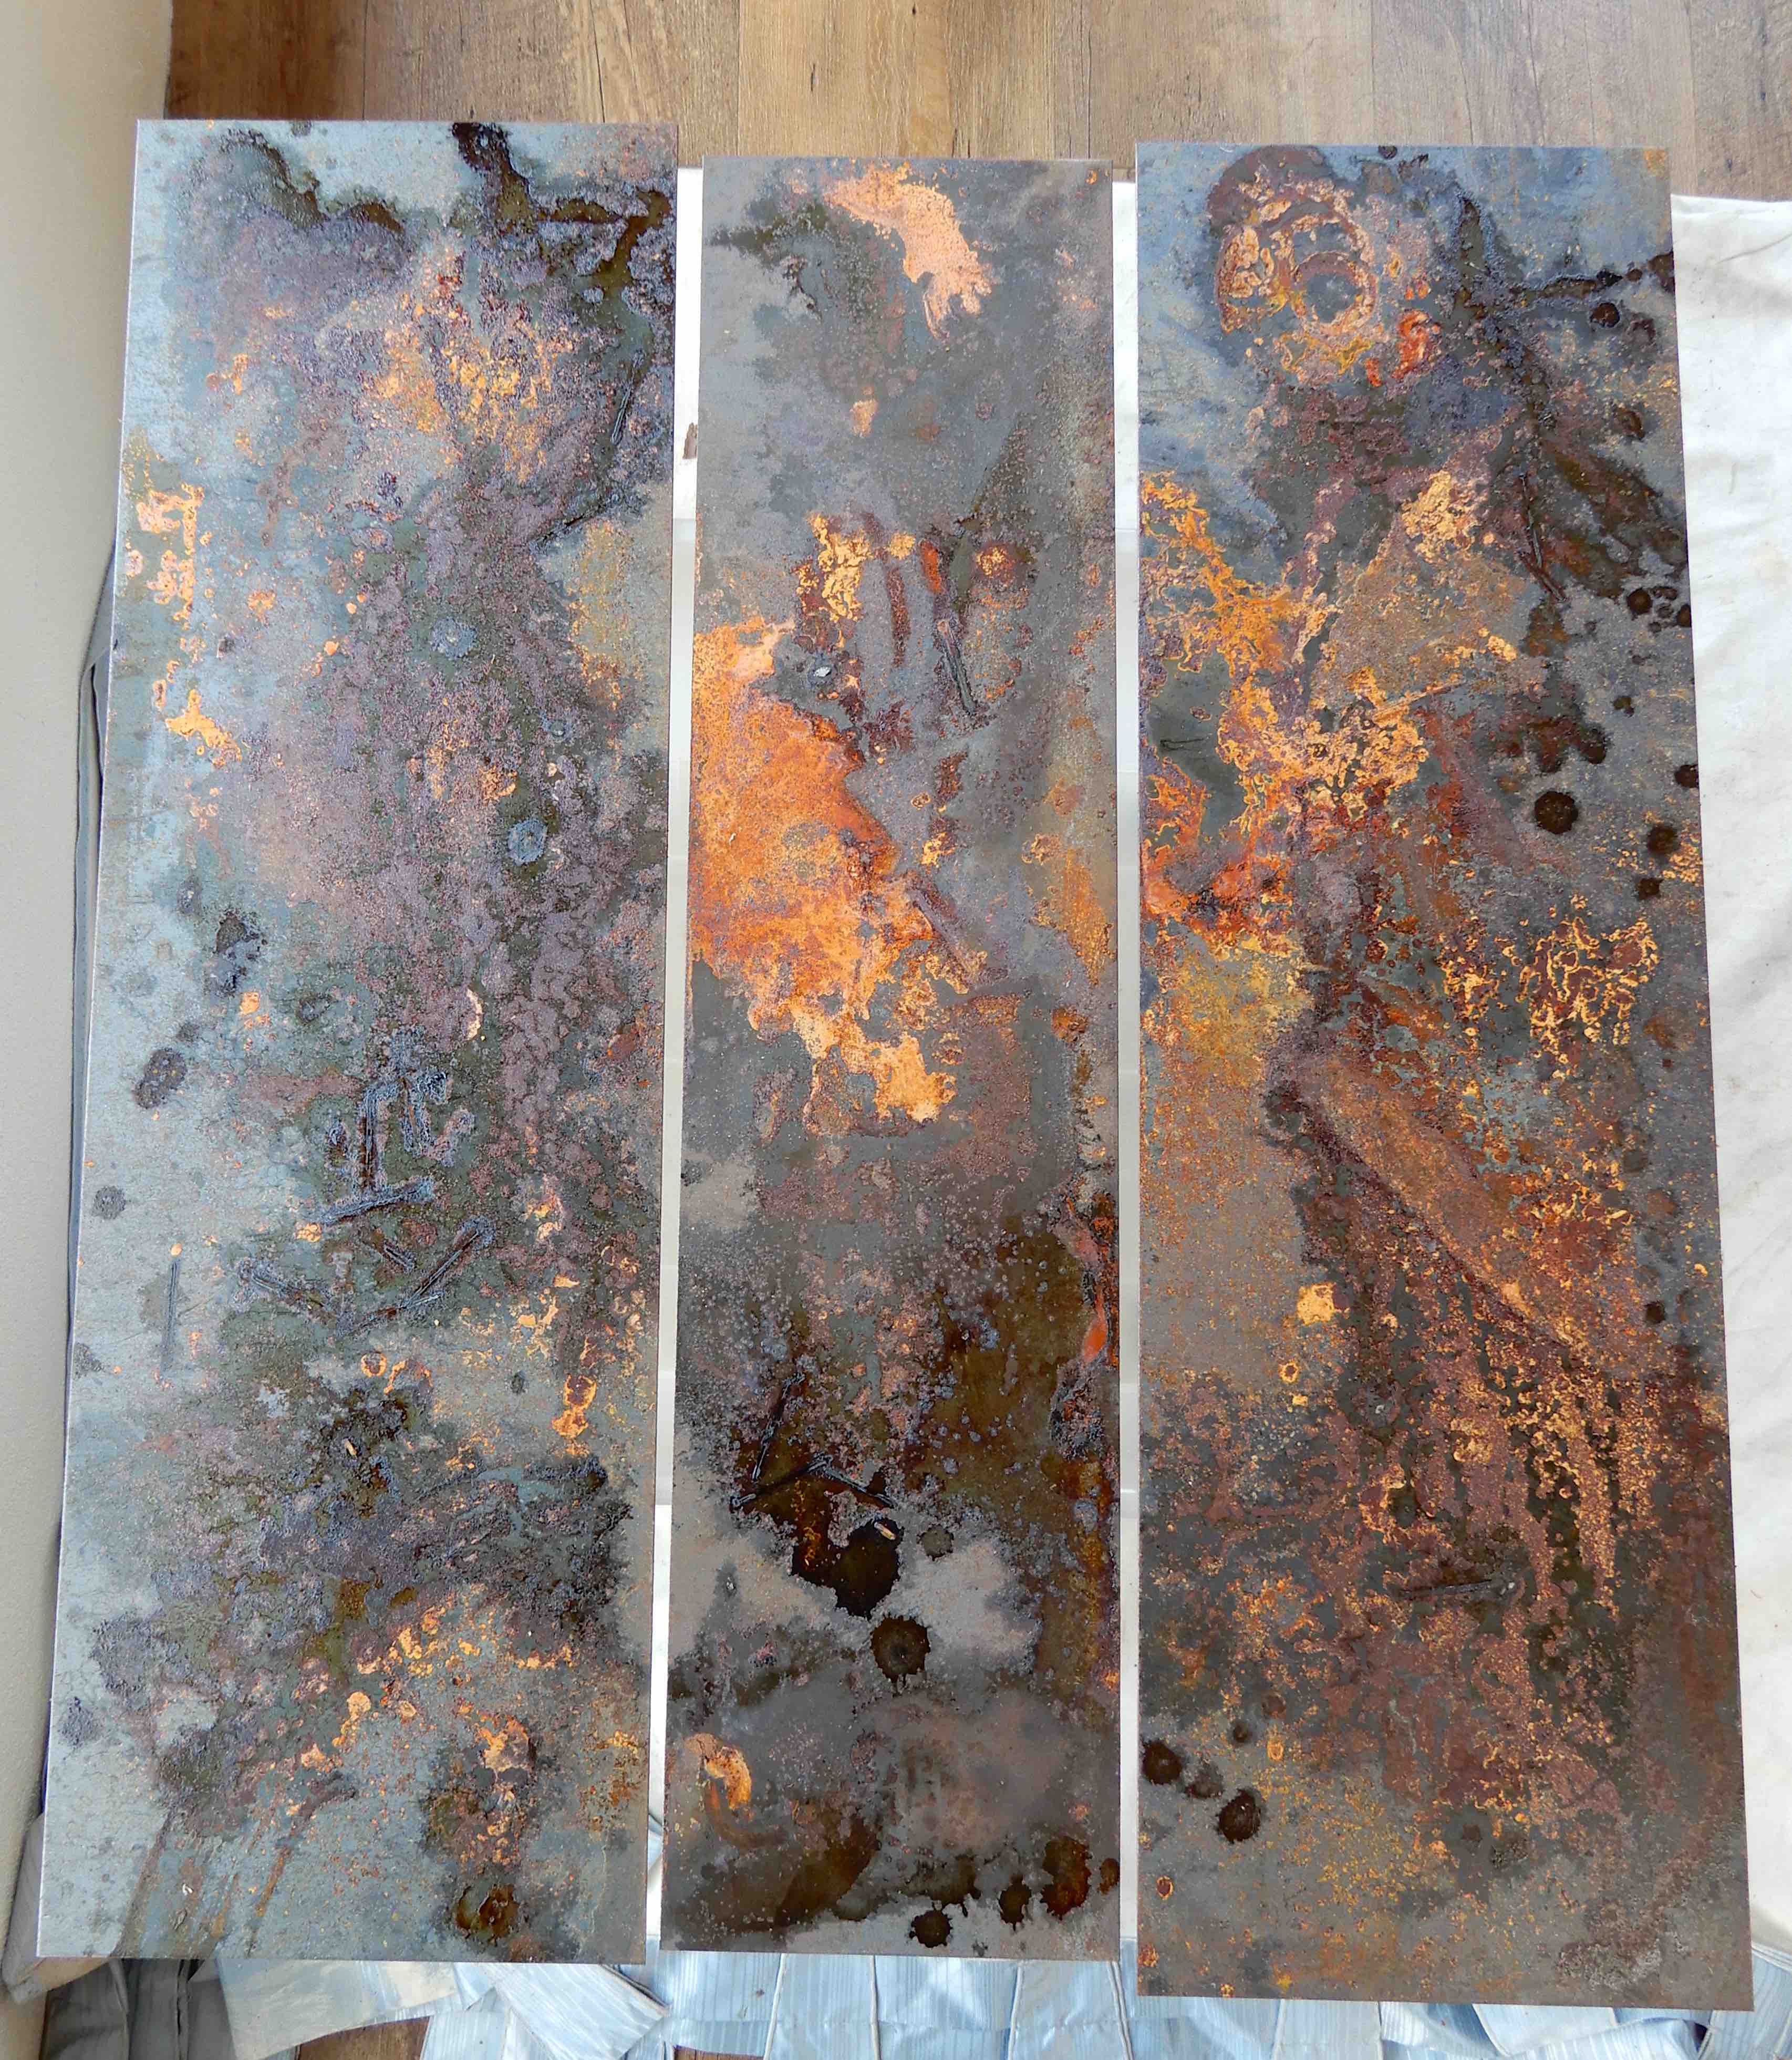
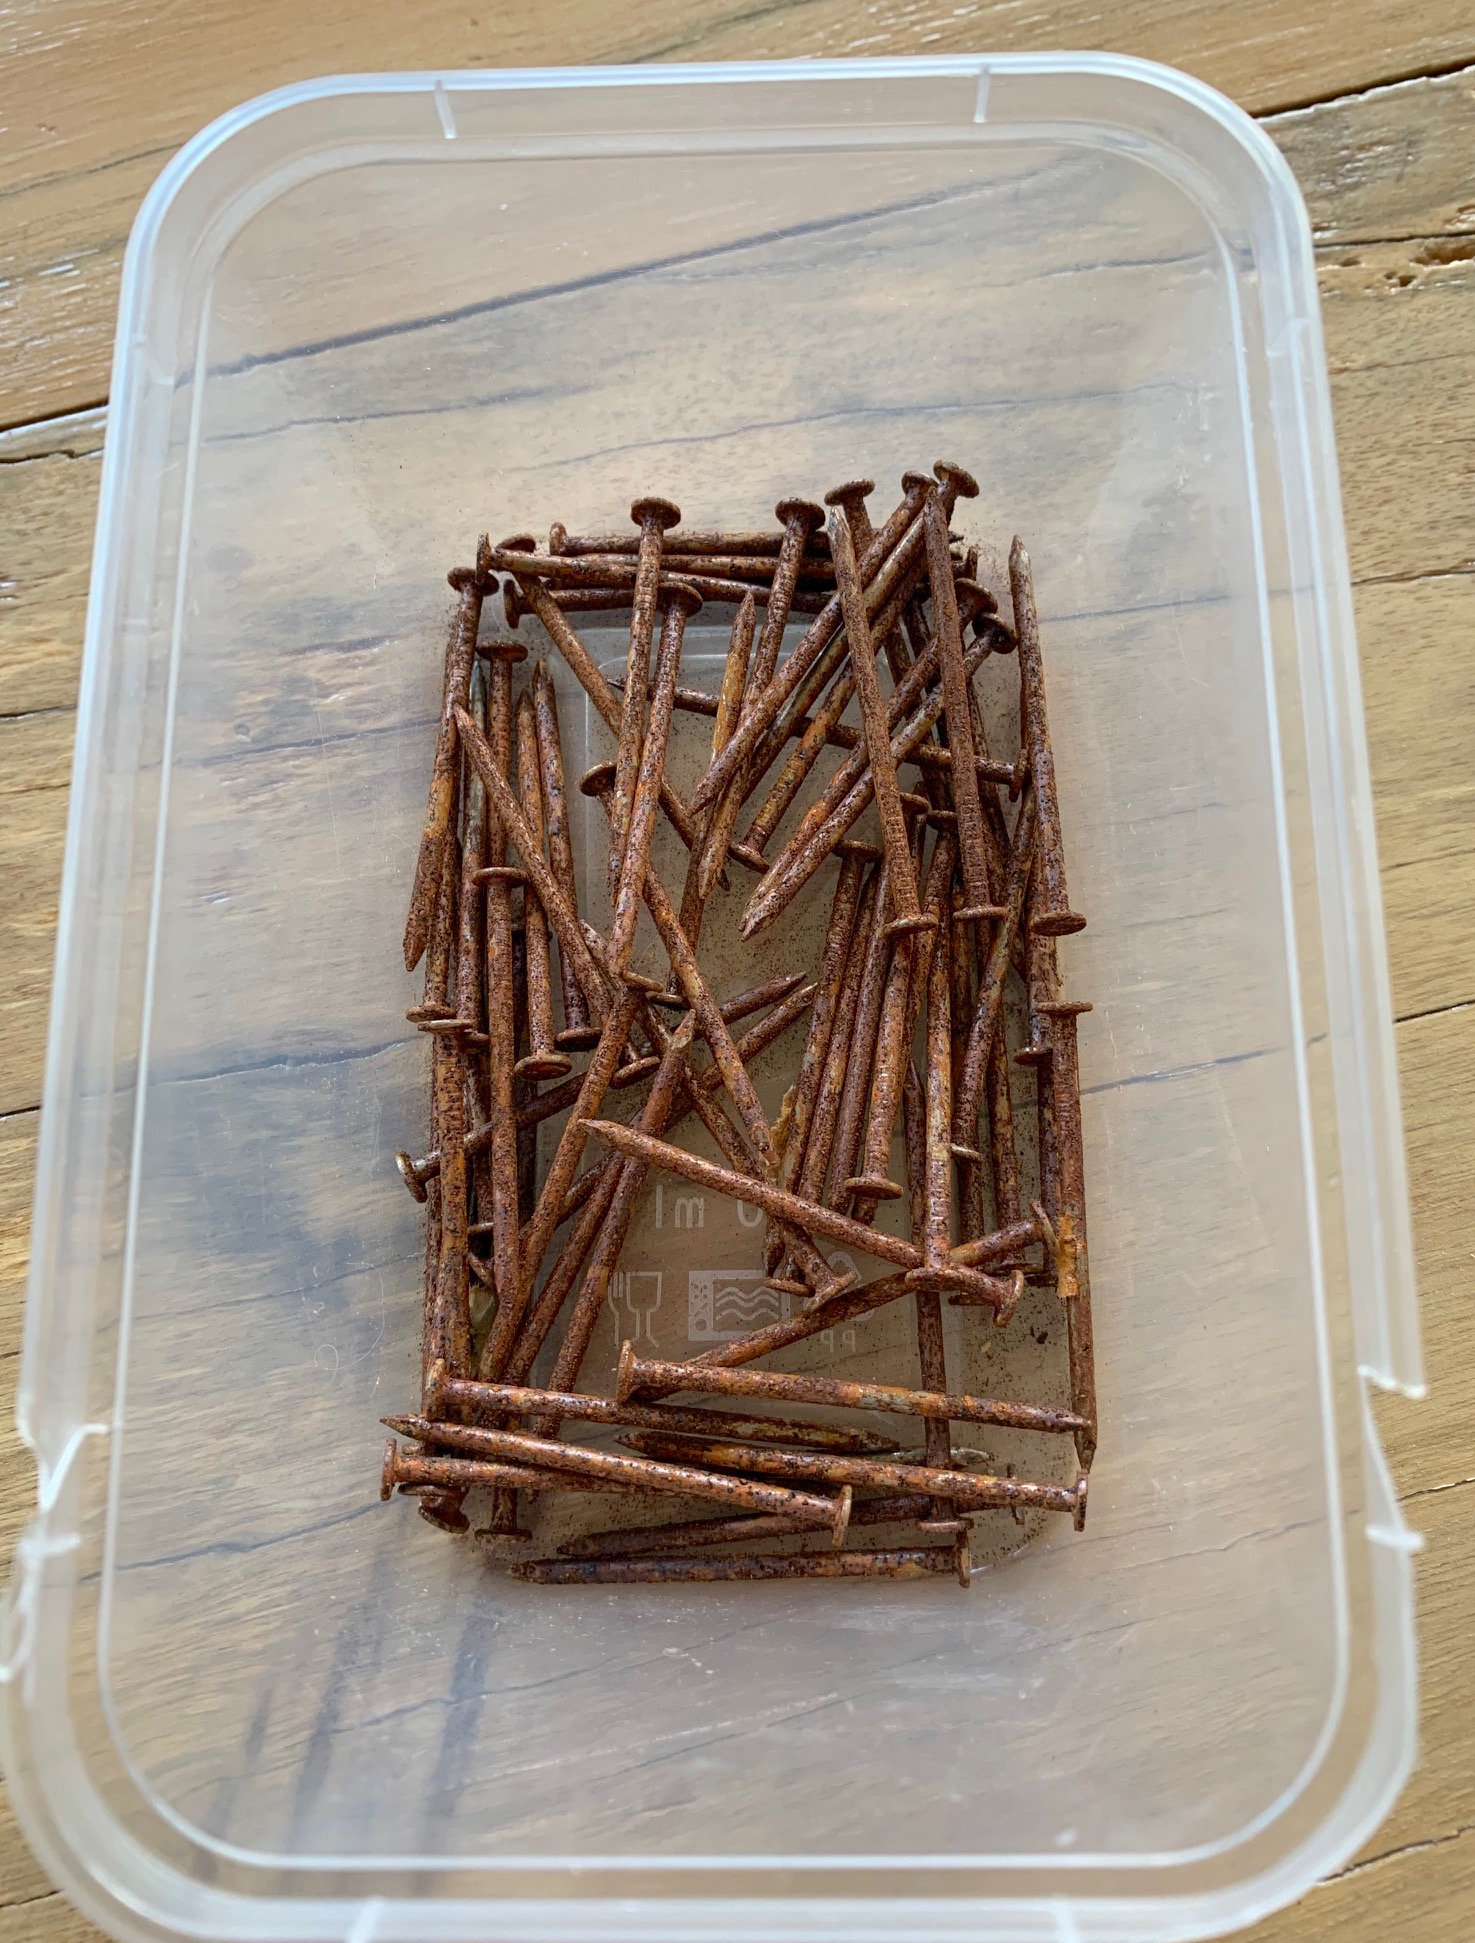
A concoction of vinegar and bleach easily rusted some nails to use on the other elements of the cladding.

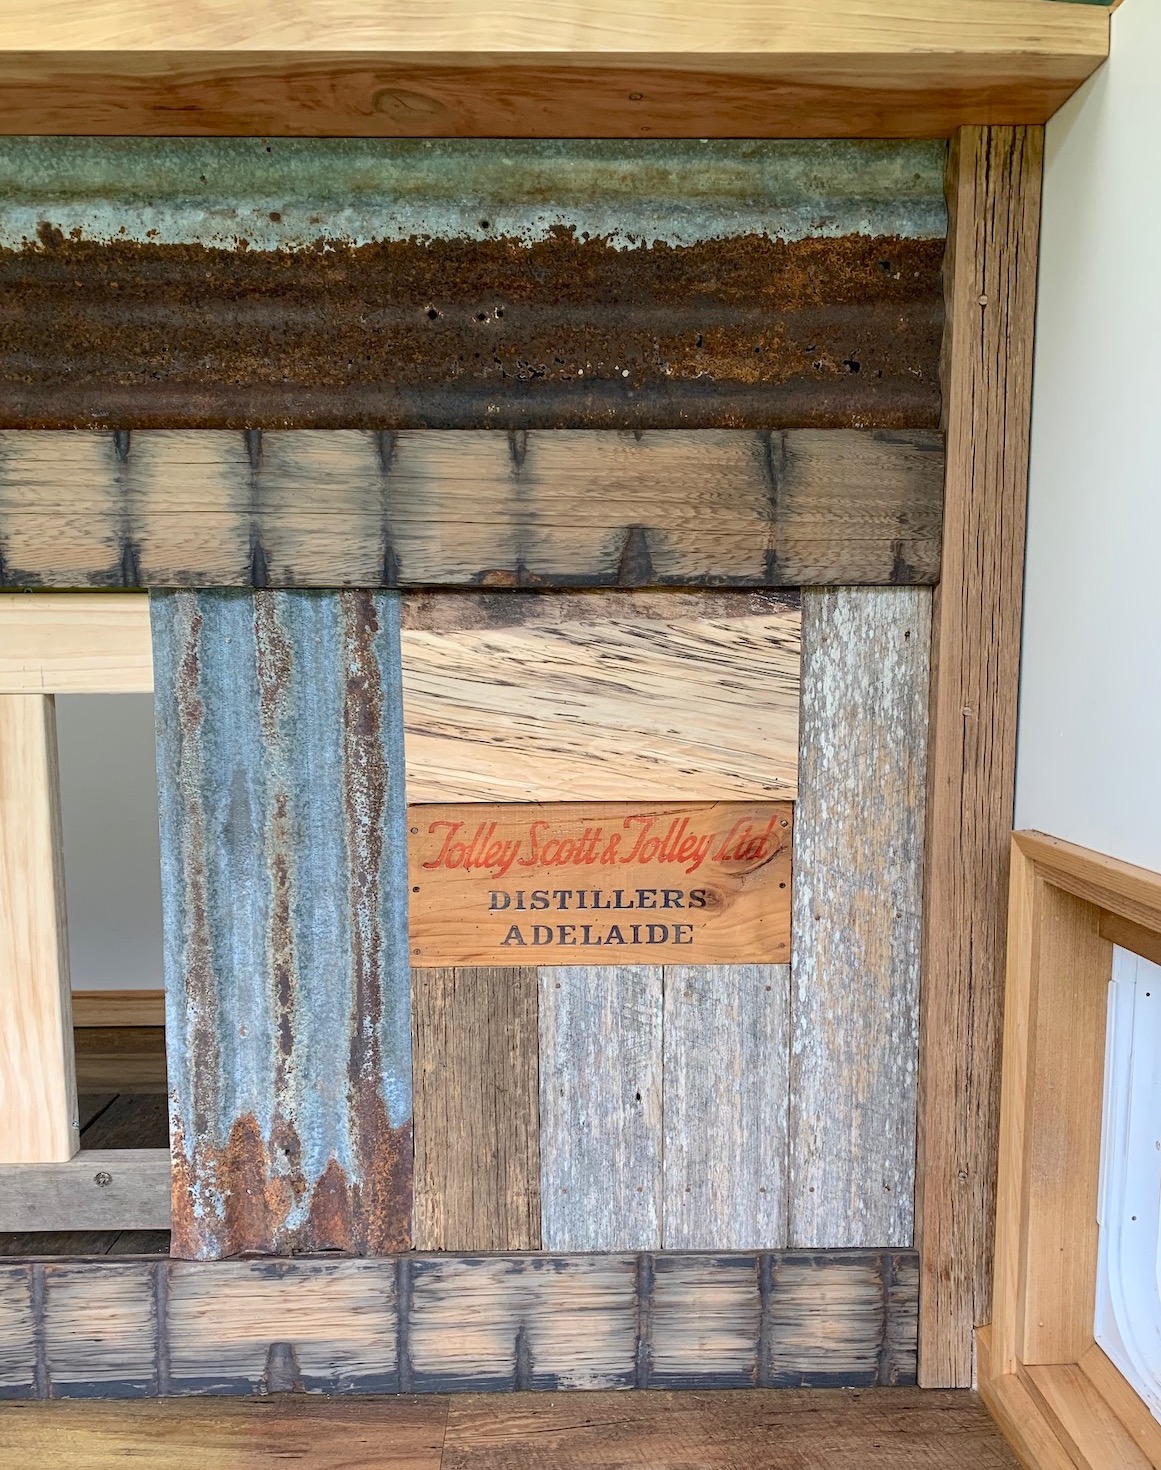
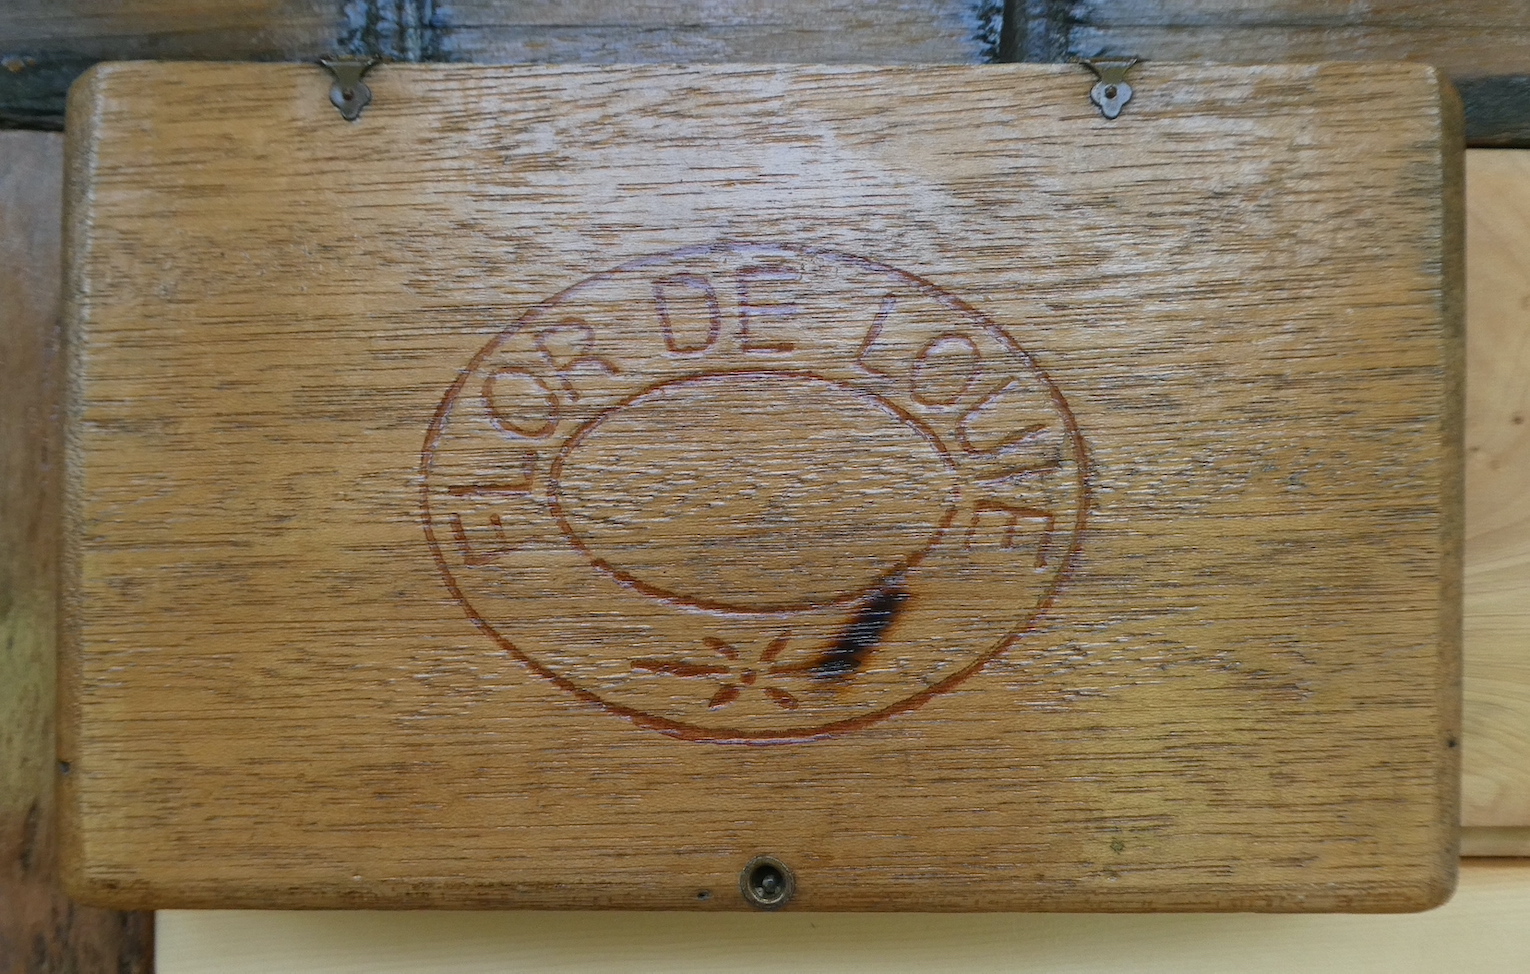
Our approach of “make it up as we go along” seemed to work well as we added an assortment of timbers, some feature panels and a couple of cigar boxes.

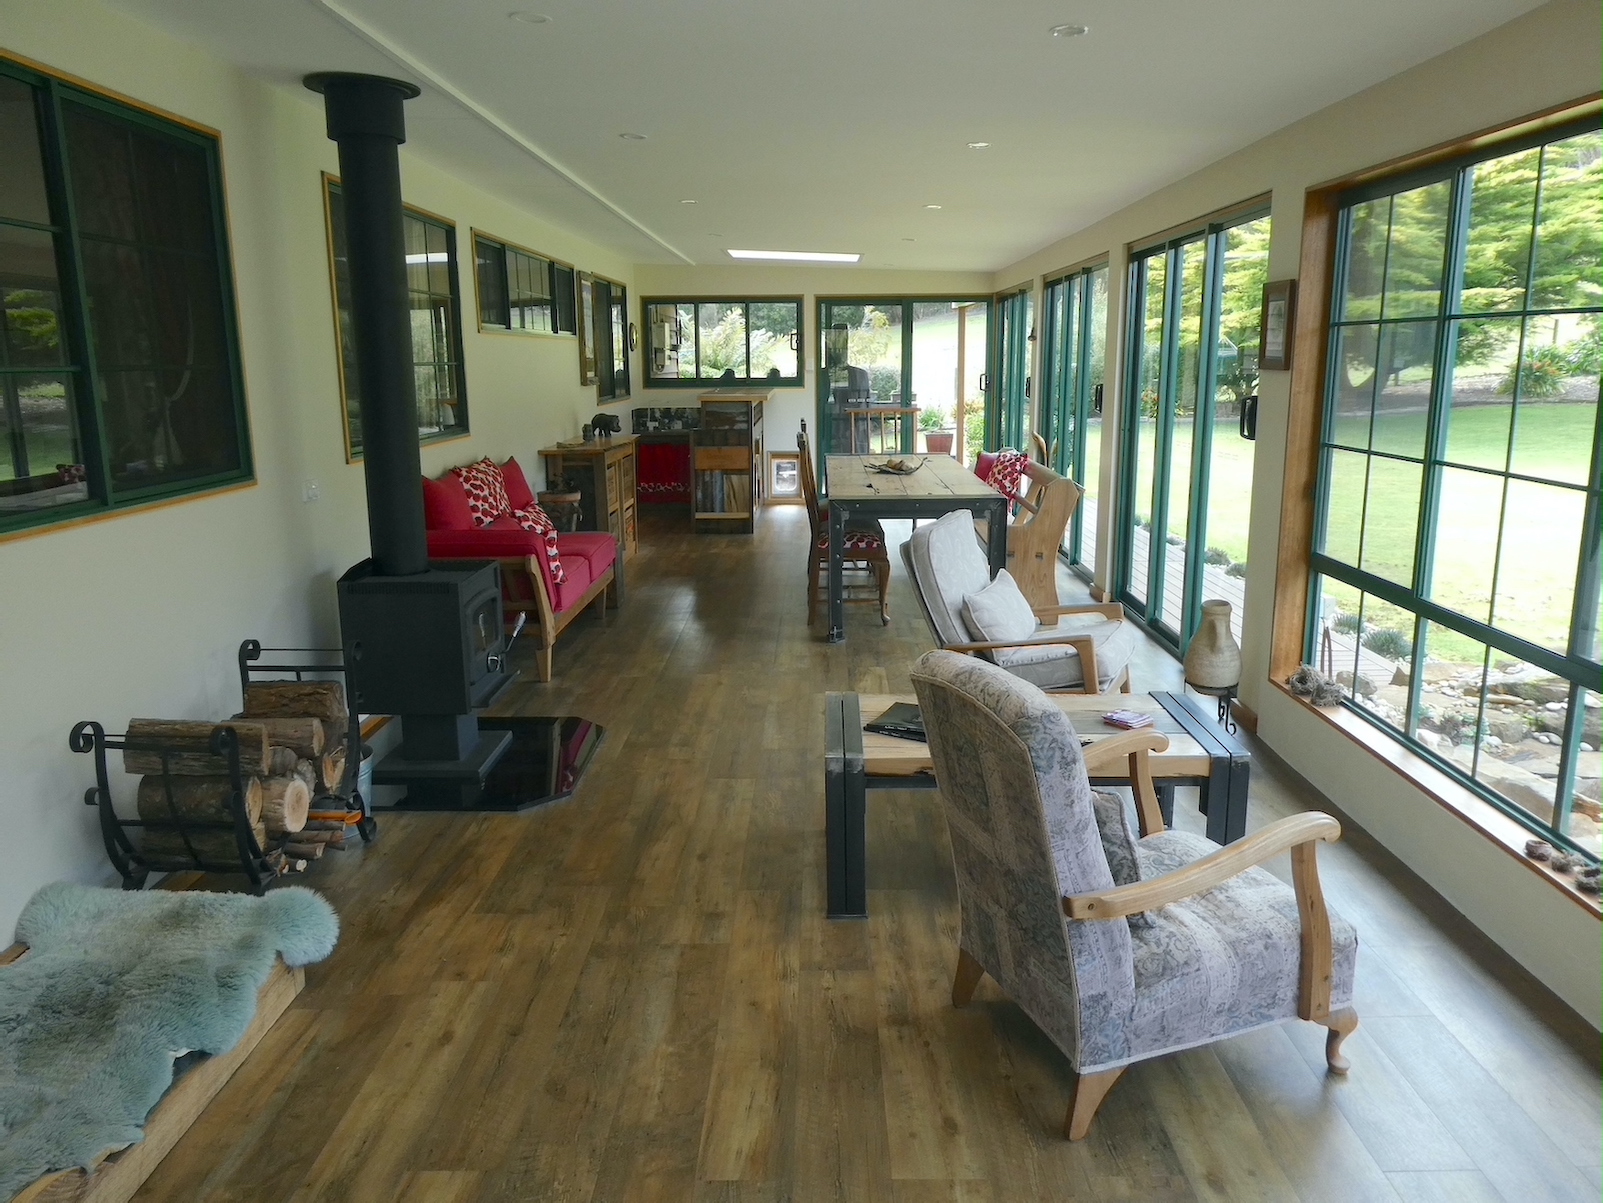
Cupboard curtains complemented the bar fridge as well as the soft furnishings in the room.

Another two coats of Cabothane on the bar top

and the addition of LED lights

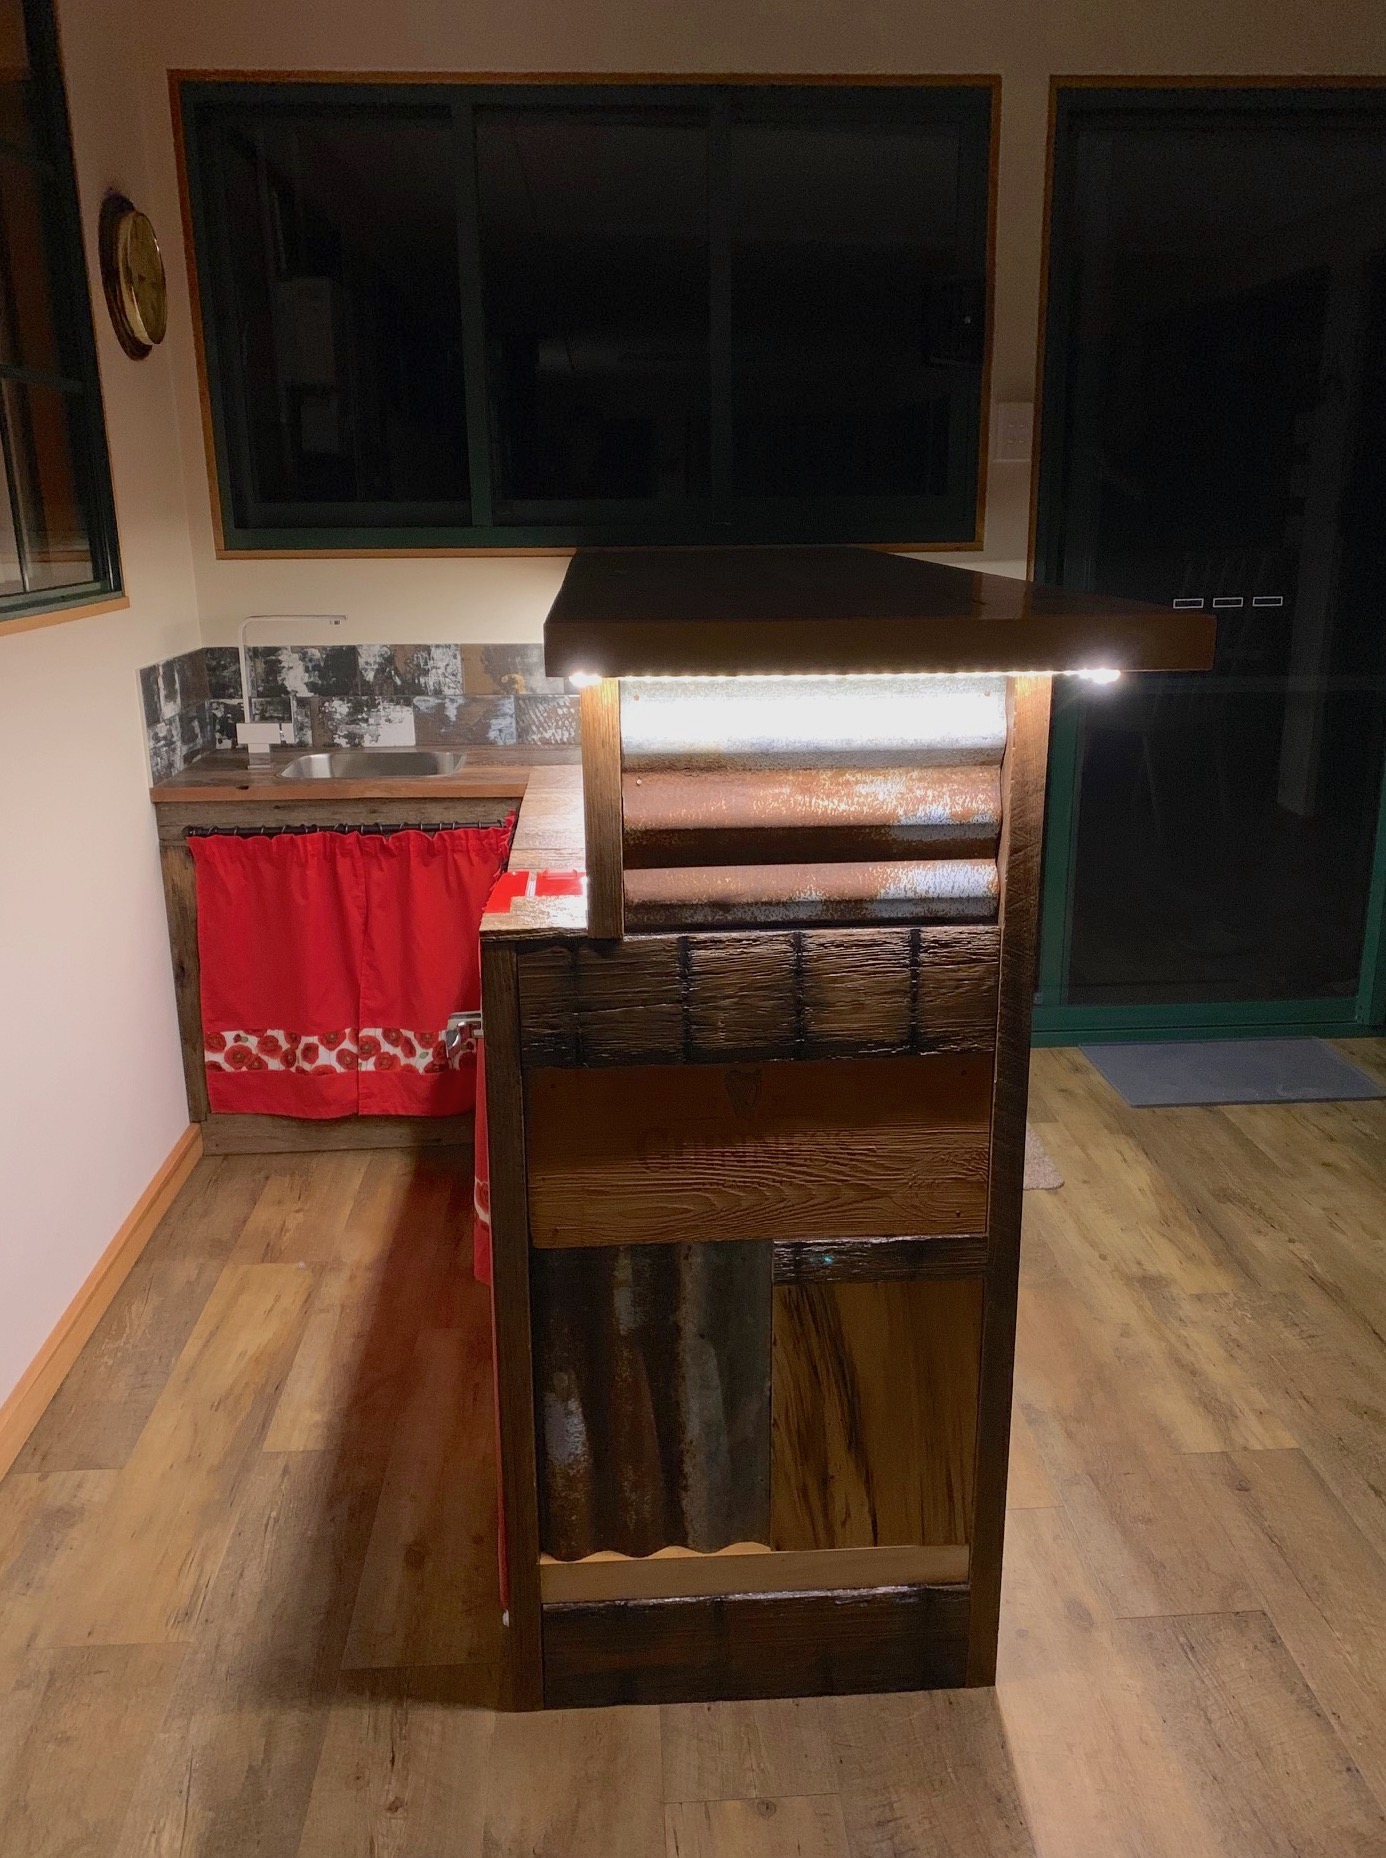
and we have another project successfully concluded.

quirky cupboard

Following the success of the bespoke bureau,

1.bureau

we used the same recipe for our next cupboard. Selecting a Huon slab from our stash,

2.Huon slab

Michael went to work with the reclaimed timbers for the frame.

We continued the theme with the rusted steel panels for the side

and created the shelves from old fence palings.

7.shelving

After much discussion and mind-changing, we decided on fence palings for the doors.

Why would you make two doors alike when they can be different?

10.doors

A few coats of Cabothane brought out the grains and colouring in the timbers.

The Huon top was precision designed to fit snugly in position, the beautiful markings enhanced by the varnish.

13.top14.top

Another successful trip to the salvage yard rewarded us with the perfect hinges and a pair of door handles that, in a previous life, were used to hang fire extinguishers from. The brand new shiny bolts were given the rusting treatment.

Unfortunately, Dulux have seen fit to discontinue the Duramax 2-pack we used on the steel of the bureau and the alternative product we found dulled the colours a little.

18.rusted steel panel

Nevertheless, we are very happy with the result

19.finished

and the cupboard has pride of place by the door.

20.perfect fit

On with the next project….

bespoke bureau

Having finished the back room renovation, our thoughts turned to furnishings. We searched for a suitable sideboard but couldn’t find anything that was just right, though we did get a few ideas. The answer was to create our own. We had some old timbers lying around and supplemented our supply with a visit to the salvage yard where we also found four wooden crates (there were two A.B. Tonic ones).

I cleaned up the crates while Michael slaved over the frame using various reclaimed hardwood timbers

and some old fence palings. I found a recipe for rusting nails and it worked a treat.

6.shelves

A few coats of Cabothane brought out the natural hues as well as the perfect defects.

We kept changing our minds about what to use for the centre front and side panels so Michael experimented with rust effects on steel. The polyurethane coating has preserved the colours well.

9.rusted steel panels

Precision placed finger holes and felt lining completed the crates.

Over the years, we have accumulated some beautiful timber slabs and we selected a Huon pine for this project. Trimmed and prepared,

it was fixed to the frame

15.finished

and the steel took its place in the front and sides.

Some more Cabothane on the top highlighted the grain.

We are very happy with the result.

23.finished